Showing posts with label Chili Designz. Show all posts

Wednesday, January 18, 2017

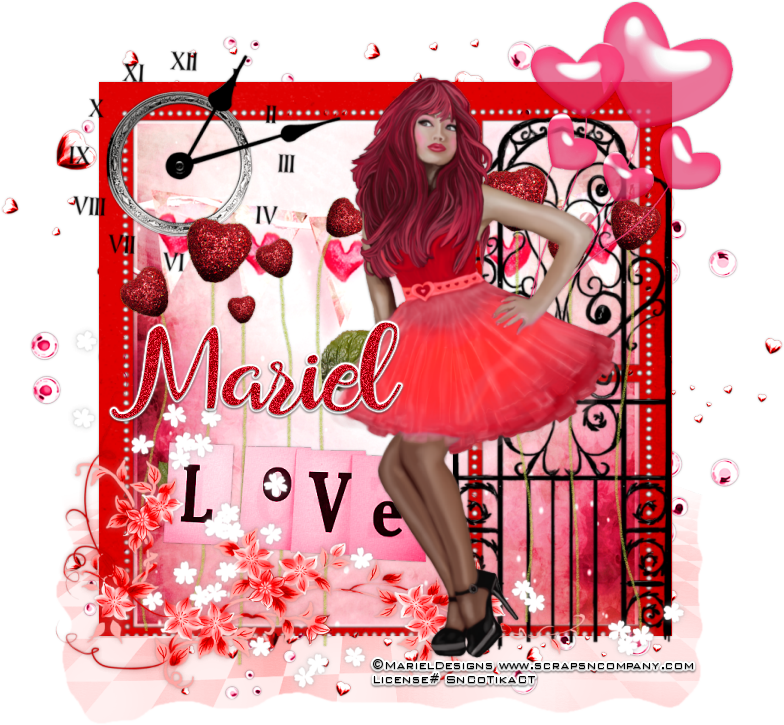
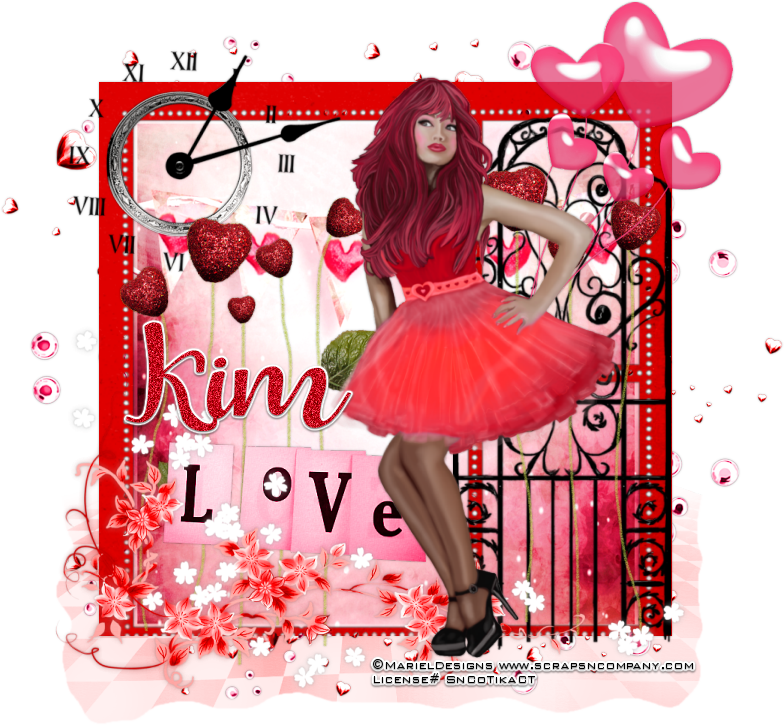
Time For Love


Time For Love
Written 1/18/2017
This tutorial is meant purely as a guide. Feel free to use your own choice of tube or scrap kit to make your tag unique. If you want your tag to look just like mine them use the same supplies I have used. This tutorial assumes you have a knowledge of paint shop pro. Any resemblance to any other tag or tutorial is completely coincidental.

Supplies Used:
Tube of your choice. I am using a tube by Mariel Designs called Perfect Love. She was created for the Perfect Love Collab at Scraps N Company. You can get this entire collab free with your $13.50 purchase. Check out the collab at http://scrapsncompany.com/index.php?main_page=product_info&cPath=587_144&products_id=25373
The scrap kit I used is also called Perfect Love and is by Chili Designz. This kit is also part of the awesome collab.
Font of your choice. I am using Saldina. This is a PTU font.
Plugins:
NONE
Drop shadow used throughout:
0 0 30 3.00 black

Let's Begin:
Open frame 2 from the kit. Shift+D to duplicate. Close the original. Re-size if you wish. Make your canvas large enough to work with. Using your magic wand select the inside of all sections of the frame. Selections modify and expand by 5. Layers new raster layer and drag under the frame. Open paper 1 and copy and paste into selection. Selections select none. Add a drop shadow to the frame.
Open your tube and copy and paste as a new layer. Re-size until she is just barely bigger than the frame. Move to where she is standing between the main part of the frame and the 2 smaller parts to the right. Add a drop shadow.
Open the floor element from the kit. Copy and paste as a new layer. Drag to the bottom. Move to the bottom of the frame as we are going to make the tube stand on it.  Re-size until it just slightly larger than the frame on both sides. Now if you notice there are some pretty sharp lines and angles and we want to get rid of those. There are 2 ways you can do this. Use your eraser tool and set your hardness down to about 25 and the opacity to about 4. The size to medium to large and just around the edge and erase some of the bits and get rid of the straightness. The second way is to use your freehand selection tool set to freehand and just draw around the edges in an imperfect manner. Selections invert and hit delete. You can use your eraser again to get rid of any sharpness or you can use your soften tool. Just check out the tools in psp they are pretty handy.

Now let’s dress the tag up with elements from the kit. I will list the elements I used. Feel free to use other elements to make your tag unique. Placement of the elements is completely up to you. If you want your tag to look just like mine then use my tag for reference.
Elements I used:
balloons
clock
corner2
deco
gate
Hearts2
Spill
Wa
Add your name.
Add your copyright and licensing information.
Crop and re-size as you wish.
Save your tag.
♥♥♥

Tuesday, May 10, 2016

I Will Fight For Her


I Will Fight For Her
Written 5/10/2016
This tutorial is meant purely as a guide. Make your tag unique by using your own choice of tube and scrap kit. If you want your tag to look just like mine then use the same supplies that I have used. This tutorial assumes you have a knowledge of paint shop pro. Any resemblance to any other tag or tutorial is purely coincidental.
Supplies Used:
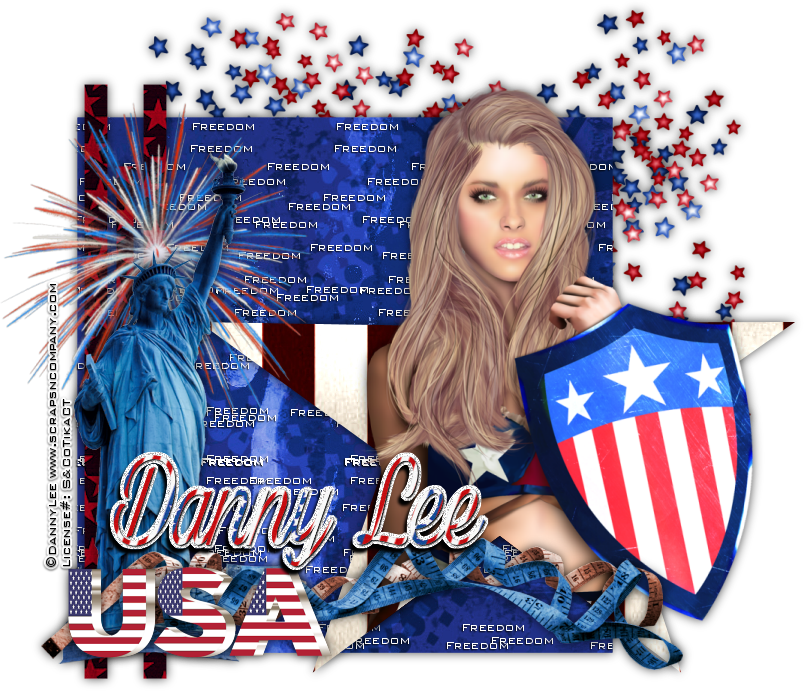
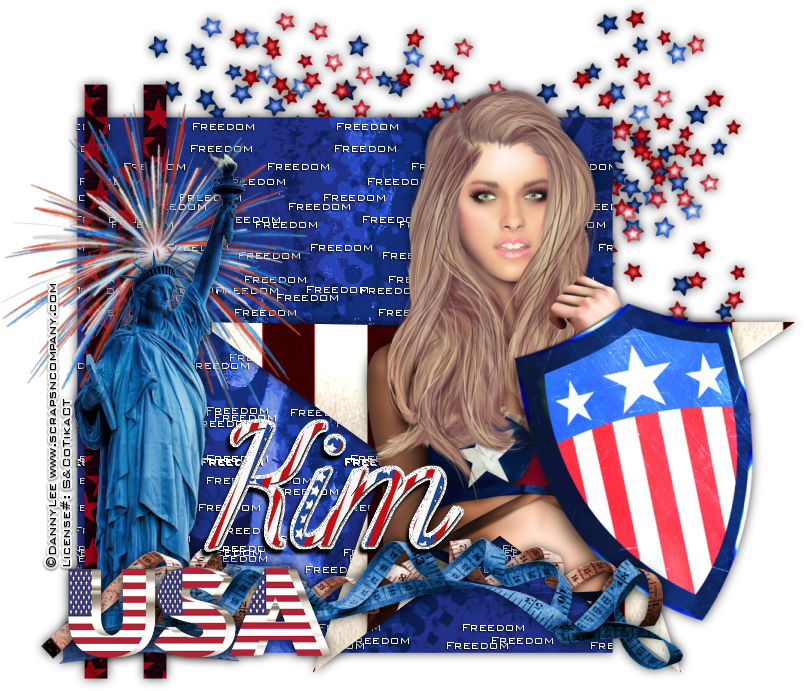
Tube is called Patriotic Warrior and is by Danny Lee. You can purchase it at http://scrapsncompany.com/index.php?main_page=product_info&cPath=113_132_219&products_id=18883
The matching scrap kit is also called Patriotic Warrior and is by Chili Designz. You can purchase it at http://scrapsncompany.com/index.php?main_page=product_info&products_id=18954
The tag template is by me and can be download at https://app.box.com/s/f0k8lials41ziakd6ii7c9xyea1h5rwi
Font of your choice. I am  using White Larch. You can download it at http://www.fontspace.com/m%C3%A5ns-greb%C3%A4ck/white-larch-personal-use-only
Plugins:
NONE
Drop shadow used throughout:
0 0 70 15.00 black

Let’s Begin:
Open the tag template and delete the creators info layer.
Make your canvas large enough to work with.
Make the black square layer active and go to selections select all float and defloat. Open paper 4 and copy and paste as a new layer. Selections invert and hit delete. Selections select none. Delete the original black square layer.
Make the white pixel words layer active. Add a drop shadow to this layer of 1 -1 100 2.00 black
Make the grey star layer active and selections select all float and defloat. Open paper 13 and copy and paste as a new layer. Selection invert and hit delete. Selections invert again. Open your tube and copy and paste the closeup of the tube as a new layer. Re-size as needed. Place so she is within the selected star area. Selections invert and using your eraser tool erase only the bits of the tube hanging out the bottom of the star. You want her to look like she is popping out of the star so her head and the shield should not be erased. Selections select none. Delete the original grey star layer.
Make the stripes layer active and selections select all float and defloat. Open paper 9 and copy and paste as a new layer. Selections invert and hit delete. Selections select none. Delete the original stripes layer.
Add a drop shadow to all the layers this far except the pixel words as you should have already drop shadowed those.
Open stars4 element from the kit and re-size by 85%. Copy and paste as a new layer and place to the top right of the tag. Drag to the bottom. Add a drop shadow.
Repeat the above steps using the stars3 element but re-size this one by 75% and place so it can be seen between the blue stars.
Open the statue element and re-size by 75%. Image flip horizontal. Copy and paste as a new layer and place on the bottom left in front of the stripes layers. Add a drop shadow.
Open ribbon and re-size by 75%. Copy and paste as a new layer along the bottom of the tag. Add a drop shadow.
Repeat with ribbon2.
Open fireworks and re-size by 75% 2x. Copy and paste as a new layer and drag under the head of the statue.
Open the wordart and re-size by 50%. Copy and paste as a new layer and place in the bottom left corner. Add a drop shadow.
Add your name.
Add your copyright and licensing information.
Crop and save.

Wednesday, April 6, 2016

And She Bakes


And She Bakes
written 4/5/2016

This tutorial is meant purely as a guide. Feel free to make your tag unique by using your own choice of tube and scrap kit. If you want your tag to look just like mine then use the same supplies I have used. This tutorial assumes you have a knowledge of paint shop pro. Any resemblance to any other tag or tutorial is purely coincidental.

Supplies Used:

Tube by Di Halim. She is called Delicious Old Style 2. You can purchase it at http://scrapsncompany.com/index.php?main_page=product_info&cPath=113_133_166&products_id=18783

Matching scrap kit by Chili Designz. It is called Delicious Glamour. You can purchase it at http://scrapsncompany.com/index.php?main_page=product_info&products_id=18846

Mask of your choice. I am using a mask by Rachel Designs. I am using mask #2 from this set at https://racheldesignsblog.wordpress.com/2016/04/04/mask-set-111/

Font of your choice. I am using Nouradilla. You can download it at https://www.littlebigcrafter.com/product/freebie-nouradilla-script-beautiful-handwritten-font/

Plugins:
NONE

Drop shadow used throughout:
0 0 75 11.00 black

Let's Begin:
Open paper 6 and shift + D to duplicate.
Close the original.
Promote the background layer to a raster layer.
Re-size the paper by 85%.
Apply your mask.
Delete the mask layer and merge the group.
Open chair2 from the kit and copy and paste as a new layer.
Place at the bottom of the mask area and place so the far left leg is about center bottom of your mask.
Add a drop shadow.
Open your tube and copy and paste as a new layer.
Re-size as needed until she is in proportion with the chair.
Place so she is sitting on the chair.
Add a drop shadow.
Now we are going to dress this up with some of the beautiful elements from the kit.
I will list the elements I used.
Placement of the elements is completely up to you.
If you want your tag to look just like mine then use my tag for reference.
Feel free to use some of the other elements that I did not use and that will help make your tag unique.
Elements I used:
tulle
leaf2
leaf4
greenery
flower10
flower9
flower8
flower6
flower2
deco
button4
pearls2
sparkles4
Add your name.
Add your copyright and licensing information.
Crop and save.

Saturday, April 2, 2016

SK8 or Die


Sk8 or Die
written 4/2/2016

This tutorial is meant purely as a guide. Feel free to make your tag unique by using your own choice of tube and scrap kit. If you want your tag to look just like mine then use the same supplies that I have used. This tutorial assumes you have a knowledge of paint shop pro. Any resemblance to any other tag or tutorial is purely coincidental.

Supplies Used:

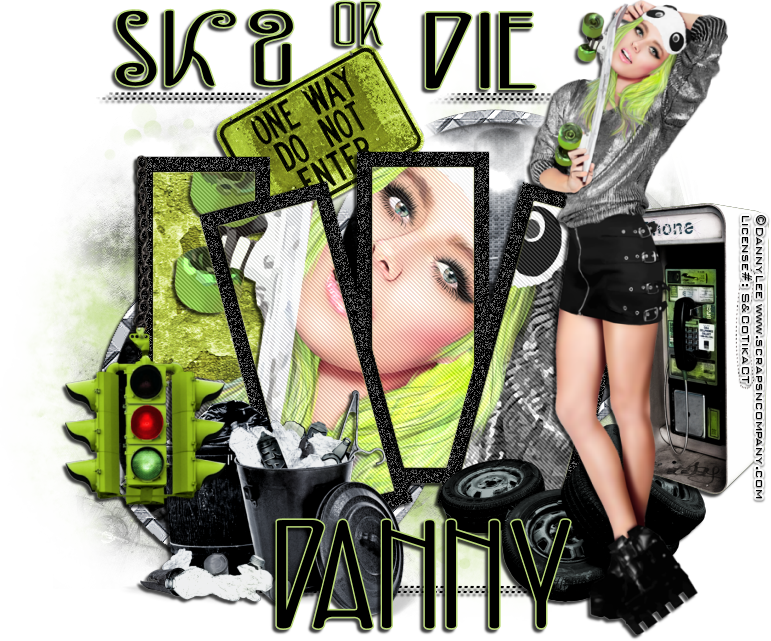
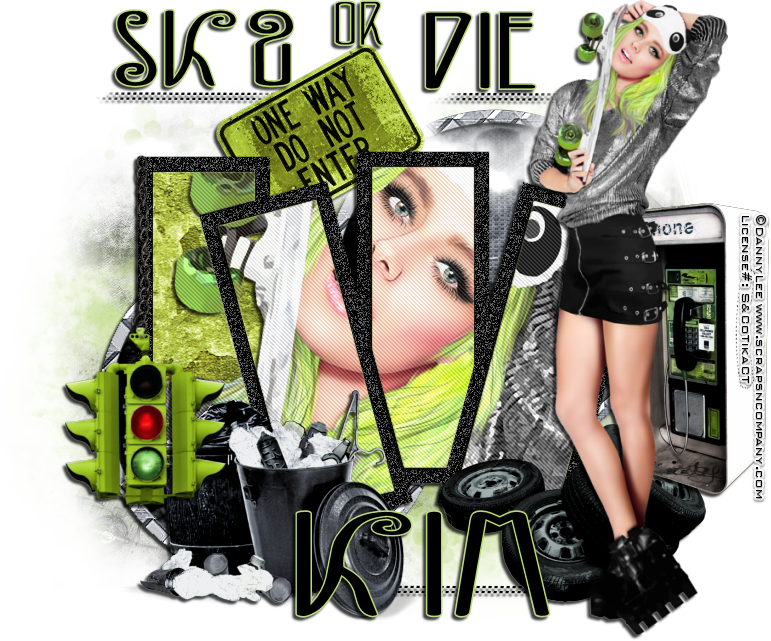
Tube by Danny Lee. She is called Green Silver. You can purchase her at http://scrapsncompany.com/index.php?main_page=product_info&cPath=113_132_219&products_id=17840

Matching scrap kit by Chili Designz. It is called Silver Green. You can purchase it at http://scrapsncompany.com/index.php?main_page=product_info&products_id=18695

Tag Template by Clarez Creationz. It is template #116 and you can download it at http://clarezcreationz.blogspot.com/2016/03/template-116.html

Brushes of your choice. You can find some awesome brushes at http://deviantart.com

Font of your choice. I am using DK Fiebiger Zwei. You can download it at http://www.fontspace.com/david-kerkhoff/dk-fiebiger-zwei

Plugins:
Penta Jeans

Drop shadow used throughout:
3 -3 75 3.00 black

Let's Begin:
Open the template and shift+D to duplicate.
Close the original.
Remove the following layers:
copyright & background.
Make your canvas large enough to work with.
Make the dots layer active and selections select all float and defloat.
Layers new raster layer and flood fill with black.
Selections select none.
Delete the original dots layer.
Add a drop shadow to this layer.
Make the right rectangle layer active and using your magic wand select the black outside frame.
Adjust Add/Remove noise. Add noise with the following settings:
Uniform 100% monochrome
Selections select none.
Repeat the above steps with all of the rectangle layers.
Merge all of the rectangle layers together.
Using your magic wand select the inside of each of the rectangle layers.
Selections modify and expand by 1.
Open paper 3 and copy and paste as a new layer.
Selections invert and hit delete.
Selections invert again.
Open the close up of your tube and copy and paste as a new layer.
Re-size if needed.
Position within the selected frames how you want.
Selections invert and hit delete.
Selections select none.
On the tube layer apply the Penta Jeans plugin change the amount to 40.
Leave the border width at 4
Add a drop shadow to the tube layer.
Merge the tube layer and the paper layer down to the frames layer.
Add a drop shadow to the frames layer.
Make the right rectangle layer active and using your magic wand select the outside of the frame.
Open paper 12 and copy and paste as a new layer.
Selections invert and hit delete.
Selections select none.
Add a drop shadow to this layer.
Make the right rectangle layer active again and using your magic wand select the inside of the frame.
Selections modify and expand by 2.
Open paper 8 and copy and paste into selection.
Selections select none.
Repeat the above steps with the left rectangle layer.
Layers new raster layer and drag to the bottom.
Apply some brushes of your choice.
Open your full size tube and copy and paste as a new layer.
Re-size as needed.
Move to the far right side.
Add a drop shadow.
Now lets use some of the elements from the kit.
I will list the elements I used.
Placement is up to you.
Use my tag for reference if you wish.
Elements I used:
garbage
light2
sign2
phonebox
tires
Using the font of your choice place some text at the top if you wish.
Add your name.
Add your copyright and licensing information.
Crop and save.


Thursday, October 29, 2015

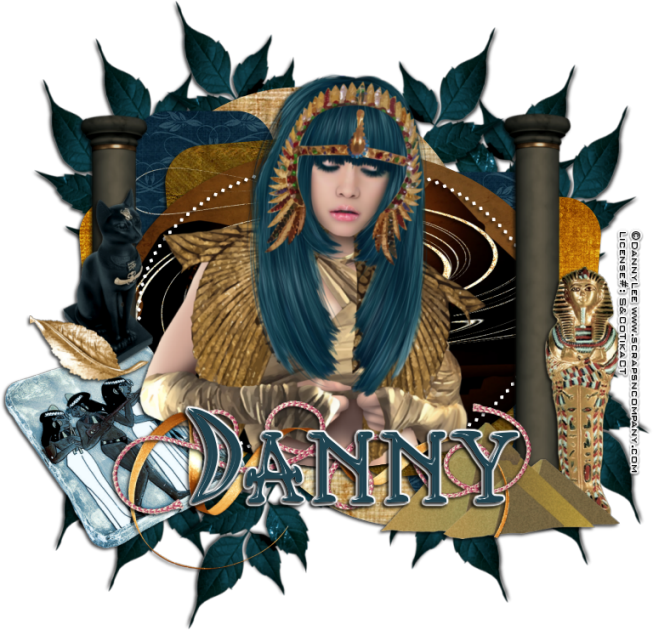
Egyptian Nights


Egyptian Nights
written 10/29/15

This tutorial is meant purely as a guide. Feel free to make your tag unique by using your own tube and scrap kit. If you want your tag to look exactly like mine then use the same supplies that I have and use my tag for reference.

Supplies Used:

Tube by Danny Lee called Egyptian Mummy. You can purchase her at http://scrapsncompany.com/index.php?main_page=product_info&cPath=113_132_219&products_id=15028

Matching scrap kit by Chili Designz called Egyptian Nights. You can purchase it at http://scrapsncompany.com/index.php?main_page=product_info&products_id=15031


Font of y our choice. I am using Pegypta. You can get it at http://www.fontspace.com/cybapee-creations/pegypta D

Plugins:
NONE

Let's Begin:
Open the tag template and shift+D to duplicate.
Close the original.
Delete the following layers:
bkg, cr, 12 and 11
Make your canvas large enough to work with.
Start at the bottom of the template and flood fill each of the layers with colors of your choice to match your tube or using papers from the kit.
Once you are done then select the oval layer and copy and paste your tube as a new layer and position within the selected area.
Erase any bits you do not want hanging outside of that area.
Add a drop shadow to each of the layers including your tube.
Let's dress up the tag with elements from the kit.
I will list the elements I used and placement is completely up to you.
If you want your tag to look just like mine then use my tag for reference.
Once you have all elements on then add a drop shadow to each of them.
Elements used:
book 2
cat
column
pyramids
ribbon
statue2
string2
swirvl
leaf7
leaf3
Add your name.
Add your copyright and licensing information.
Crop and save.


Wednesday, October 28, 2015

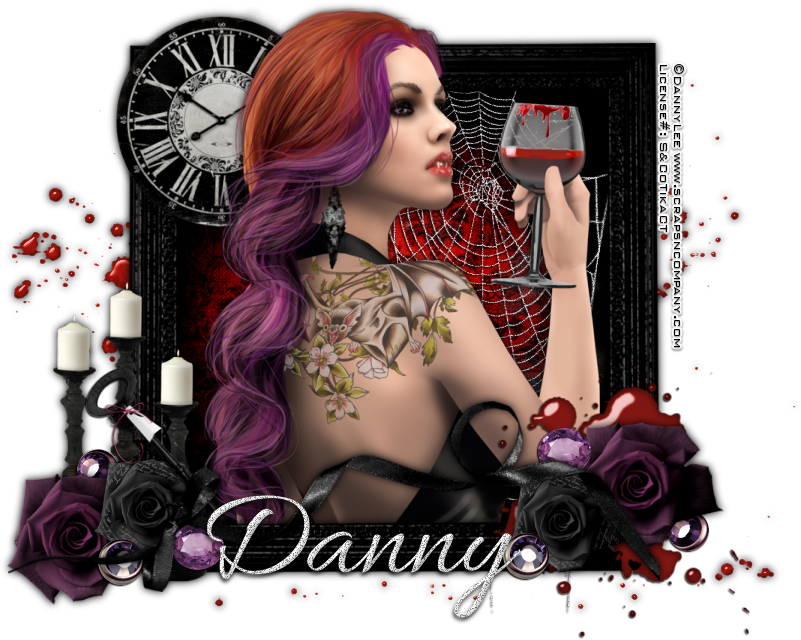
Glamorous Death


Glamorous Death
written 10/28/15

This tutorial is meant purely as a guide. Feel free to make your tag unique by using your own choice of tube and scrap kit. If you want your tag to look just like mine then use the same supplies that I have and use my tag for reference.
This tutorial works best with a tube that has a close up.

Supplies Used:

Tube by Danny Lee called Bloody Mary. You can purchase her at http://scrapsncompany.com/index.php?main_page=product_info&cPath=113_132_219&products_id=14730

Beautiful matching scrap kit by Chili Designz also called Bloody Mary and you can purchase it at http://scrapsncompany.com/index.php?main_page=product_info&products_id=14733

Font of your choice. I am using Allura. You can get it at http://www.fontspace.com/typesetit/allura

Plugins:
NONE

Let's Begin:
Open frame 8 from the kit and shift+D to duplicate.
Close the original.
Re-size to a size you would like.
This will be the base of your tag.
Using your magic wand select the inside of the frame.
Selections modify expand by 10.
Layers new raster layer and drag under the frame.
Open paper 6 and copy and paste into selection on the new layer.
Selections select none.
Make your frame layer active again and using your magic wand select the inside of the frame again.
Selections modify and expand by 4.
Open the close up of your tube and copy and paste as a new layer.
Position within the frame.
Selections invert and using your eraser tool erase any bits that are hanging outside of the frame that you do not want.
Selections select none.
Add a drop shadow to both your tube and your frame.
Ok let's dress this tag up with elements from the kit.
I will list the elements I used and placement is entirely up to you.
If you want your tag to look just like mine then use my tag for reference.
Elements I used:
Blood
Blood4
Gem
Gem2
Key
Bow2
Candles
Clock
Rose
Rose2
Web2
Add your name.
Add your copyright and licensing information.
Crop and save.


Wednesday, July 22, 2015

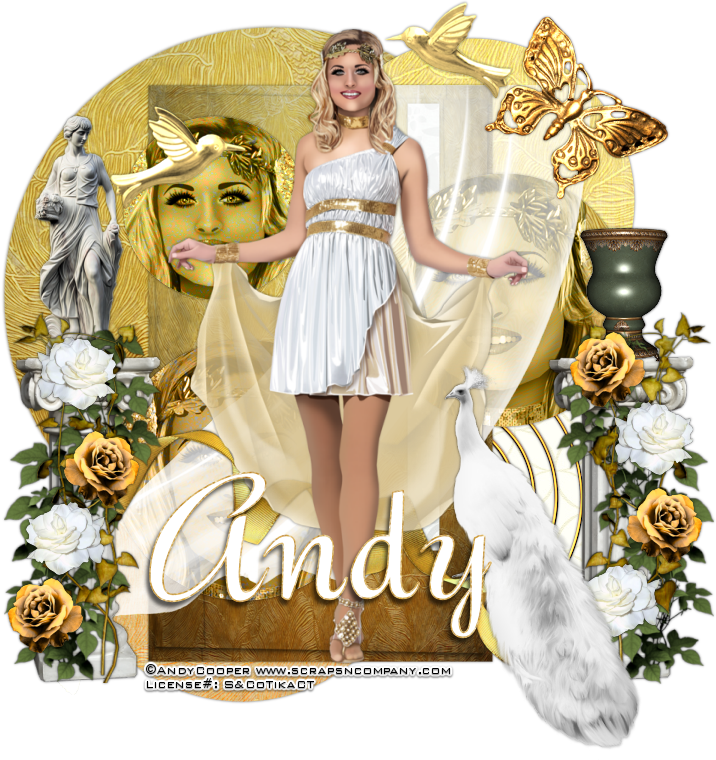
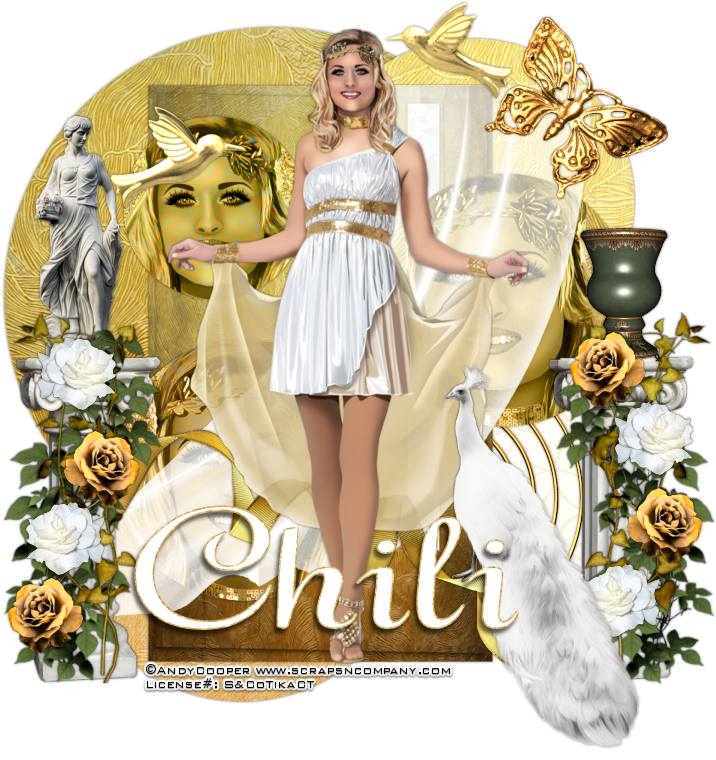
Grecian Garden


Grecian Garden
written 7/22/2015

This tutorial is merely meant as a guide. Feel free to use any supplies (ie tube and scrap kit) that you wish. If you want your tag to look just like mine then use the same supplies and use my tag as a reference.

Supplies Used:


Tag template #4 by Brutal Designs. You can get it at http://thebrutaldesigns.blogspot.com/

Font of your choice. I am using Roselyn. It is a PTU font.

Plugins:
NONE

Let's Begin:
Open your template and shift+D to duplicate.
Close the original.
Remove the creators information and the background layers.
Make your canvas large enough to work with.
Let's Fill each of the layers with paper.
I will explain how to do the first one and you can do the rest using the papers you want to use.
Make the blk circle layer active and selections select all float and defloat.
Open paper 8 and copy.
Paste as a new layer and selections invert and hit delete.
Selections select none.
Repeat with all the other layers using whichever papers you choose.
When you get to the 3 smaller circle layers on top after you paste the papers then also paste the close up of your tube and position her face within the circle.
Change the properties of the tube face layers to luminance legacy.
Add a slight drop shadow to each layer.
Open your full tube and copy and paste as a new layer and position in the center of the tag area.
Add a drop shadow.
I will list the elements I used and placement is completely up to you.
Elements used:
birds
column2
greenery2
greenery6
rose
rose2
statue2
vase2
swirl3
ribbon2
peacock
curtain3
butterfly3
Add a drop shadow to all the elements.
Add your name.
Add your copyright and licensing information.
Crop and re-size.