Showing posts with label Ishika Chowdhury. Show all posts

Saturday, March 12, 2016

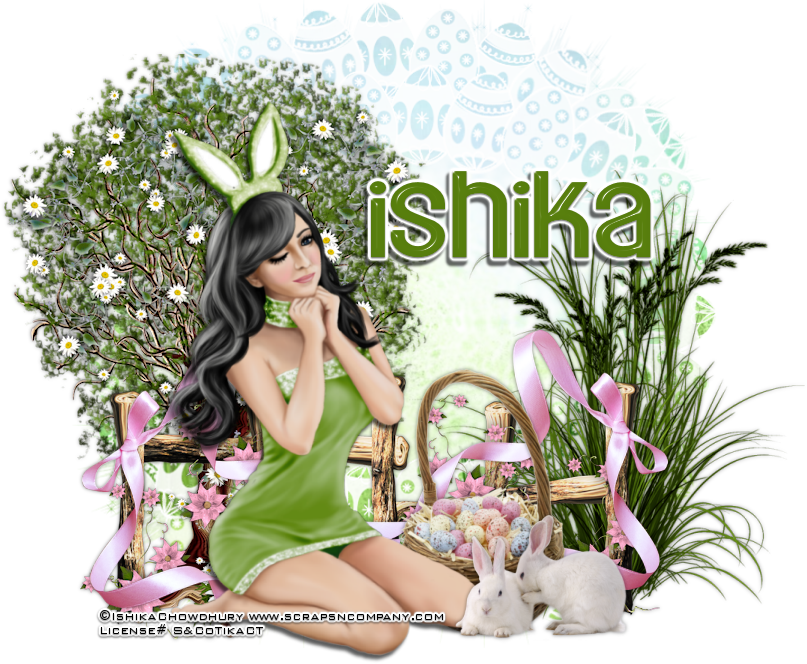
Egg-cited About Easter


Egg-cited About Easter
written 3/12/2016

This tutorial is meant purely as a guide. Feel free to make your tag unique by using your own choice or tube and/or scrap kit. If you want your tag to look just like mine then use the same supplies that I have used. This tutorial also assumes you have some knowledge of paint shop pro and terminology. Any resemblance to any other tag or tutorial is purely coincidental.

Supplies used:


Scrap Kit by Blissful Designs. You can purchase it at http://scrapsncompany.com/index.php?main_page=product_info&products_id=18174

Mask of your choice. I am using one by Leather and Lace. You can get it at http://leatherandlaceads.blogspot.ca/2016/03/eggtacular-easter-free-mask.html

Font of your choice. I am using fishsoup.

Plugins:
NONE

Let's Begin:
Open paper 4 and shift+D to duplicate.
Close the original.
Promote the background layer to a raster layer.
Make your canvas large enough to work with.
Apply your mask to the paper layer.
Delete the mask layer and merge the group.
Open your tube and copy and paste as a new layer.
Re-size if needed.
Add a drop shadow.
Open element 34 and copy and paste as a new layer.
Re-size as needed.
Drag under your tube layer.
Move to the far left side.
Add a drop shadow.
Open element 41 and copy and paste as a new layer.
Drag down under your tube.
Move to the bottom of the tag area.
Add a drop shadow.
Open element 43 and copy and paste as a new layer.
Drag down under the fence.
Re-size by 75%
Place behind the fence post on the far right hand side.
Add a drop shadow.
Open element 62 and copy and paste as a new layer.
Drag under your tube and move to the right behind her leg.
Re-size as needed.
Add a drop shadow.
Open element 68 and copy and paste as a new layer.
Re-size as needed and place to the right side in front of the basket.
Add a drop shadow.
Open element 48 and copy and paste as a new layer.
Re-size as needed.
Place on the fence post to the far left.
Drag under your tube.
Duplicate and image flip horizontal the duplicate.
Move this duplicate to the far right side of the fence.
Add your name.
Add your copyright and licensing information.
Crop and save.


Tuesday, January 12, 2016

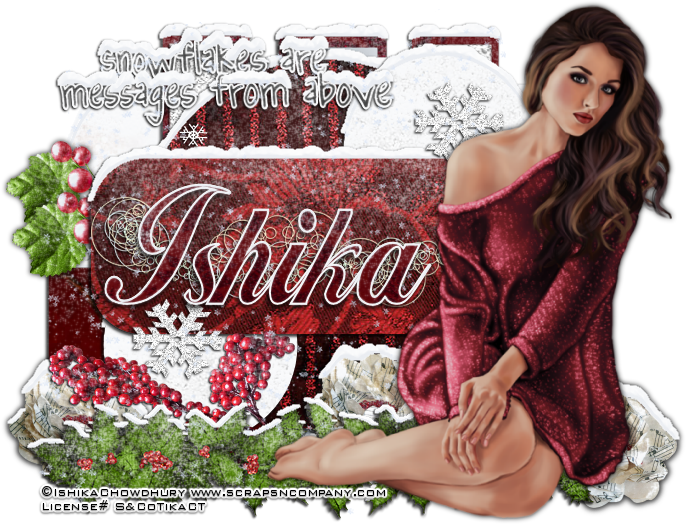
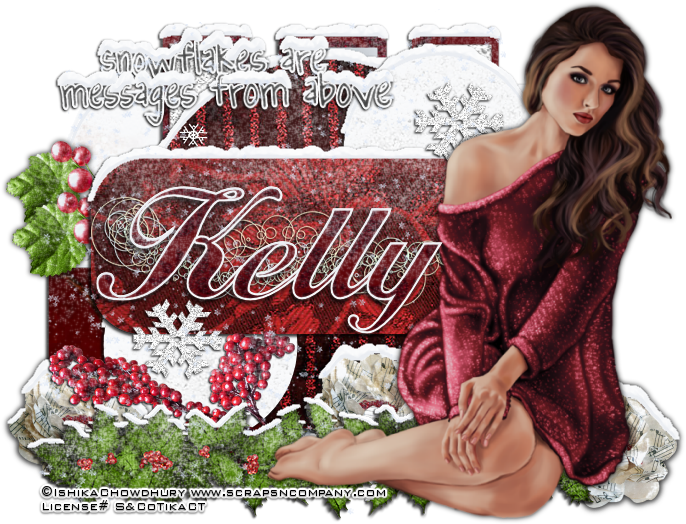
Snowflakes Are Messages


Snowflakes Are Messages
written 1/12/2016

This tutorial is meant purely as a guide. Feel free to make your tag unique by using your own choice of tube and scrap kit. If you want your tag to look just like mine then use the same supplies that I have used.

Supplies Used:

Tube by Ishika Chowdhury. It is called Avril and you can purchase it at http://scrapsncompany.com/index.php?main_page=product_info&cPath=113_425&products_id=16436

Scrap kit by Kizzed By Kelz. It's also called Avril. You can purchase it at http://scrapsncompany.com/index.php?main_page=product_info&products_id=16466

Tag template by LindaNM Rawkin Designs. You can download it at http://nmrawkindesigns.blogspot.com/2013/11/snowflake-templet.html

Font of your choice. I am using John Hancock Regular. You can get it at http://fontzone.net/font-details/johnhancock-regular

Plugins:
Eye Candy 5 Nature Snow Drift

Let's Begin:
Open your tag template and shift+D to duplicate.
Close the original.
Delete the background layer.
Make your canvas large enough to work with.
Using the papers from the kit fill each of the layers.
After you have each layer filled then add a slight drop shadow to each layer.
I use
1 -1 100 2.50 black
Then apply the snow drift plugin with the following settings.

Apply this on every layer of the template.
Add the drop shadow again to all of the layers.
Open your tube and copy and paste as a new layer.
Re-size as needed.
Move to the far right side of the template.
Add a drop shadow.
Open element 7 and copy and paste as a new layer.
Re-size and place along the bottom behind your tube but peeking out.
Duplicate a few times and place along the bottom of the template.
Add the snow drift plugin.
Apply a drop shadow.
Open element 14 and copy and paste as a new layer.
Re-size.
Image flip horizontal.
Move to the far left side of the template and drag down under the main oblong layer of the template.
Add a drop shadow and apply the snow drift plugin.
Duplicate and move down and to the right a bit.
Open element 26 and copy and paste as a new layer.
Re-size so it fits within the oblong layer of the template.
Add a drop shadow.
Open element 41 and copy and paste as a new layer.
Drag down under your tube and move to the bottom.
Apply the snow drift plugin and add a drop shadow.
Open element 99 and copy and paste as a new layer.
Drag down to just above your template.
Re-size so it fits over the top of the template.
Open element 104 and copy and paste as a new layer.
Re-size and move down to below the garland and to the left side of the tag.
Add a drop shadow and the snow drift plugin.
Add your name.
Add your copyright and licensing information.
Crop and save.


Sunday, December 6, 2015

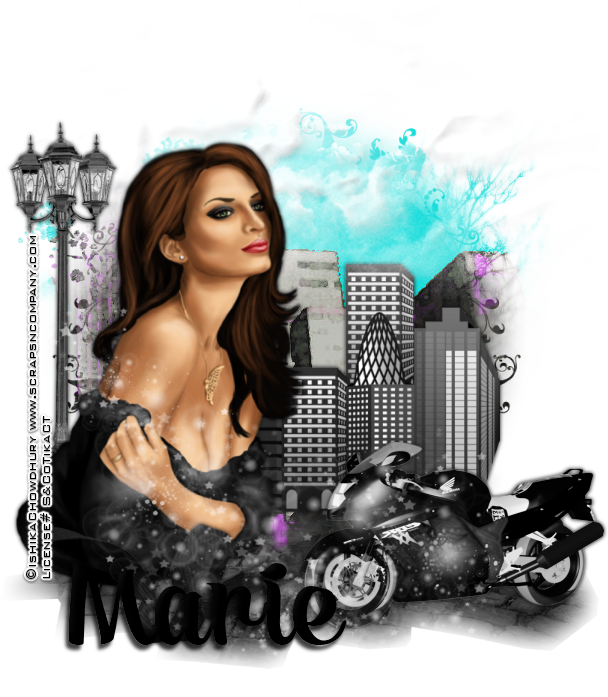
Affair in the City


Affair in the City
written 12/6/2015

This tutorial is purely meant as a guide. Feel free to make your tag unique by using your own choice of tube and scrap kit. If you want your tag to look just like mine then use the same supplies that I have used.

Supplies Used:
Tube by Ishika Chowdhury. It is part of the Madness Collab at Scraps and Company. You can purchase the collab or get it free with a $10.50 purchase. You can find the collab at http://scrapsncompany.com/index.php?main_page=product_info&cPath=144&products_id=15830

The matching scrap kit is by Mariel Designs and is called Rock City. It is also part of the collab.

Mask of your choice. I am using mask #53 from Moonbeams and Spiderwebs. You can get it at http://moonbeamsandspiderwebs.blogspot.com/

Font of your choice. I am using Anggie. This is a PTU font so use whatever font you choose.

Plugins:
NONE

Let's Begin:
Open paper 3 and shift+D to duplicate.
Close the original.
Promote the background layer to a raster layer.
Make your canvas large enough to work with.
Apply your mask to the paper layer.
Delete the mask layer and merge the group.
Open your tube and copy and paste as a new layer.
Re-size as needed.
Position on your tag to the far left side.
Add a drop shadow.
Open element 43 and copy and paste as a new layer and drag to the bottom.
Move down so it is peeking out of the bottom of the tag.
Open element 48 and copy and paste as a new layer.
Drag behind your tube and move to the lower part of the masked area.
Re-size as needed.
Add a drop shadow.
Open element 49 and copy and paste as a new layer.
Move down below your tube.
Move to the far left side of the tag.
Add a drop shadow.
Open element 51 and copy and paste as a new layer.
Drag under the light post layer.
Move to the top part of the tag.
Open element 31 and copy and paste as a new layer.
Re-size by 50%.
Image flip horizontal.
Move to the far right side at the bottom in the pavement.
Add a drop shadow.
Open element 34 and copy and paste as a new layer.
Move to the bottom part of the tag.
Lower the opacity of this layer to 60.
Open element 56 and copy and paste as a new layer.
Drag down under the bike.
Place along the bottom of the tag.
Add a drop shadow.
Add your name.
Add your license and copyright information.


Tuesday, February 24, 2015

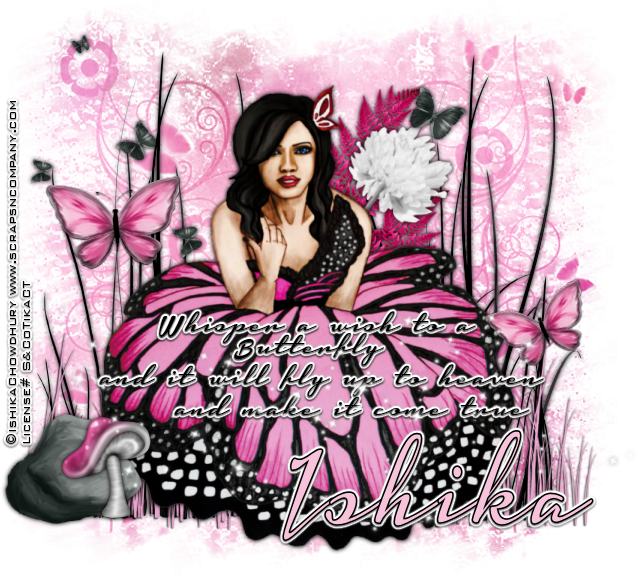
Whisper A Wish


Whisper A Wish
written 2/24/2015

Supplies Needed:


Scrap Kit by Bibi's Collection. You can get it at http://scrapsncompany.com/index.php?main_page=product_info&products_id=8075

Mask of your choice. I am using a mask by Maria's Place . You can get it at http://j2fan.blogspot.com/2014/04/candied-butterflies-blogtrain.html Any of these masks will work well but I am using mask #4.

Font of your choice. I am using Housegrind. You can get it at http://www.dafont.com/housegrind.font

Lets Begin:
Open a new blank canvas that will give you plenty of room to work with.
You can crop and re-size when you are done.
Open paper 8 and re-size to a nice size to apply your mask to.
Copy and paste as a new layer in the center of your blank canvas.
Apply your mask.
Delete the mask layer and merge the group.
Duplicate the mask layer.
Merge the 2 mask layers together.
Open your tube and copy and paste as a new layer.
Re-size her so she will fit nicely in the center of the mask.
Add a drop shadow.
Open element 15 and copy and paste as a new layer.
Move to the far left side behind your tube but peeking out.
Duplicate.
Move the copy to the far right side.
Merge these 2 layers together.
Add a drop shadow.
Open element 16 and copy and paste as a new layer.
Re-size so it will fit nicely along with the other grass element.
Place along the bottom behind your tube but in front of the black grass.
Add a drop shadow.
Open element 17 and re-size by 50% 2x and then again by 75%.
Copy and paste as a new layer at the top.
Place on the far bottom left.
Add a drop shadow.
Open element 22 and re-size by 50% 2x and then again by 60%.
Copy and paste as a new layer and place in the lower left in front of the rock.
Add a drop shadow.
Open element 24 and re-size by 50% 2x.
Copy and paste as a new layer and move under your tube.
Place so it is peeking out the right side by her head.
Duplicate and move down and to the left a bit.
Add a drop shadow to both.
Open element 57 and re-size by 75% 2x.
Using your eraser remove bits of the stem so it is not so long.
Copy and paste as a new layer and move under your tube.
Place on the right hand side in front of the pink leaves.
Add a drop shadow.
Open element 77 and re-size by 75%.
Copy and paste as a new layer and move to the far left side.
Using your font place a saying along the front of the tag on the skirt of the tube.
Open element 99 and re-size by 50%.
Copy and paste as a new layer and place to the left of the tube.
Duplicate.
Re-size by 75% and using your pick tool rotate to the left a bit.
Adjust sharpen.
Move this one to the lower right by your text.
Add a drop shadow to both.
Open element 104 and re-size so it will fit nicely along the bottom of the tag.
Copy and paste and move to the bottom.
Add your name.
Add your copyright and licensing information.
Crop and save.