Showing posts with label Template. Show all posts

Sunday, July 3, 2016

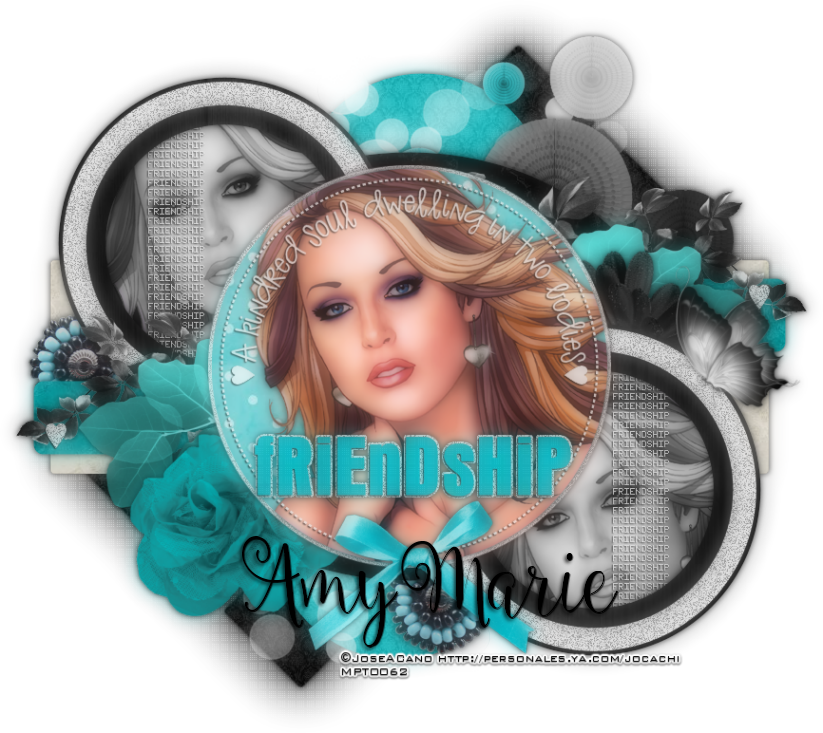
Friendship


Friendship
Written 7/3/2016
This tutorial is meant purely as a guide. Feel free to use your own choice of tube or scrap kit to make your tag unique. If you want your tag to look just like mine them use the same supplies I have used. This tutorial assumes you have a knowledge of paint shop pro. Any resemblance to any other tag or tutorial is completely coincidental.
Supplies Used:
Tube of your choice. Preferably a close-up for this tutorial. I am using the work of Jose Cano. I purchased this tube at MPT when they were in business but you can now get Jose’s tubes at http://canotubes.com/
Scrap kit is by Amy Marie’s Kits. The kit is called Turquoise. You can get the kit at http://amymarieskits.com/store/
Template is by Sylly Creationz and Dangerously Delicious Designz. You can download the template at http://syllycreationz.blogspot.com/2016/03/collaboration-templates-friendship.html
Font of your choice. I am using Ballerina Script. You can download it at http://www.dafont.com/ballerina-script.font?text=Ford&psize=l
Plugins:
Xero Porcelain
Penta.com Dot and Cross (optional)
Drop shadow used throughout:
0 0 75 9.50 black

Let's Begin:
Open the tag template and shift+D to duplicate. Close the original. Remove the info layer. Make your canvas large enough to work with. Fill each of the layers on the template with papers from the kit or colors/gradients of your choice. Once you are done add a drop shadow to each layer.
On the smaller blue circles open selections select all float and de-float. Open your tube and copy and paste as a new layer. Position within the selected area. Selections invert and hit delete. Selections select none. Apply the Xero Porcelain plugin using the default settings.
When you get to the main center circle layer open your tube and copy and paste as a new layer again. Center within the circle. Erase any bits you do not want hanging out. Apply the Xero Porcelain plugin again.
On the word Friendship I applied Penta Dot and Cross with the top value set to 20. This is completely up to you but I wanted it to have a little texture.
On the bottom rectangle layers. Duplicate. On the bottom layer adjust blur Gaussian blur and blur at 25.00. Apply the Penta.com Dot and Cross plugin again but change the top value to 140.
Now let’s dress the tag up with elements from the kit. I will list the elements I used. Feel free to use other elements to make your tag unique. Placement of the elements is completely up to you. If you want your tag to look just like mine then use my tag for reference.
Elements I used:
1
13
19
28
29
61
68
103
138
Merge all layers visible. Duplicate. On the top layer go to adjust blur Gaussian blur by 10.00. Lower the opacity of this blurred layer to 45.
Add your name.
Add your copyright and licensing information.
Crop and save.


Monday, June 20, 2016

Summer Paradise


Summer Paradise
Written 6/19/2016
This tutorial is meant purely as a guide. Feel free to use your own choice of tube or scrap kit to make your tag unique. If you want your tag to look just like mine them use the same supplies I have used. This tutorial assumes you have a knowledge of paint shop pro. Any resemblance to any other tag or tutorial is completely coincidental.
Supplies Used:
Tube of your choice. I am using one called Hot Summer by Very Many. You can purchase this tube at http://verymanytubes.com/
Scrap Kit is called Summer Rose by Amy Marie’s Kits. You can purchase this kit at http://amymarieskits.com/store/
Tag Template is by Millie’s PSP Madness. You can get the template at http://milliespspmadness.blogspot.com.au/2015/08/template-779-and-tag-with-laguna-and.html
Font of your choice. I am using Fullsize Sans. You can get it at http://www.1001freefonts.com/fullsize_sans.font
Plugins:
Xero Porcelain
Penta.com Dot and Cross
Drop shadow used throughout:
0 0 85 6.00 black

Let's Begin:
Open the tag template and shift+D to duplicate. Close the original. Remove the following layers : temp by millie and background. Make your canvas large enough to work with.
Create a gradient from either elements in the kit or your tube. Using a darker and lighter color. This is what we will fill our template with.
Make Layer 1 active and selections select all float and defloat. Layers new raster layer and flood fill with your gradient. Selections select none. Delete the original layer. Adjust Add/Remove noise and add noise with the following settings. Uniform and Monochrome and 65%.
Make Layer 2 active and selections select all float and defloat. Layers new raster layer and flood fill with the darker color. Leave selected. Open your tube and copy and paste as a new layer and position within the selected area. Selections invert and hit delete. Selections select none. Delete the original layer. Change the properties of the tube to luminance legacy. Apply the Xero Porcelain filter using the default settings. Apply the penta.com Dot and Cross filter and change the top value to 40.
Make Layer 3 active and selections select all float and defloat. Layers new raster layer and flood fill with the darker color. Selections select none and delete the original layer.
Make layer 4 active and selections select all float and defloat. Layers new raster layer and fold fill with the lighter color. Selections select none and delete the original layer.
Make layer 5 active and selections select all float and defloat. Layers new raster layer and flood fill with your gradient again. Leave selected. Open your tube and copy and paste as a new layer. Re-size if needed. Position however you want in the selected area. Erase any bits hanging out that you do not want. Selections select none. Delete the original raster 5 layer. Make the gradient filled layer active and apply the Penta.com Dot and Cross filter again using the same settings as before.
Make layer 6 active and apply noise same as before.
Make layer 7 active and selections select all float and defloat. Layers new raster layer. Flood fill with white. Selections select none. Delete the original layer. Add noise same as before.
Now add a drop shadow to each layer.
Now let’s dress the tag up with elements from the kit. I will list the elements I used. Feel free to use other elements to make your tag unique. Placement of the elements is completely up to you. If you want your tag to look just like mine then use my tag for reference.
Elements I used:
24
31
32
35
39
43
49
54
74
Add your name.
Add your copyright and licensing information.
Crop and save.


Monday, June 13, 2016

Four Legged Love


Four Legged Love
Written 8/9/2016
This tutorial is meant purely as a guide. Feel free to use your own choice of tube or scrap kit to  make your tag unique. If you want your tag to look just like mine them use the same supplies I have used. This tutorial assumes you have a knowledge of paint shop pro. Any resemblance to any other tag or tutorial is completely coincidental.
Supplies Used:
Tube of your choice. I am using a tube called Furry Friend by Very Many. You can purchase this tube at http://verymanytubes.com/
The scrap kit I am using is called French Country by Amy Marie’s Kits. You can purchase this kit at http://amymarieskits.com/store/
Tag Template of your choice or the one I am using template #10 by Rachel Designs. You can download it at https://racheldesignsblog.wordpress.com/2016/05/17/tag-templates-10-12/
Font of your choice. I am using Cinderella. This is a PTU font.
Plugins:
NONE
Drop shadow used throughout:
0 0 55 15.00 black
Let's Begin:
Open the tag template and shift+D to duplicate. Close the original. Remove the creators layer and the white background layer. Merge the 2 purple layers together. Now fill each of the layers of the template with papers from the kit. Add a drop shadow to each layer when you are done.
Open your tube and copy and paste as a new layer. Re-size as needed. Place in front of the template. Add a drop shadow.
Open element 36 and copy and paste as a new layer. Drag under your tube. Place so it is centered behind your tube and at the bottom. Add a drop shadow.
Open element 60 and copy and paste as a new layer. Place in the top left corner. Add a drop shadow.
Open element 104 and copy and paste as a new layer. Drag to the bottom. Place in the top left corner so it is peeking out behind the template. Duplicate and image flip vertical. Move to the bottom left corner of the template. Merge these 2 layers together. Duplicate and image flip horizontal. Move to the far right of the template. Add a drop shadow to both of them.
Open element 69 and copy and paste as a new layer. Re-size by 50%. Move to the top left corner. Drag to just above the leaves. Duplicate several times and move randomly around the template. Add a drop shadow to each one.
Open element 29 and re-size by 75%. Copy and paste as a new layer. Move to the far right and add a drop shadow.
Open element 106 and re-size by 75%. Copy and paste as a new layer. Drag under the tube. Move so it is coming out from behind the tube to the right. Add a drop shadow.
Open element 2 and copy and paste as a new layer. Move to the bottom of the tag.
Add your name.
Add your copyright and licensing information. 

Crop and save. 

Wednesday, April 27, 2016

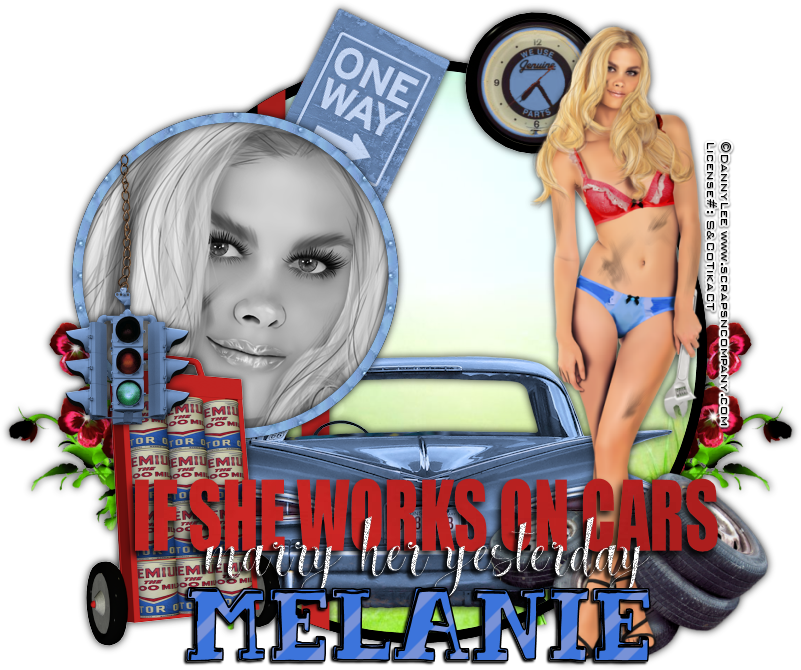
If She Works On Cars


If She Works On Cars
written 4/26/2016

This tutorial is meant purely as a guide. Feel free to make your tag unique by using your own choice of tube and scrap kit. If you want your tag to look just like mine then use the same supplies that I have used. This tutorial assumes you have knowledge of paint shop pro. Any resemblance to any other tag or tutorial is purely coincidental.

Supplies Used:

Tube is called Sexy Mechanic and she is by Danny Lee. You can purchase her at http://scrapsncompany.com/index.php?main_page=product_info&cPath=113_132_219&products_id=19074

Fun matching scrap kit also called Sexy Mechanic is by Blissful Designs. You can purchase this kit at http://scrapsncompany.com/index.php?main_page=product_info&products_id=19084

Tag Template by me. You can download this template at https://app.box.com/s/zgomi6cuqgzroid7916be204ggm9gb1b

Font of your choice. I am using Two and Two. It is a PTU font.

Plugins:
NONE

Drop shadow used throughout:
0 0 85 12.00 black

Let's Begin:
Open the tag template and shift+D to duplicate.
Close the original.
Delete the credits layer.
Make your canvas large enough to work with.
Make the black circle layer active.
Selections select all float and defloat.
Selections modify and contract by 10.
Layers new raster layer.
Open paper 2 and copy and paste into selection.
LEAVE SELECTED.
Open element 26 and copy and paste as a new layer.
Drag above the stripes layer.
Move to the bottom center of the selected circle.
Once in position selections invert and hit delete.
Selections select none.
Make the stripes layer active and selections select all float and defloat.
Open paper 4 and copy and paste as a new layer.
Selections invert and hit delete.
Selections select none.
Delete the original stripes layer.
Make the grey circle layer active and selections select all float and defloat.
Open paper 3 and copy and paste as a new layer.
Selections invert and hit delete.
LEAVE SELECTED.
Selections invert again.
Selections modify and contract by 10.
Hit delete.
Open your tube and copy and paste as a new layer.
Position so her face is within the framed area.
Selections invert and hit delete.
Selections select none.
Adjust hue and saturation colorize and change both values to 0.
Make the top wordart layer active and selections select all float and defloat.
Open paper 4 again and copy and paste as a new layer.
Selections select none.
Delete the original layer.
Add a drop shadow to all of the layers this far.
Open your tube and copy and paste as a new layer.
Re-size until just slightly larger than the large circle.
Drag down under the wordart layers.
Move to the far right side and add a drop shadow.
Now lets dress this up with some of the elements from the kit.
I will list the elements I used and placement is completely up to you.
If you want your tag to look just like mine then use the same elements I have and use my tag for reference.
Feel free to use any other elements to make your tag unique.
Elements I used:
16
21
22
24
64
66
Add your name.
Add your copyright and licensing information.

Crop and re-size.
Save.


Tuesday, January 12, 2016

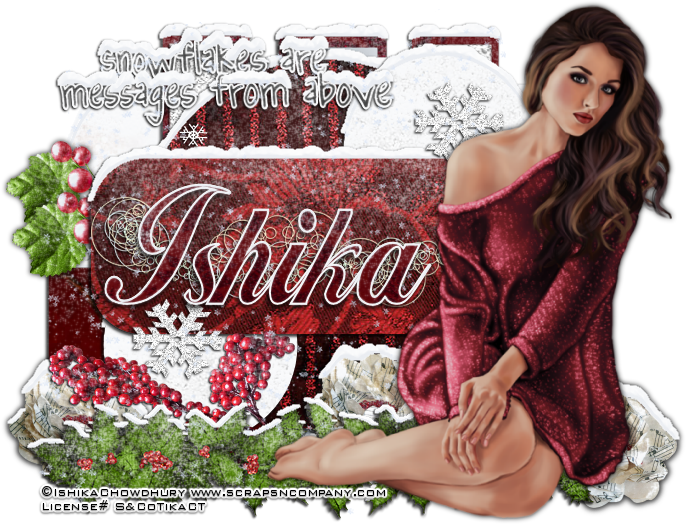
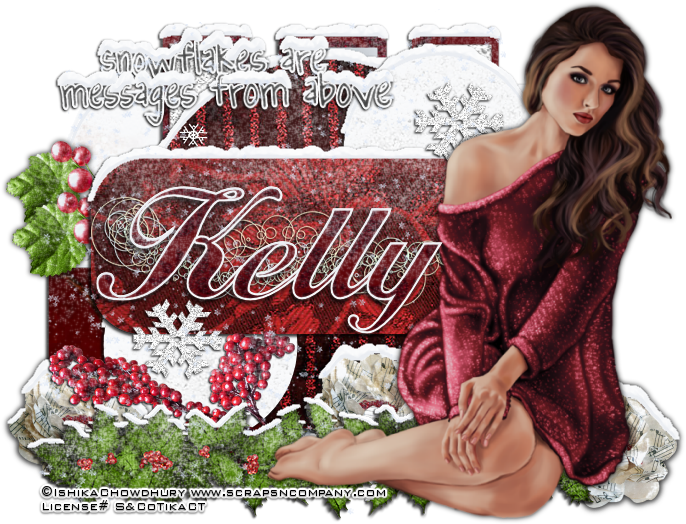
Snowflakes Are Messages


Snowflakes Are Messages
written 1/12/2016

This tutorial is meant purely as a guide. Feel free to make your tag unique by using your own choice of tube and scrap kit. If you want your tag to look just like mine then use the same supplies that I have used.

Supplies Used:

Tube by Ishika Chowdhury. It is called Avril and you can purchase it at http://scrapsncompany.com/index.php?main_page=product_info&cPath=113_425&products_id=16436

Scrap kit by Kizzed By Kelz. It's also called Avril. You can purchase it at http://scrapsncompany.com/index.php?main_page=product_info&products_id=16466

Tag template by LindaNM Rawkin Designs. You can download it at http://nmrawkindesigns.blogspot.com/2013/11/snowflake-templet.html

Font of your choice. I am using John Hancock Regular. You can get it at http://fontzone.net/font-details/johnhancock-regular

Plugins:
Eye Candy 5 Nature Snow Drift

Let's Begin:
Open your tag template and shift+D to duplicate.
Close the original.
Delete the background layer.
Make your canvas large enough to work with.
Using the papers from the kit fill each of the layers.
After you have each layer filled then add a slight drop shadow to each layer.
I use
1 -1 100 2.50 black
Then apply the snow drift plugin with the following settings.

Apply this on every layer of the template.
Add the drop shadow again to all of the layers.
Open your tube and copy and paste as a new layer.
Re-size as needed.
Move to the far right side of the template.
Add a drop shadow.
Open element 7 and copy and paste as a new layer.
Re-size and place along the bottom behind your tube but peeking out.
Duplicate a few times and place along the bottom of the template.
Add the snow drift plugin.
Apply a drop shadow.
Open element 14 and copy and paste as a new layer.
Re-size.
Image flip horizontal.
Move to the far left side of the template and drag down under the main oblong layer of the template.
Add a drop shadow and apply the snow drift plugin.
Duplicate and move down and to the right a bit.
Open element 26 and copy and paste as a new layer.
Re-size so it fits within the oblong layer of the template.
Add a drop shadow.
Open element 41 and copy and paste as a new layer.
Drag down under your tube and move to the bottom.
Apply the snow drift plugin and add a drop shadow.
Open element 99 and copy and paste as a new layer.
Drag down to just above your template.
Re-size so it fits over the top of the template.
Open element 104 and copy and paste as a new layer.
Re-size and move down to below the garland and to the left side of the tag.
Add a drop shadow and the snow drift plugin.
Add your name.
Add your copyright and licensing information.
Crop and save.