Fall Beauty
Written 8/20/2017
This tutorial is meant purely as a guide. Feel free to
use your own choice of tube or scrap kit to make your tag unique. If you want
your tag to look just like mine then use the same supplies I have used. This
tutorial assumes you have a knowledge of paint shop pro. Any resemblance to any
other tag or tutorial is completely coincidental.
Supplies Used:
Tube Of your choice. Preferably one with a close up. I am
using a commission by Jose Cano that was created for The Taggers Lounge forum.
This tube is FTU by being a member at The Taggers Lounge and participating and
earning loot to get her. You can find the forum at http://thetaggerslounge.forumotion.com/
. You must have a TTL license number to use this tube. You can find Jose’s
awesome work at https://canotubes.com/
Scrap Kit is called Autumn Skies by Anorie and again
is an exclusive to The Taggers Lounge forum. Come join us and get some
goodies!!! You can also find Anorie at https://anorie.blogspot.de/
Mask of your choice. I am using mask #353 by
WeeScotsLass Creations. You can get her masks at http://weescotslasscreations.blogspot.com/2009/04/masks.html
Font of your choice. I am using DJB Liz.
Plugins: (plugins are most generally optional)
Penta.com Dot and Cross
Let's Begin:
Open Frame02 and shift +D to duplicate. Close the
original. Re-size as you wish. Make your canvas large enough to work with.
Using your magic wand select the inside of the frame. Selections modify and
expand by 5. Layers new raster and drag under the frame. Open paper03 and copy
and paste into selection. Copy and paste the close up of your tube as a new
layer above the paper layer. Position within the frame and selections invert
and hit delete. Selections select none. Change the properties of this layer to
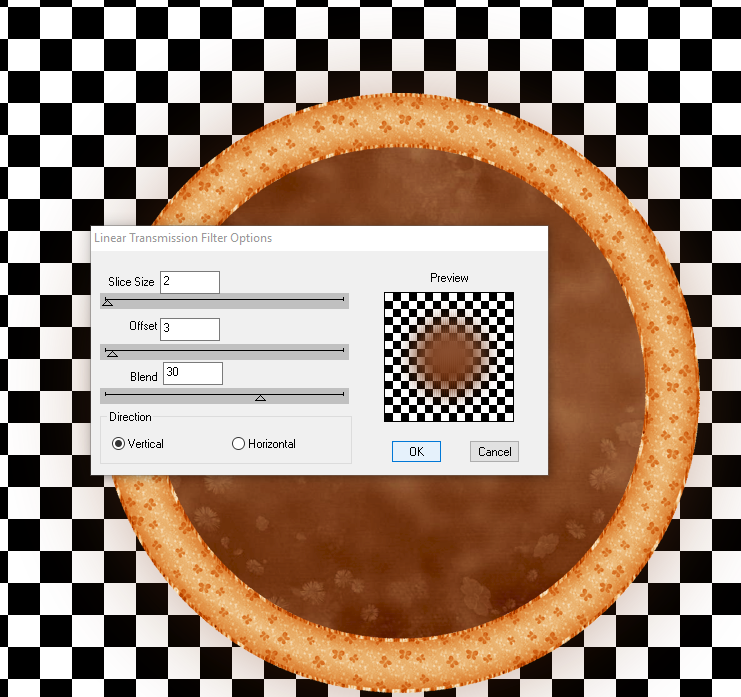
luminance legacy. Apply the Penta.com Dot and Cross filter using the following
settings:
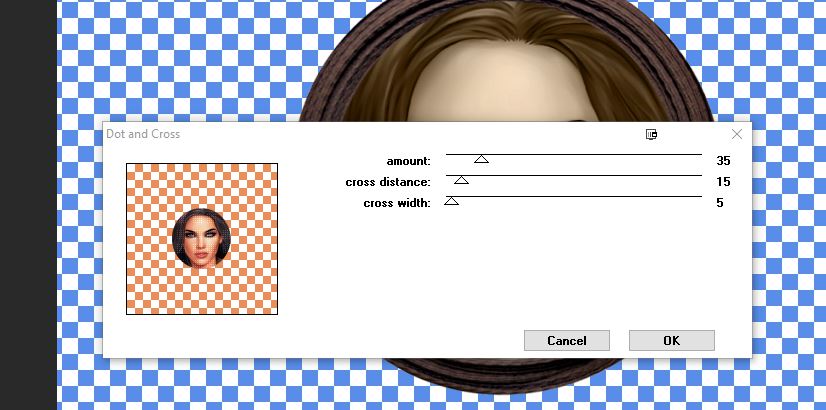
Add a drop shadow to the frame.
Open paper02 and copy and paste as a new layer and
drag to the bottom. Apply the mask of your choice. Delete the mask layer and
merge the group.
Open your full-sized tube and copy and paste as a new
layer. Re-size as needed. Place to the far right of the frame. Add a drop
shadow.
Open element 10 and copy and paste as a new layer. Move
to the bottom of your tag and duplicate many times and place along the bottom.
Make it as full as you want it to be. Add a drop shadow to each one and merge
them together to help keep your layer palette organized.
Open element 07 and copy and paste as a new layer.
Re-size as needed. Place to the far left and drag down to just above your mask.
You want it behind your frame but also showing out to the left side and top.
Add a drop shadow.
Open element 11 and copy and paste as a new layer.
Place at the base of the tree. Add a drop shadow.
Open element 06 and copy and paste as a new layer.
Resize as needed. Duplicate a few times and place along the bottom around the
pots and tree and your tube. Add a drop shadow to each.
Open element 04 and copy and paste as a new layer.
Place along the bottom and drag to just above your leaves. Add a drop shadow.
Open elements 02 and 03 and copy and paste as a new
layer and re-size. Place in front of the pots. Add a drop shadow to each one.
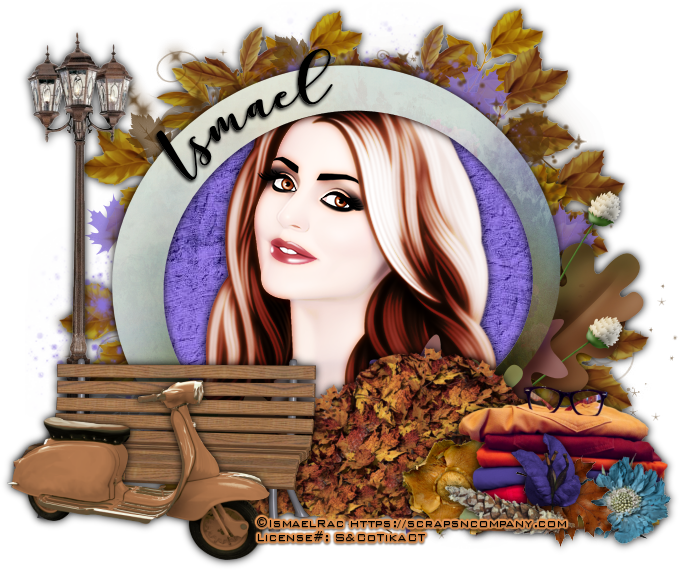
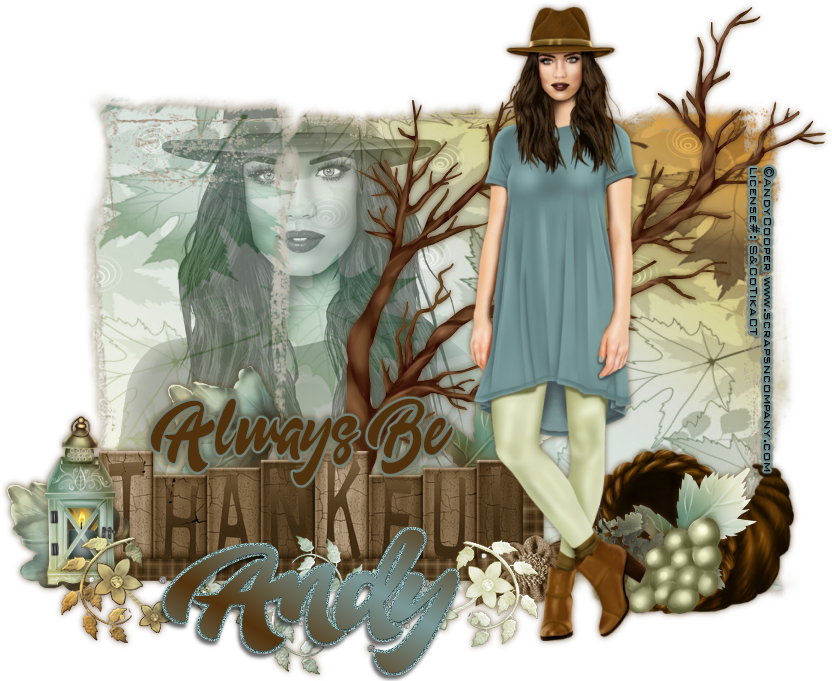
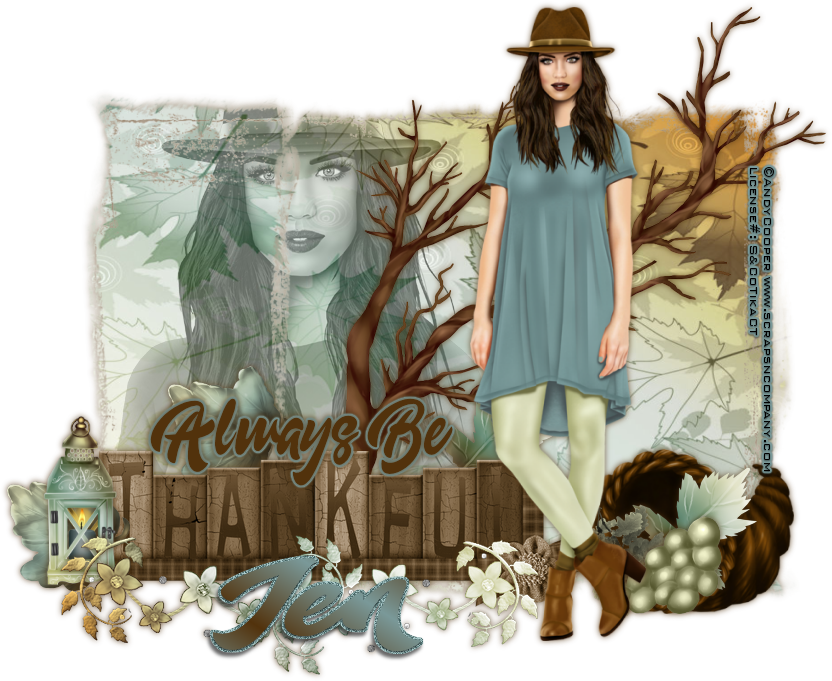
Add your name.
Add your copyright and licensing information.
Crop and save.