Showing posts with label Misticheskaya. Show all posts

Friday, October 14, 2022

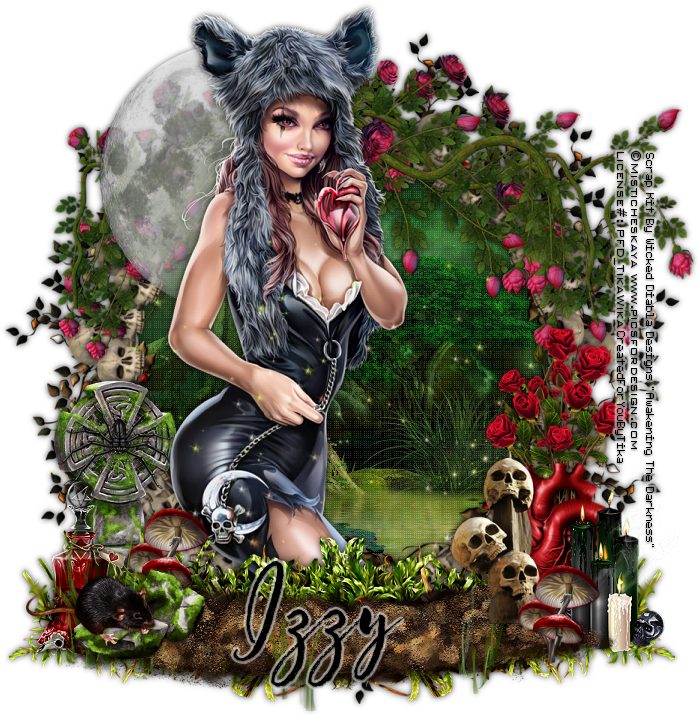
Under the Light of the Full Moon


Under the Light of the Full Moon

Written 10/13/2022

This tutorial is meant purely as a guide. Feel free to use your own choice of tube or scrap kit to make your tag unique.

If you want your tag to look just like mine, then use the same supplies I have used. This tutorial assumes you have a knowledge

of paint shop pro. Any resemblance to any other tag or tutorial is completely coincidental.


Supplies Used:

Tube of your choice. The tube I am using is by Misticheskaya. It is called Werewolf and you can purchase it at http://picsfordesign.com You must have a license to use this artwork.

Scrap kit is by Wicked Diabla Designs. It is called Awakening the Darkness. You can purchase this kit at her store. www.wickeddiabladesigns.com

Font of your choice. I am using Better Step.

Plugins: (plugins are most generally optional)

Penta Dot and Cross

Xero Porcelain

Let's Begin:

Open element 63 and shift+D to duplicate. Close the original so you can use it again in the future.

Resize by 75% and then make your canvas large enough to work with.

Using your magic wand to select the inside of the frame. Go to selections modify and expand by 25. Layers new raster layer. Drag this under the frame.

Open the paper of your choice. I used paper 11. Copy and paste into selection. Selections select none. Duplicate this paper layer and change the properties of the top layer to Screen. Make your bottom paper layer active and apply Penta plugin Dot and Cross using the default settings. Apply the Xero Porcelain plugin using the default settings.

Make the frame layer active and add a drop shadow of your choice.

Open element 17 and copy and paste as a new layer. Resize by 75%. Move to the top of your frame. Add a drop shadow.

Open your tube and copy and paste as a new layer. Resize as needed. Add a drop shadow.

Now let’s dress the tag up with elements from the kit. I will list the elements I used. Feel free to use other elements to make your tag unique. Placement of the elements is completely up to you. If you want your tag to look just like mine, then use my tag for reference.

Elements I used:

4

5

28

35

36

40

51

66

67

70

81

82

96

Add your name.

Add your copyright and licensing information.

Crop and save your tag.

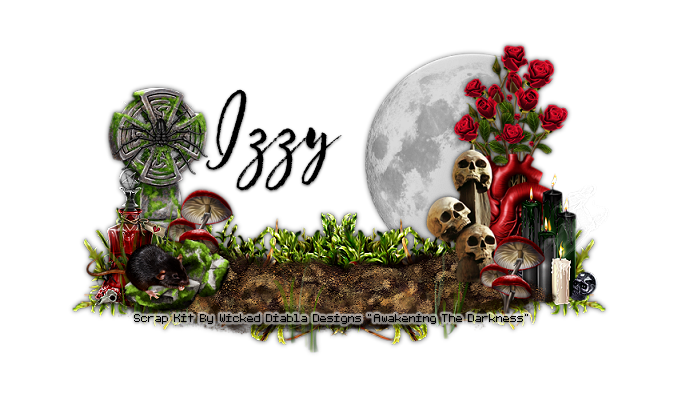
If you want to make yours into a set such as I have then simply use elements either from your tag or other elements from the kit to create a small banner type tag and also an avatar.

Thank you for trying my tutorial.

♥♥♥


Thursday, September 15, 2022

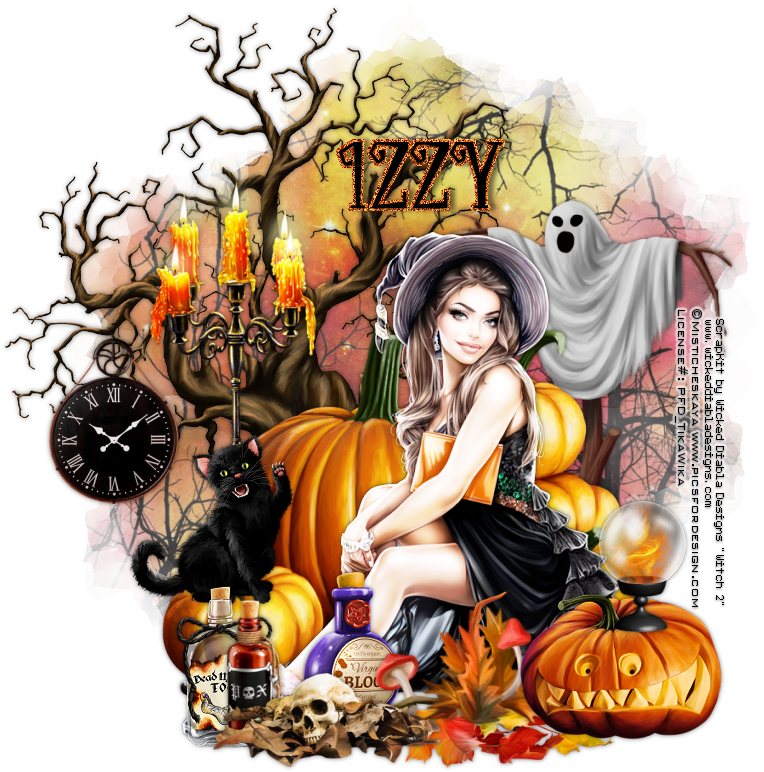
Witching Time


Witching Time

Written 9/14/2022

This tutorial is meant purely as a guide. Feel free to use your own choice of tube or scrap kit to make your tag unique.

If you want your tag to look just like mine, then use the same supplies I have used. This tutorial assumes you have a knowledge

of paint shop pro. Any resemblance to any other tag or tutorial is completely coincidental.


Supplies Used:

Tube of your choice. Preferably a tube that is sitting. I am using a tube by Misticheskaya. This tube is called “Megan”. You can purchase this tube at http://picsfordesign.com

Scrap Kit is by Wicked Diabla Designs. It is called “Witch 2”. You can purchase this kit at www.wickeddiabladesigns.com

Font of your choice. I am using Witches Party.

Mask of your choice. I am using mask #220 by WeeScotslass Creations. You can find her awesome masks at http://weescotslasscreations.blogspot.com/2009/04/masks.html

Plugins: (plugins are most generally optional)


Let's Begin:

Open element 38 from the kit. Shift+D to duplicate. Close the original. Make your canvas large enough to give you room to work with. You can resize and crop at the end when you are done. I usually work on a canvas that is 900x900.

Move the pumpkins to the lower part of your canvas. Not too far down but just lower. Resize if you need to.

Copy and paste your tube onto your working canvas. Resize as needed so it will sit in front of the pumpkins.

Duplicate your tube. On the top tube apply the Xero Radiance plugin using the default settings. Change the property of this layer to screen. Merge the top layer down.

Add a drop shadow to the pumpkins and your tube.

Open paper 17 and copy and paste as a new layer. Drag to the bottom. Apply the mask of your choice. Delete the mask layer and merge the group.

Now let’s dress the tag up with elements from the kit. I will list the elements I used. Feel free to use other elements to make your tag unique. Placement of the elements is completely up to you. If you want your tag to look just like mine, then use my tag for reference.

Elements I used:

13

32

33

34

36

39

40

41

42

44

92

97

Add your name.

Add your copyright and licensing information.

Crop and resize if you wish.

Save your tag and that’s it you are done!

Thanks for trying my tutorial

♥♥♥


Monday, November 7, 2016

Gentle Autumn

This tutorial is written exclusively for The Taggers Lounge forum. You can find the tutorial by joining us at http://thetaggerslounge.forumotion.com/


Saturday, August 20, 2016

Wine A Little


Wine A Little
Written 8/20/2016
This tutorial is meant purely as a guide. Feel free to use your own choice of tube or scrap kit to make your tag unique. If you want your tag to look just like mine them use the same supplies I have used. This tutorial assumes you have a knowledge of paint shop pro. Any resemblance to any other tag or tutorial is completely coincidental.
Supplies Used:
Tube of your choice. I am using a tube called Patty by Misticheskaya. You can purchase this tube at http://picsfordesign.com
The awesome scrap kit is by Amy Marie;s Kits and it is called Vintage Grapes. You can purchase this kit at http://amymarieskits.com/store/
Mask of your choice. I am using mask #109 by Vix. You can get her masks at http://www.freewebs.com/vixpsp/
Font of your choice. I am using Carioca. You can download it at http://www.1001fonts.com/carioca-font.html
Plugins:
Penta.com Color Dot
Drop shadow used throughout:
0 0 80 12.00 black

Let's Begin:
Open element 13 and shift+D to duplicate. Close the original. Re-size by 75%. Make your canvas large enough to work with. Using your magic wand select the inside of the frame. Selections modify and expand by 5. Open paper 12 and copy and paste as a new layer. Drag under the frame. Selections invert and hit delete. Selections invert again. Open your tube and copy and paste as a new layer. Position her face within the frame so it fills the whole frame. Selections invert and hit delete again. Selections select none. Change the properties of this layer to luminance legacy. Apply the penta.com color dot filter and change the top value to 30. Add a drop shadow to the frame. Merge these 3 layers together. Image free rotate to the left 24 degrees. Adjust sharpen. Move this to the top and left.
Open your tube again and copy and paste as a new layer. Re-size as needed and move to the right side of the frame. Add a drop shadow to the tube.
Open the paper of your choice and copy and paste as a new layer and drag to the bottom. Apply the mask of your choice. Delete the mask layer and merge the group.
Now let’s dress the tag up with elements from the kit. I will list the elements I used. Feel free to use other elements to make your tag unique. Placement of the elements is completely up to you. If you want your tag to look just like mine then use my tag for reference.
Elements I used:
17
20
31
35
41
50
84
85
86
91
Add some text if you would like to.
Add your name.
Add your copyright and licensing information.

Crop and save.

Wednesday, July 6, 2016

Never Forget You


Never Forget You
Written 7/6/2016
This tutorial is meant purely as a guide. Feel free to use your own choice of tube or scrap kit to make your tag unique. If you want your tag to look just like mine them use the same supplies I have used. This tutorial assumes you have a knowledge of paint shop pro. Any resemblance to any other tag or tutorial is completely coincidental.
Supplies Used:
Tube of your choice. I am using the work of Misticheskaya. This tube is called Pattie. You can purchase it at http://picsfordesign.com
Scrap kit is called August Romance by Amy Marie’s Kits. You can purchase this kit at http://amymarieskits.com/store/
Mask of your choice. I am using mask #54 by Millies PSP Madness. You can download her masks at http://milliespspmadness.blogspot.com/?zx=fff75d4dd4792f95
Font of your choice. I am using Lovelia. It is a free font this week only and then will go PTU after that. You can get it at htpps://fontbundles.net
Plugins:
Xero Mistifier
Drop shadow used throughout:
0 0 85 15.00 black

Let's Begin:
Open paper 16 from the kit. Shift+D to duplicate. Close the original. Promote the background layer to a raster layer. Make your canvas large enough to work with. Re-size the paper if you wish. Apply the mask of your choice. Delete the mask layer and merge the group.
Open element 77 and re-size by 75%. Using your magic wand select the inside of the frame. Selections modify and expand by 2. Open your tube and copy and paste as a new layer. Drag under the frame. Position her face within the frame. Selections invert and hit delete. Selections select none. Colorize the tube to match your tag and the other colors your using. Apply the Misitifier plugin using the settings of your choice. This plugin makes every tube look different so you need to play with the settings based on the tube you are using. Add a drop shadow to the frame. Merge the frame and the tube together. Place this in the top left corner of the mask area.
Open your tube again and copy and paste as a new layer and place on your tag. Re-size as needed. Add a drop shadow.
Now let’s dress the tag up with elements from the kit. I will list the elements I used. Feel free to use other elements to make your tag unique. Placement of the elements is completely up to you. If you want your tag to look just like mine then use my tag for reference.
Elements I used:
12
18
20
24
29
34
36
38
39
44
50
56
65
108
109
Add your name.
Add your copyright and licensing information.
Crop and save.