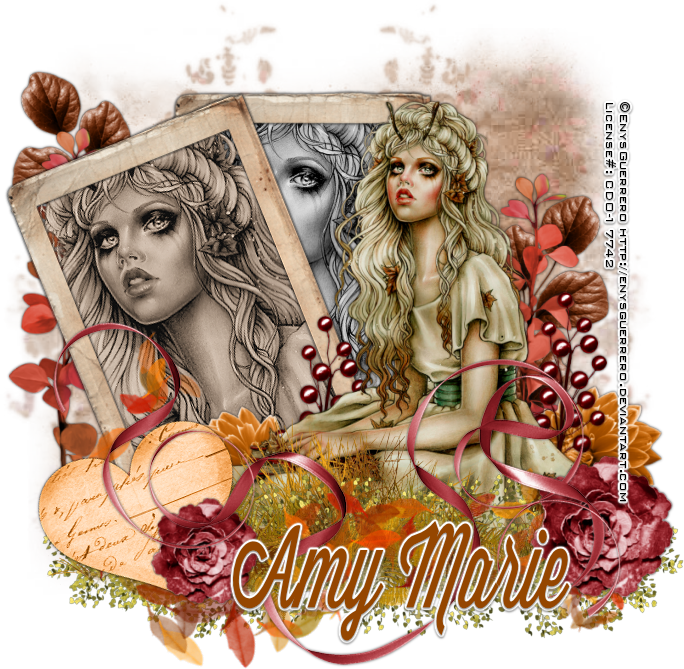
Falling In Love
Written 9/13/2016
This tutorial is meant purely as a guide. Feel free to
use your own choice of tube or scrap kit to make your tag unique. If you want
your tag to look just like mine them use the same supplies I have used. This
tutorial assumes you have a knowledge of paint shop pro. Any resemblance to any
other tag or tutorial is completely coincidental.
Supplies Used:
Tube of your choice. I am using the work of Enys
Guerrero. You can purchase this tube at http://cdoestore.com
Scrap Kit is called Falling In Love by Amy Marie’s
Kits. You can purchase this kit at http://amymarieskits.com/store/
Mask of your choice. I am using mask #31 by Millies
PSP Madness. You can get her masks at http://milliespspmadness.blogspot.com/
Font of your choice. I am using Wisdom Script. You can
download it at http://www.losttype.com/font/?name=wisdom%20script
Plugins:
NONE
Drop shadow used throughout:
0 0 85 3.50 black
Let's Begin:
Open element 8 and shift+D to duplicate. Close the
original. Duplicate again. We are going to prep these frames to go on your main
canvas for the actual tag. Working with
just one of the frames re-size to a size you are happy with. You don’t
want it too large but you don’t want it small either. Using your magic wand
select the inside of the frame and go to selections modify and expand by 6.
Open your tube and copy and paste as a new layer. Drag under the frame.
Selections invert and hit delete. Selections select none. Effects photo effects
Sepia Toning and set the toning to 45. Add a drop shadow to the frame and the
tube. Merge these 2 layers together. Repeat with the second frame however
change the coloring of this tube to greyscale.
Open a blank new canvas large enough to give you room
to work with.
Copy and paste both of the framed images you prepped
onto this new canvas. Image free rotate the sepia toned one to the left 22
degrees. Adjust sharpen. Place the sepia toned image at the top and the
greyscale image at the bottom. Place the greyscale image so only part of it can
be seen out of the right side of the sepia toned image.
Open your tube again and copy and paste as a new layer
and place to the right side of the 2 framed images but also in front of them.
Use my tag for reference. Re-size if you need to. Add a drop shadow to the
tube.
Open paper 1 and copy and paste as a new layer and
drag to the bottom. Re-size if you need to. Apply the mask of your choice.
Delete the mask layer and merge the group.
Now let’s dress the tag up with elements from the kit.
I will list the elements I used. Feel free to use other elements to make your
tag unique. Placement of the elements is completely up to you. If you want your
tag to look just like mine then use my tag for reference.
Elements I used:
5
6
22
24
28
41
46
68
79
Add your name.
Add your copyright and licensing information.
Crop and save.


