Showing posts with label ScrapsnCompany. Show all posts

Saturday, August 19, 2017

Fall Fantasy


Fall Fantasy

Written 8/19/2017

This tutorial is meant purely as a guide. Feel free to use your own choice of tube or scrap kit to make your tag unique.If you want your tag to look just like mine then use the same supplies I have used. This tutorial assumes you have a knowledge of paint shop pro. Any resemblance to any other tag or tutorial is completely coincidental.

Supplies Used:
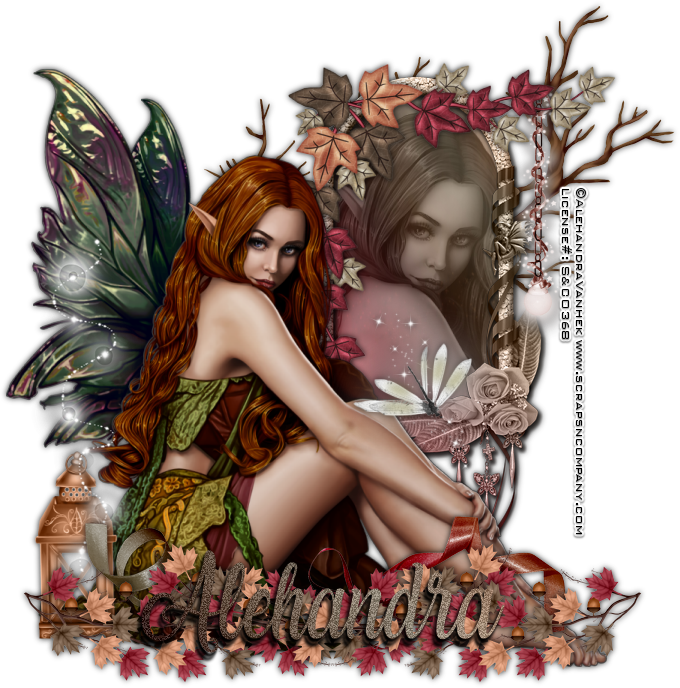
Tube of your choice. I am using the work of Alehandra Vanhek. This tube is called Fairy Mae and you can purchase her at http://scrapsncompany.com/index.php?main_page=product_info&cPath=113_499&products_id=30799

Scrap Kit of your choice. I am using a kit called Autumn Fairies by Jens Sweet Temptations. You can purchase this kit at http://scrapsncompany.com/index.php?main_page=product_info&cPath=112_655&products_id=24016

Font of your choice. I am using Laughing and Smiling.

Plugins: (plugins are most generally optional)
Xero Porcelain

Let's Begin:
Open element 12 and shift+D to duplicate. Close the original. Make your canvas large enough to work with. Using your magic wand select the inside of the window. Selections modify and expand by 15. Layers new raster layer and drag under the window. Open paper 1 and copy and paste into selection.
Open your tube and copy and paste as a new layer. Re-size as needed. Position so her face is within the selected part of the window. Selections invert and hit delete. Selections select none. Apply the Xero Porcelain plugin using the default settings. Change the properties to Luminance Legacy. Lower the opacity to 55. Add a drop shadow to both the tube and the window. Merge these layers together.
Copy and paste your tube again as a new layer. Re-size as needed. Place to the left of the window and down just a bit. Add a drop shadow.
Open element 31 and re-size by 75%. Copy and paste as a new layer. Drag to just on top of the window. Place it in the top left corner. Add a drop shadow.
Open element 35 and copy and paste as a new layer. Drag to the bottom. Place so you can see the branches above the tubes head and out the right side of the window. Use my tag for reference if needed. Add a drop shadow.
Open element 46 and copy and paste as a new layer. Move to the bottom in front of your tube. Image flip vertical. Place to the far left. Duplicate and image flip horizontal. Move this duplicate to the right. Merge together. Add a drop shadow.
Open element 37. Re-size as needed. Copy and paste as a new layer. Move to the far left of your tube and move under the leaves. Add a  drop shadow.
Open element 60 and re-size by 50%. Copy and paste as a new layer and place so it is hanging from the leaves that go along the top of the window to the far right in front of the tree branch.
Open element 55 and copy and paste as a new layer. Place so it looks to be coming out of the lantern.
Open element 20 and re-size as needed. Copy and paste as a new layer. Move to the bottom center of the window area. Add a drop shadow.
Open element 4 and copy and paste as a new layer and move down under the leaves that run along the bottom so that the ribbon is peeking out from the top of the leaves. Add a drop shadow.
Add your name.
Add your copyright and licensing information.
Crop and save.

Wednesday, February 15, 2017

Shot Through The Heart


Shot Through The Heart
Written 2/14/2017
This tutorial is meant purely as a guide. Feel free to use your own choice of tube or scrap kit to make your tag unique.
If you want your tag to look just like mine, then use the same supplies I have used. This tutorial assumes you have a knowledge
of paint shop pro. Any resemblance to any other tag or tutorial is completely coincidental.

Supplies Used:

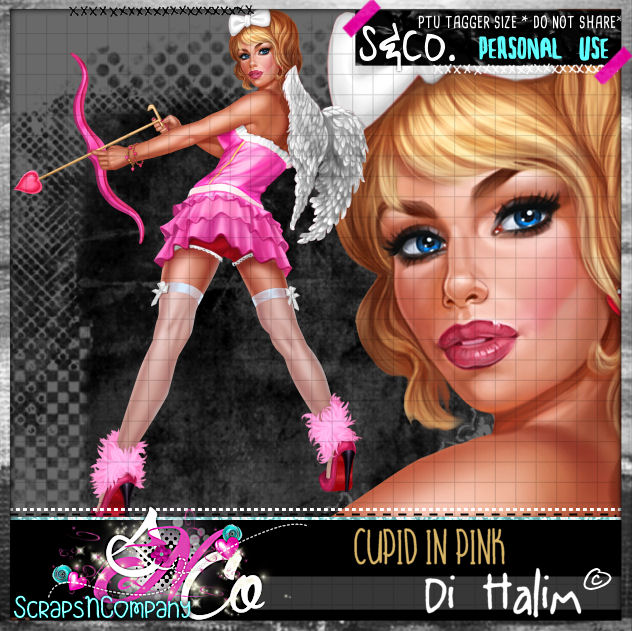
Tube of your choice. I am using the work of Di Halim. This tube is called Cupid in Pink and you can purchase her at http://scrapsncompany.com/index.php?main_page=product_info&cPath=113_133_166&products_id=25991
Scrap Kit is by Bibi’s Collection. It is called Cupid In Pink. You can purchase it at http://scrapsncompany.com/index.php?main_page=product_info&products_id=26002

Mask of your choice. I am using one by a member at my forum. This mask was made by Bev. You can find our forum at http://thetaggerslounge.forumotion.com/ Come join us and check out all the goodies and fun!!

Font of your choice. I am using Guarddilla Typeface. This is a PTU font.
Animation is by Divine Intentionz. You can get it at http://divineintentionz.blogspot.com/

Plugins:
NONE

Let's Begin:
Open paper 8 from the kit. Shift+D to duplicate. Close the original. Re-size as needed/wanted. Promote the background layer to a raster layer. Apply the mask of your choice. Delete the mask layer and merge the group. I added a slight drop shadow to the mask layer to help it stand out just a bit more but this is completely up to you.

Open your tube and copy and paste as a new layer. Re-size until she is just slightly larger than the mask layer. Add a drop shadow.

Now let’s dress the tag up with elements from the kit. I will list the elements I used. Feel free to use other elements to make your tag unique. Placement of the elements is completely up to you. If you want your tag to look just like mine, then use my tag for reference.

Elements I used:
8
29
37
39
42
76
121
Add your Name.

Add your copyright and licensing information.

Let’s Get ready to add the animation:

Crop your tag.

Merge all the layers together except the mask layer.

Layers new raster layer and move to the bottom.
Flood fill with white.

Copy the white background and the mask layer to animation shop.
Duplicate the number of frames to match the number of frames in  your animation. In my case its 20.

Drag the first frame of your animation onto the first frame of your tag. Once happy with the placement go back to psp and copy the rest of your tag. Bring into animation shop. Duplicate and drag to the animated tag. Once you are done view your completed animated tag. If you are happy optimize and save.
♥♥♥

Saturday, February 11, 2017

Off With Her Head


Off With Her Head
Written 2/11/2017
This tutorial is meant purely as a guide. Feel free to use your own choice of tube or scrap kit to make your tag unique. If you want your tag to look just like mine then use the same supplies I have used. This tutorial assumes you have a knowledge of paint shop pro. Any resemblance to any other tag or tutorial is completely coincidental.

Supplies Used:
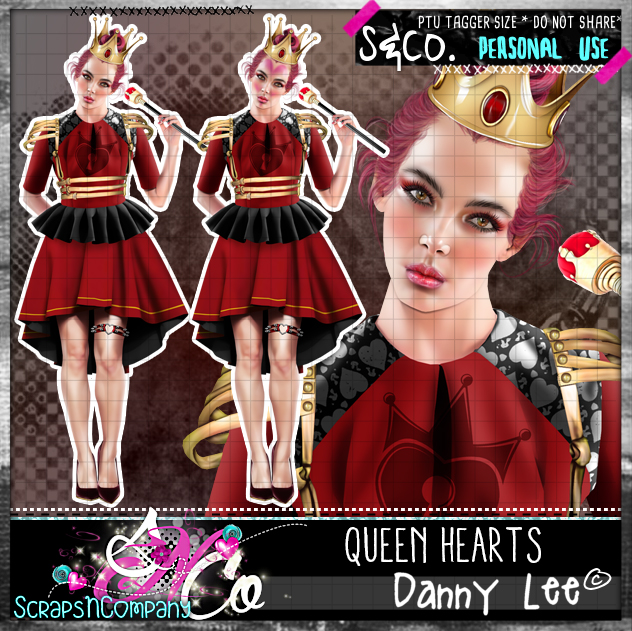
Tube of your choice. I am using a tube by Danny Lee called Queen Hearts. You can purchase her at http://scrapsncompany.com/index.php?main_page=product_info&cPath=113_132_219&products_id=25737

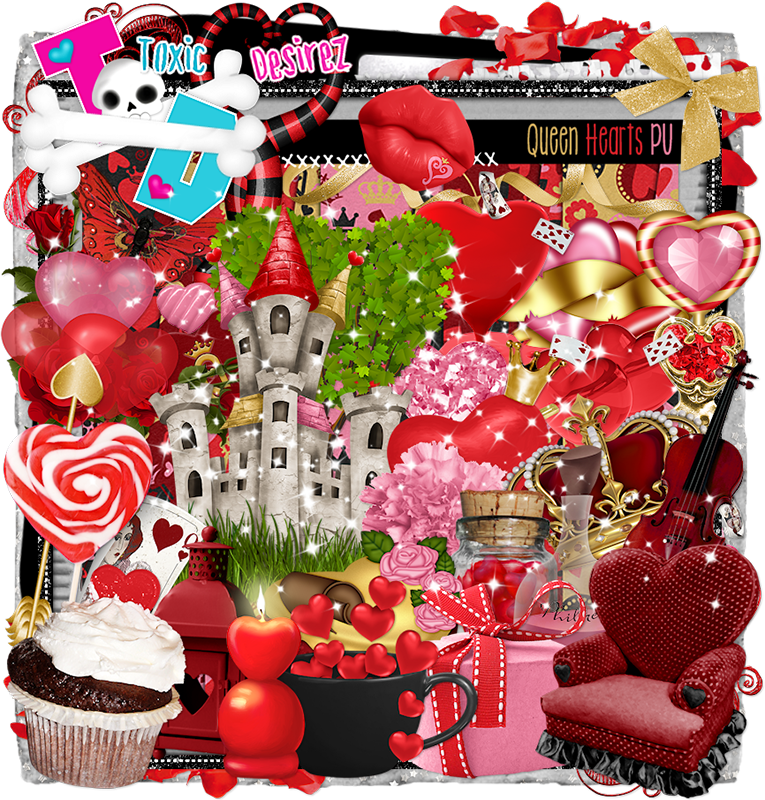
Scrap kit is by Toxic Desirez. It is called Queen Hearts also and can be purchased at http://scrapsncompany.com/index.php?main_page=product_info&products_id=25735

Font of your choice. I am using Amsterday Script. This is a PTU font.

Let's Begin:
Open frame 1 from the kit and shift+D to duplicate. Close the original. Re-size as you wish. Make your canvas large enough to work with.

Using your freehand selection tool set on point to point carefully select around the frame as close to the inside edge that you can get.

Create a foreground background gradient using 2 colors from your tube or the kit. Set the gradient on sunburst with repeats of 2. Layers new raster layer and drag under the frame. Flood fill with your gradient. Layers new raster layer.
Now using your clone tool clone parts of your tube into the selected area on the brand-new layer. Once you are happy selections select none. Lower the opacity of this layer to 50.

Make your gradient layer active and using your soften brush go around the edges and soften the gradient so it doesn’t look so harsh around the edges.

Add a drop shadow to the frame layer.

Open the grass from the kit and copy and paste as a new layer. Re-size so it fits nicely along the bottom of the frame. Add a drop shadow.

Open your tube and copy and paste as a new layer. Re-size so she is just slightly larger than the tag at this point. Place on the far-right side. Add a drop shadow.

Now let’s dress the tag up with elements from the kit. I will list the elements I used. Feel free to use other elements to make your tag unique. Placement of the elements is completely up to you. If you want your tag to look just like mine, then use my tag for reference.

Elements I used:
Arrow
Castle
Chair
Crown
Cup of Hearts
Jar of Hearts
Key
Melting Heart
Ribbon

Add your name.

Add your copyright and licensing information.

Crop and re-size if you wish.

Save your tag.

♥♥♥

Saturday, February 4, 2017

Inner Workings of my Heart


Inner Workings of my Heart
Written 2/4/2017
This tutorial is meant purely as a guide. Feel free to use your own choice of tube or scrap kit to make your tag unique. If you want your tag to look just like mine them use the same supplies I have used. This tutorial assumes you have a knowledge of paint shop pro. Any resemblance to any other tag or tutorial is completely coincidental.

Supplies Used:
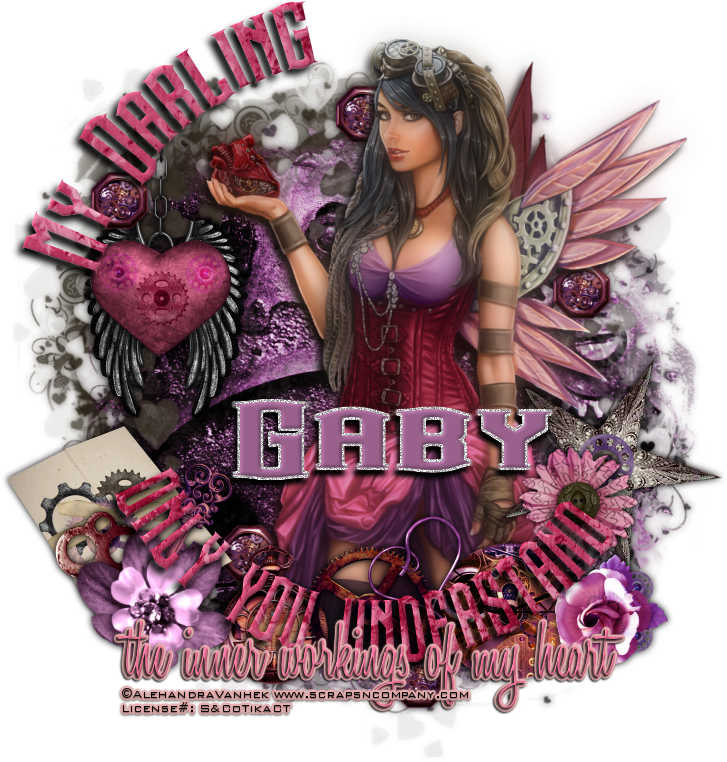
Tube is by Alehandra Vanhek. She is called Mechanical Heart. You can purchase her at http://scrapsncompany.com/index.php?main_page=product_info&cPath=113_499&products_id=25672
The scrap kit is by Disturbed Scraps. It is called Mechanical Hearts. You can purchase it at http://scrapsncompany.com/index.php?main_page=product_info&products_id=25761
Mask of your choice. I am using one by Kisses and Dreams. You can get it at http://kissesndreams.blogspot.ca/2015/01/freebie-heart-mask.html
Font of your choice. I am using Steamwreck which you can download at http://www.fontspace.com/pixel-sagas/steamwreck
Plugins:
NONE
Let's Begin:
Open paper 3 and shift+D to duplicate. Close the original. Promote the background layer to a raster layer. Apply the mask. Delete the mask layer and merge the group. Add a drop shadow of 0 0 100 11.50 and the dark color from the paper. Open paper 14 and repeat but when adding your drop shadow use a purple from the paper. Move this mask down and to the right a bit.

Open your tube and copy and paste as a new layer. Re-size as needed so she is just larger than the mask layers. Move to the right side more so than the left. Duplicate the tube layer. On the top copy go to adjust blur Gaussian blur and apply a blur of 11. Lower the opacity of this layer to 45. Add a drop shadow to the bottom tube layer of 6 -5 100 10.50 black.

Now we are going to put some text on a path. Using your elipse preset shape. Set your foreground color to whatever color you like. It doesn’t matter as we will delete this layer anyhow. Turn off the background color. Set the width of the elipse shape to 1.00. Draw out a circle around the outside edges of the mask layer. 

Now select the font you want to use and the color or I used paper 7 for mine. Place your text tool up on the elipse shape until you get the A with the line under it and then begin typing whatever it is you want. I placed part of my text around the top left side and then I wanted some along the bottom so I flipped my elipse shape vertical. This will turn the text right side up. And placed the rest of my text along the bottom. Promote your text layers to a raster layer. Add a drop shadow. Delete the elipse shape layer when you are done.

Now let’s dress the tag up with elements from the kit. I will list the elements I used. Feel free to use other elements to make your tag unique. Placement of the elements is completely up to you. If you want your tag to look just like mine then use my tag for reference.
Elements I used:
1
3
6
9
10
15
19
22
28
37
42
49
59
Add your name.

Add your copyright and licensing information.

Crop and re-size if you wish.

Save your tag.
♥♥♥


Tuesday, January 31, 2017

Loving Arms


Loving Arms
Written 1/31/2017
This tutorial is meant purely as a guide. Feel free to use your own choice of tube or scrap kit to make your tag unique. If you want your tag to look just like mine them use the same supplies I have used. This tutorial assumes you have a knowledge of paint shop pro. Any resemblance to any other tag or tutorial is completely coincidental.

Supplies Used:
Tube of choice. Preferably one with a close up image. I am using a tube by Chris Pastel. She is called Davina 5. You can purchase this tube at http://scrapsncompany.com/index.php?main_page=product_info&cPath=113_500&products_id=25543
Scrap kit is called Loving Arms and is by Disturbed Scraps. You can purchase this kit at http://scrapsncompany.com/index.php?main_page=product_info&products_id=25564
Mask of your choice. I am using mask #219 by Weescotslass Creations. You can get her masks at http://weescotslasscreations.blogspot.com/2009/04/masks.html
Font of your choice. I am using Sleeplessson Modern Script. This is a PTU font.

Plugins:
NONE
Drop shadow used throughout:
0 0 40 11.00 black

Let's Begin:
Open element 66 and shift+D to duplicate. Close the original. Re-size if you wish. Make your canvas large enough to work with.

Using your magic wand select the inside of the frame. Selections modify and expand by 4. Open paper 9 and copy and paste as a new layer. Drag under the frame. Selections invert and hit delete. Selections invert again.

Open the close up of the tube and copy and paste as a new layer. Position within the selected frame area. Selections invert again and using your eraser tool and erase any bits you have hanging outside of the frame that you don’t want. Once you are done selections select none.

Add a drop shadow to the tube and the frame.

Open paper 14 and copy and paste as a new layer. Drag to the bottom. Apply the mask of your choice. Delete the mask layer and merge the group. Re-size the mask if you need to but you want it where it is just slightly larger than the frame.

Open element 73 and copy and paste as a new layer. Drag down to just above the mask. Move to the top so you can see the circles around the top of the frame. Duplicate and move this duplicate to the bottom so you can see the circles around the bottom of the frame.

Open element 64 and copy and paste as a new layer. Re-size to where it is nearly the same size as the frame. Drag to just above the frame layer. Add a drop shadow.

Now let’s dress the tag up with elements from the kit. I will list the elements I used. Feel free to use other elements to make your tag unique. Placement of the elements is completely up to you. If you want your tag to look just like mine then use my tag for reference.
Elements I used:
2
3
6
8
11
22
23
37
53
72

Add your name.

Add your copyright and licensing information.

Crop and Re-size if you wish.

Save your tag.
♥♥♥

Monday, January 23, 2017

Love Shot


Love Shot
Written 1/23/2017
This tutorial is meant purely as a guide. Feel free to use your own choice of tube or scrap kit to make your tag unique. If you want your tag to look just like mine them use the same supplies I have used. This tutorial assumes you have a knowledge of paint shop pro. Any resemblance to any other tag or tutorial is completely coincidental.
Supplies Used:
Tube if your choice. I am using a cute lil tube by Paci Peroni. This adorable lil guy is an exclusive for Scraps N Company and is part of the Perfect Love Collab that you can get at Scraps N Company for free by spending $13.50 in store. There are tons of goodies in this collab and well worth the money spent.
The kit is by Jens Sweet Temptations and is also part of the above collab. This kit is jam packed with lots of amazing elements!!!
Template by Flaminsal. I am using template #4 from this page http://firedbyflamin.blogspot.co.uk/2014/02/tag-haven-blog-train-cupids-arrow.html
Font of your choice. I am using 2 Peas Silly. This is a PTU font.
Plugins:
NONE
Drop shadow used throughout:
2 2 60 5.50 black

Let's Begin:
Open the tag template and shift+D to duplicate and then close the original. This is so you can use it again if you wish. Now delete the following layers from the template: credits, hearts 2, hearts 1 and background. Make your canvas large enough to work with.
Merge together the Purple Rect 2 and Purple Rect 1. Selections select all float and defloat. Open paper 6 from the kit and copy and paste as a new layer. Selections invert and hit delete. Selections select none. Delete the original layer that the rectangles are on. Add a drop shadow to this new layer.
Make the circle layer active and selections select all float and defloat. Layers new raster layer. Make a gradient using 2 colors from your tube. Set the angle to 45 and repeats 4. Flood fill your new layer with this gradient. Selections select none. Delete the original circle layer. Add a drop shadow to your new circle layer.
Make the dotted circle layer active and add noise at 55%.  Add your favorite inner bevel. Add a drop shadow to this layer.
Merge together the top and bottom pink stripe layers. Selections select all float and defloat. Open paper 5 and copy and paste as a new layer. Selections invert and hit delete. Selections select none. Delete the original stripe layer. Add a drop shadow to this new layer.
Make the rectangle layer active. Selections select all float and defloat. Open paper 7 and copy and paste as a new layer. Selections invert and hit delete. Selections select none. Delete the original layer. Add a drop shadow to this new layer.
Open your tube and copy and paste as a new layer. Re-size until just slightly smaller than the circle part of the tag template. Place so he is centered in the tag template. Add a drop shadow.
Open element 27 and copy and paste as a new layer. Place so it is at the top of the tag slightly higher than the circle in the template. Layers arrange send to bottom. Add a drop shadow. Duplicate and move this duplicate to the bottom so it is just slightly below the circle in the template. If you like to keep your layers organized like I do go ahead and merge these 2 layers together.
Repeat the above steps with element 34 but make sure this one is on top of the last one.
Now let’s dress the tag up with elements from the kit. I will list the elements I used. Feel free to use other elements to make your tag unique. Placement of the elements is completely up to you. If you want your tag to look just like mine then use my tag for reference.
Elements I used:
13
14
22
23
25
32
38
Add your name or any other text to the papers in the envelopes.
Add your license and copyright information.
Crop and Re-size if you wish.
Save your tag.
♥♥♥


Wednesday, January 18, 2017

Time For Love


Time For Love
Written 1/18/2017
This tutorial is meant purely as a guide. Feel free to use your own choice of tube or scrap kit to make your tag unique. If you want your tag to look just like mine them use the same supplies I have used. This tutorial assumes you have a knowledge of paint shop pro. Any resemblance to any other tag or tutorial is completely coincidental.

Supplies Used:
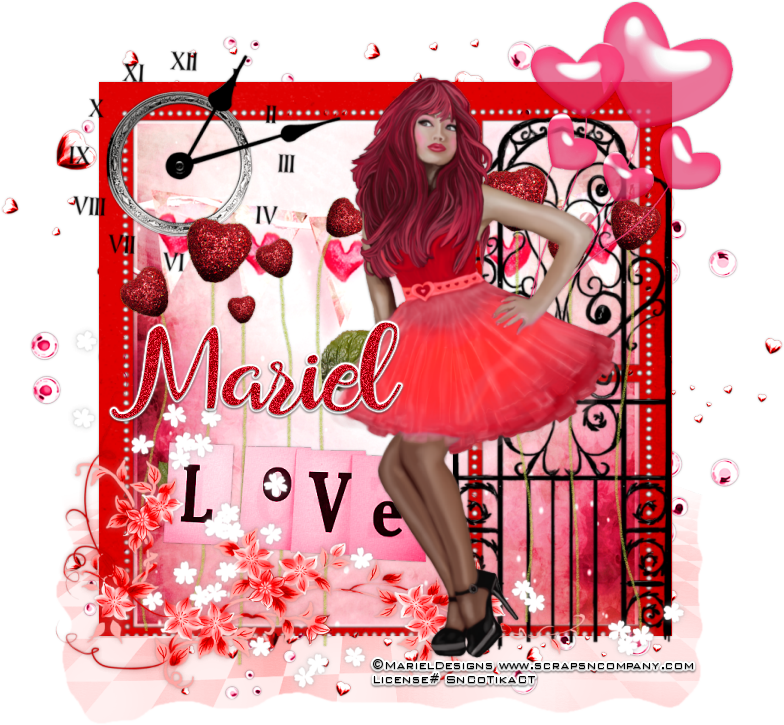
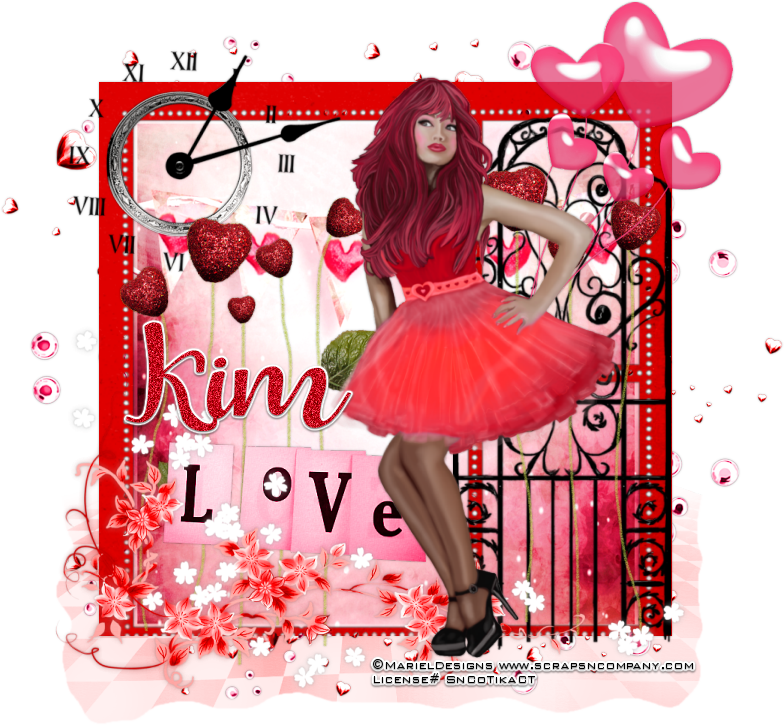
Tube of your choice. I am using a tube by Mariel Designs called Perfect Love. She was created for the Perfect Love Collab at Scraps N Company. You can get this entire collab free with your $13.50 purchase. Check out the collab at http://scrapsncompany.com/index.php?main_page=product_info&cPath=587_144&products_id=25373
The scrap kit I used is also called Perfect Love and is by Chili Designz. This kit is also part of the awesome collab.
Font of your choice. I am using Saldina. This is a PTU font.
Plugins:
NONE
Drop shadow used throughout:
0 0 30 3.00 black

Let's Begin:
Open frame 2 from the kit. Shift+D to duplicate. Close the original. Re-size if you wish. Make your canvas large enough to work with. Using your magic wand select the inside of all sections of the frame. Selections modify and expand by 5. Layers new raster layer and drag under the frame. Open paper 1 and copy and paste into selection. Selections select none. Add a drop shadow to the frame.
Open your tube and copy and paste as a new layer. Re-size until she is just barely bigger than the frame. Move to where she is standing between the main part of the frame and the 2 smaller parts to the right. Add a drop shadow.
Open the floor element from the kit. Copy and paste as a new layer. Drag to the bottom. Move to the bottom of the frame as we are going to make the tube stand on it.  Re-size until it just slightly larger than the frame on both sides. Now if you notice there are some pretty sharp lines and angles and we want to get rid of those. There are 2 ways you can do this. Use your eraser tool and set your hardness down to about 25 and the opacity to about 4. The size to medium to large and just around the edge and erase some of the bits and get rid of the straightness. The second way is to use your freehand selection tool set to freehand and just draw around the edges in an imperfect manner. Selections invert and hit delete. You can use your eraser again to get rid of any sharpness or you can use your soften tool. Just check out the tools in psp they are pretty handy.

Now let’s dress the tag up with elements from the kit. I will list the elements I used. Feel free to use other elements to make your tag unique. Placement of the elements is completely up to you. If you want your tag to look just like mine then use my tag for reference.
Elements I used:
balloons
clock
corner2
deco
gate
Hearts2
Spill
Wa
Add your name.
Add your copyright and licensing information.
Crop and re-size as you wish.
Save your tag.
♥♥♥