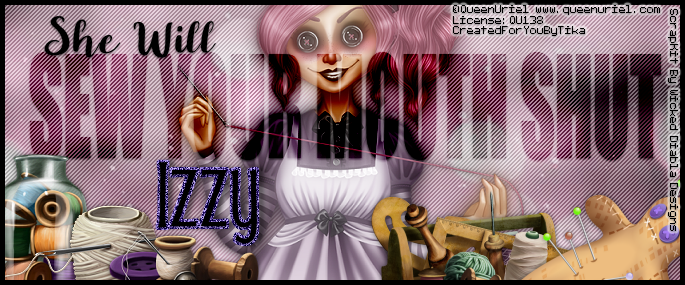
Sew Your
Mouth Shut
Written
10/20/2022
This
tutorial is meant purely as a guide. Feel free to use your own choice of tube
or scrap kit to make your tag unique.
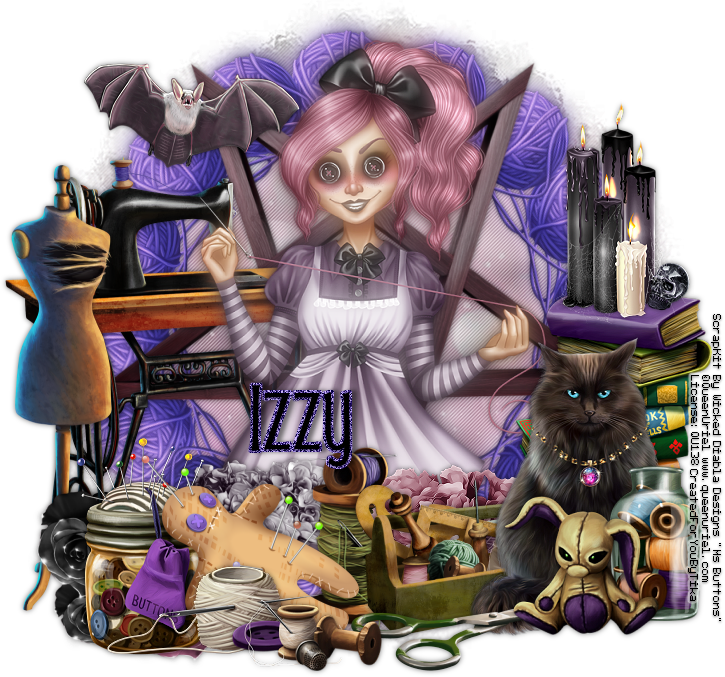
If you
want your tag to look just like mine, then use the same supplies I have used.
This tutorial assumes you have a knowledge
of
paint shop pro. Any resemblance to any other tag or tutorial is completely
coincidental.
Supplies
Used:
Tube
is by Queen Uriel. She is called Ms Buttons. You must have a license to use
this artwork. You can purchase Carolina’s awesome tubes at Home - Queen-Uriel's Art & PSP Tube Store
(queenuriel.com)
Scrap
Kit is by Wicked Diabla Designs. It is called Ms Buttons also. You can purchase
this kit at Welcome To
Wicked Diabla Designs, For All Your Tagging Needs
Font
of your choice. I am using Mouse Moon.
Mask
of your choice. I am using Mask #451 by Vix. You can find her at Vix PSP
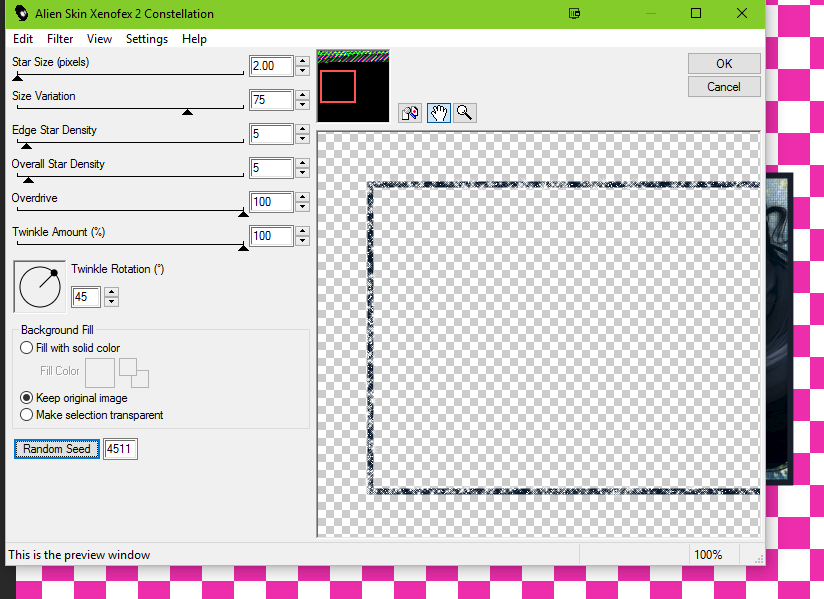
Plugins:
(plugins are most generally optional)
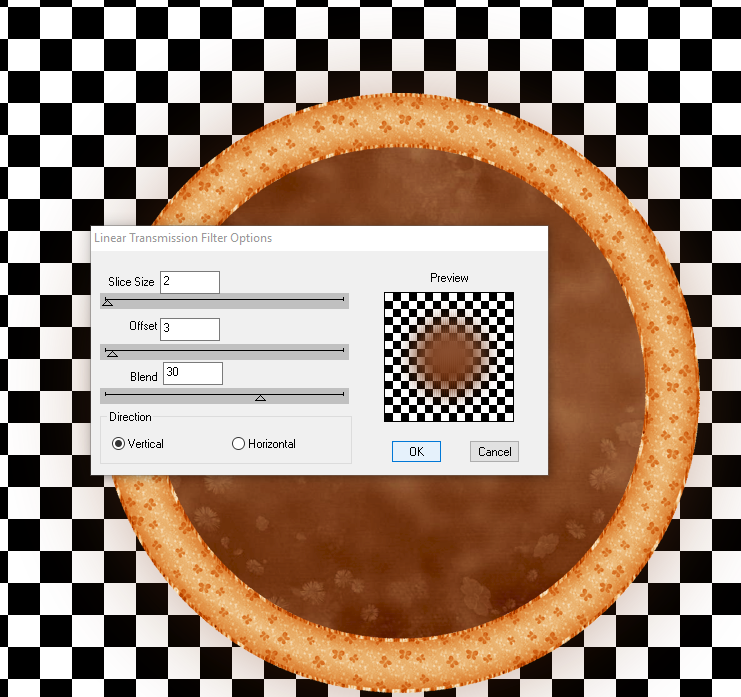
Mura
Meister Copies – Encircle
Penta
Jeans
Let's
Begin:
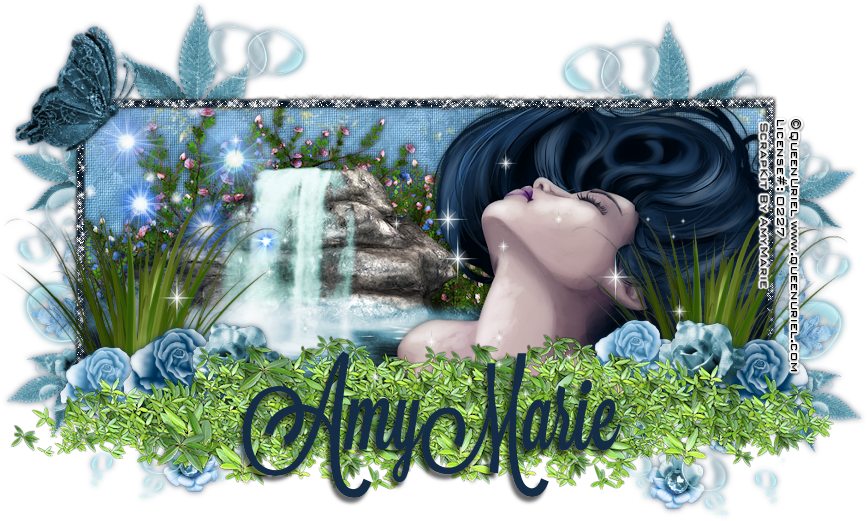
Open
element 25. Shift+D to duplicate. Close the original. Resize to a size you are
happy with.
Open
element 88 and resize to a fairly small size. I went 50% and then 60%. Using
the Mura Meister Copies filter apply using the encircle option but change the top
number in the encircle settings to 15 which will bring the balls of yarn closer
together.
Move
this layer under the pentagram layer.
On the
top layer go to adjust blur gausian blur and set it to 10.
Change
the properties of this layer to screen.
Add a
slight drop shadow to the bottom layer.
Open
paper 12. Copy and paste as a new layer. Resize by 75%. Drag to the bottom.
Apply the mask of your choice. Delete the mask layer and merge the group.
Duplicate
the mask. On the bottom mask layer apply Penta Jeans using the default
settings.
On the
top layer go to adjust blur gaussian blur at 10 and change the properties of
this layer to screen.
Add a
drop shadow to the top pentagram layer.
Open
your tube and copy and paste as a new layer at the top.
Resize
as needed.
Duplicate
the tube layer and we are going to blur and screen it just like you did the
yarn and mask layers. Add a drop shadow to the bottom tube layer.
Now
let’s dress the tag up with elements from the kit. I will list the elements I
used. Feel free to use other elements to make your tag unique. Placement of the
elements is completely up to you. If you want your tag to look just like mine,
then use my tag for reference.
Elements
I used:
1
5
9
20
21
36
43
57
60
62
68
71
76
77
81
82
84
Add
your name.
Add
your license and copyright information.
If you
want to make a 3 piece set like mine just use elements and/or your tube.
Thanks
for trying my tutorial
♥♥♥