Showing posts with label Andy Cooper. Show all posts

Saturday, February 4, 2017

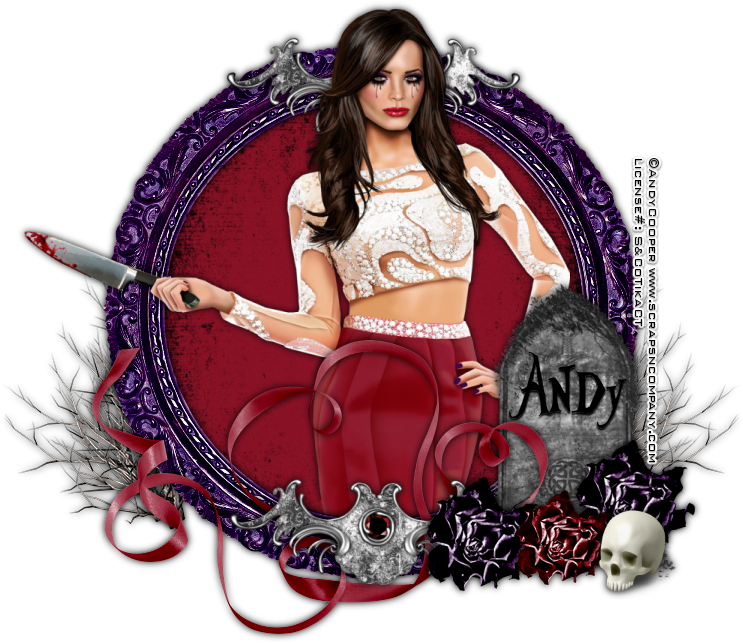
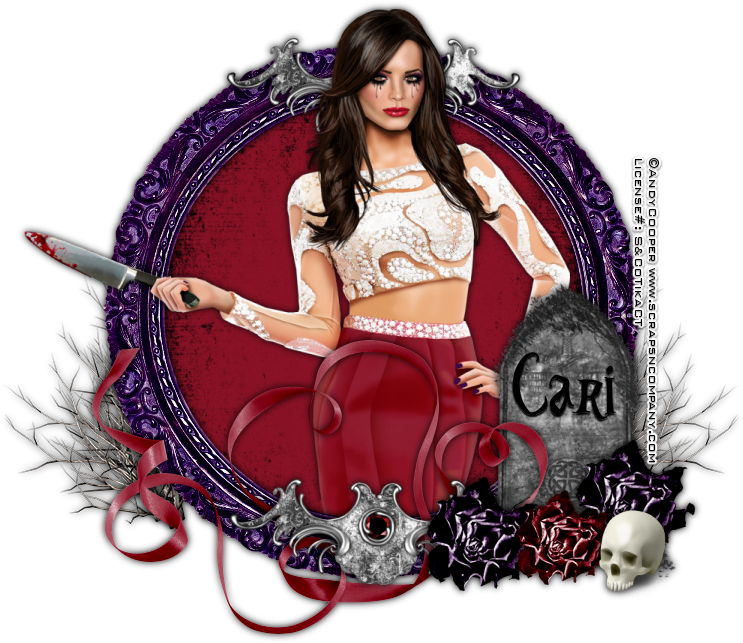
Death Ends A Life Not A Love


Death Ends A Life Not A Love
Written 2/4/2017
This tutorial is meant purely as a guide. Feel free to use your own choice of tube or scrap kit to make your tag unique. If you want your tag to look just like mine then use the same supplies I have used. This tutorial assumes you have a knowledge of paint shop pro. Any resemblance to any other tag or tutorial is completely coincidental.

Supplies Used:
Tube of your choice. I am using the artwork of Andy Cooper. This tube is part of the Love Hurts Collab that you can purchase at Scraps N Company. This collab some great items in it. You can get this collab free with your purchase of $13.00 at the store. Check out the collab at http://scrapsncompany.com/index.php?main_page=product_info&cPath=587_144&products_id=25682

The scrap kit is by Black Widow Creationz. It is also part of the awesome collab.
Font of your choice. I am using Alicia Wonderland. You can download it at http://www.fontspace.com/fz/aliciawonderland

Plugins:
NONE

Let's Begin:

Open element 9 from the kit and shift+D to duplicate. Close the original. Make your canvas large enough to work with.

Using your magic wand select the inside of the frame. Selections modify and expand by 4. Layers new raster layer and drag under the frame. Open paper 4 and copy and paste into selection.

LEAVE SELECTED

Open your tube and copy and paste as a new layer. Re-size if needed. Place in the selected area in the frame. Selections invert Erase any bits you have hanging outside of the frame. Selections select none. Add a drop shadow to the tube.

Add a drop shadow to the frame.

Open element 40 and copy and paste as a new layer. Drag to the bottom. Place on the far right side and position so it is showing out the right side of the frame. Add a drop shadow. Duplicate and image flip horizontal. Move this copy to the left side. Merge together. Add a drop shadow.

Open element 21 and copy and paste as a new layer and place to the right and near the bottom. Add a drop shadow.

Open element 32 and copy and paste as a new layer. Re-size. Place so it is at the bottom of the gravestone and to the left of it. Duplicate and move this one to the right and up a bit. Add a drop shadow to both.

Open element 33 and copy and paste as a new layer. Re-size so it is just slightly smaller than the other 2. Copy and paste as a new layer and place between the other 2. Add a drop shadow.
Open element 45 and copy and paste as a new layer. Re-size. Place to the far right in front of the gravestone and roses. Add a drop shadow.

Open element 27 and copy and paste as a new layer. Re-size if you wish. Place in the center at the bottom of the frame. Add a drop shadow.

Open element 38 and copy and paste as a new layer. Move to the bottom center. Add a drop shadow. Duplicate. Move this copy to the top and behind the head of your tube. Add a drop shadow to both of them.

Add your name.

Add your copyright and licensing information.

Crop and re-size if you want.

Save your tag.
♥♥♥


Sunday, January 15, 2017

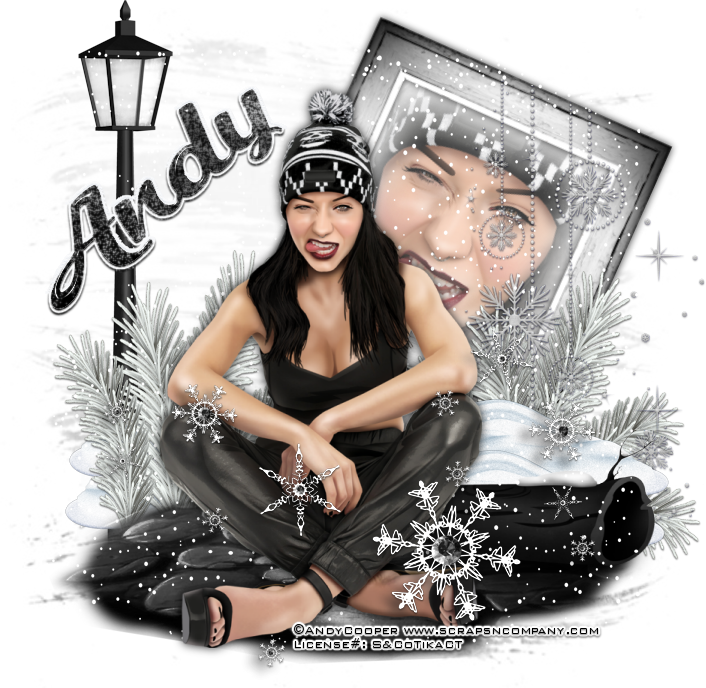
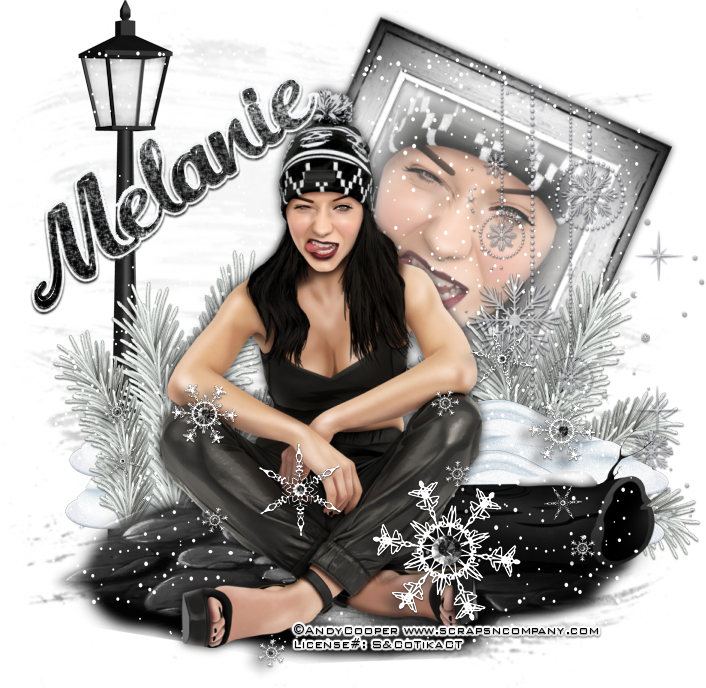
Rebel Winter


Rebel Winter
Written 1/15/2017
This tutorial is meant purely as a guide. Feel free to use your own choice of tube or scrap kit to make your tag unique. If you want your tag to look just like mine them use the same supplies I have used. This tutorial assumes you have a knowledge of paint shop pro. Any resemblance to any other tag or tutorial is completely coincidental.

Supplies Used:
Tube of your choice. I am using a tube called Rebel Girl by Andy Cooper. You can purchase this tube at http://scrapsncompany.com/index.php?main_page=product_info&cPath=113_652_304&products_id=25314
The awesome matching scrap kit is also called Rebel Girl by Blissful Designs. You can purchase this scrap kit at http://scrapsncompany.com/index.php?main_page=product_info&products_id=25323
Mask of your choice. I am using mask # 161 by Insatiable Dreams. You can get her masks at http://insatiabledreams.net
Font of your choice. I am using Blanche de la Fontaine. You can download it at http://www.fontspace.com/octotype/blanche-de-la-fontaine
Plugins:
Eye Candy 5 Nature Snowdrift (optional – I used on my name)
Drop shadow used throughout:
0 0 85 14.00 black

Let's Begin:
Open paper 7 and shift+D to duplicate. Close the original. Promote the background layer to a raster layer. Re-size if you wish. Apply the mask of your choice. Delete the mask layer and merge the group.
Open your tube and copy and paste as a new layer. Re-size as needed. Position at the bottom of the mask in the center. Add a drop shadow to the tube.
Open element 14 and copy and paste as a new layer. Re-size by 75%. Layers new raster layer and drag under the frame. Now we are going to clone part of your tube into the frame using the clone tool. I just learned this nifty trick (Thanks Vix A Roo) in all the years of psp’ing I have never used the clone tool and now I will be cloning everything LOL .. OK let me walk you through it.
Ok Open your tube or whatever image you want to clone into the frame. Open your clone tool and select a brush shape that you want. I used a rounded square one so it would fit inside the frame. Set the settings like below : (thanks Vix again for the settings)
Size 200
Step 32
Opacity 50
Right click on the area of your tube that you want to clone. You will see an outline around the area with an x in the middle. Go back to your tag. Make sure you are on the blank new layer under the frame. Left click and it will place the area that you cloned. You can left click multiple times if you wish to make the image darker. This part is completely up to you.
Add a drop shadow to the frame. Merge the frame and tube together. Image free rotate to the right by 24 degrees. Adjust sharpen. Move under your main tube and place near the top so you can see the framed image from behind the tube.
Now let’s dress the tag up with elements from the kit. I will list the elements I used. Feel free to use other elements to make your tag unique. Placement of the elements is completely up to you. If you want your tag to look just like mine then use my tag for reference.
Elements I used:
4
11
40
68
69
70
74
85
Add your name.
Add your copyright and licensing information.
Crop and re-size if you wish.
Save your tag.
♥♥♥


Wednesday, November 16, 2016

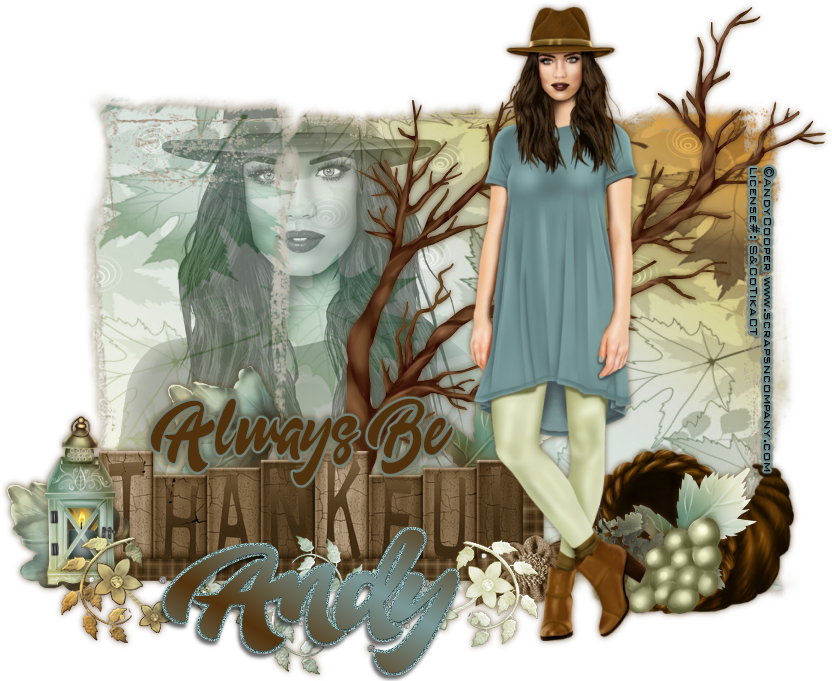
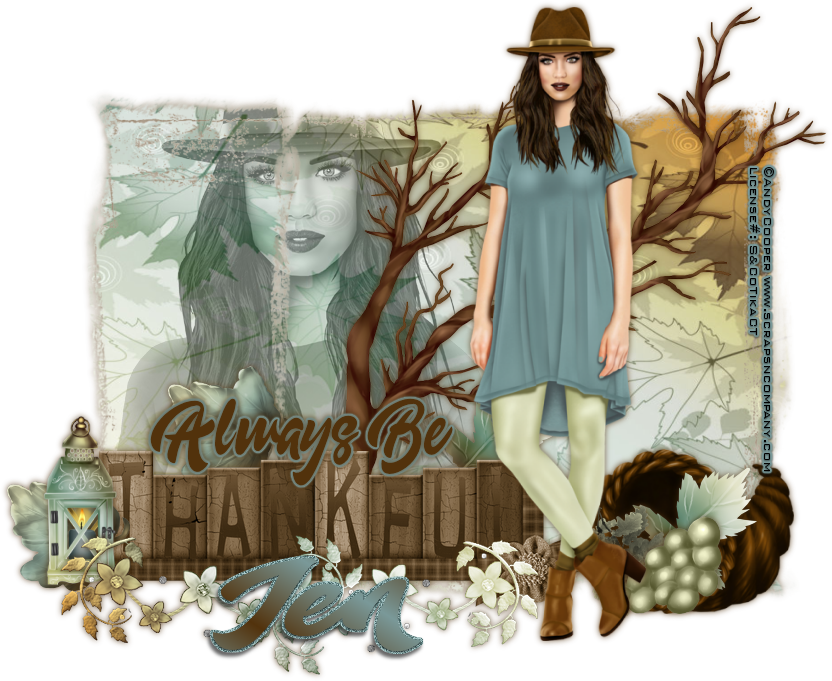
Always Be Thankful


Always Be Thankful
Written 11/16/2016
This tutorial is meant purely as a guide. Feel free to use your own choice of tube or scrap kit to make your tag unique. If you want your tag to look just like mine them use the same supplies I have used. This tutorial assumes you have a knowledge of paint shop pro. Any resemblance to any other tag or tutorial is completely coincidental.
Supplies Used:
I am using the work of Andy Cooper. This is a tube you can get as part of the Turkey Time Collab. Just spend $13.50 at the store and get this awesome collab packed full of all kinds of goodies. http://scrapsncompany.com/index.php?main_page=product_info&cPath=587_144&products_id=24038&zenid=q2pkok94c27nrpqntf3r97dr14
The matching scrap kit is by Jens Sweet Temptations and is also part of this amazing collab.
Photo mask of your choice. I am using one by Nina Scraps. Unfortunately she is no longer creating but you can find great photo masks all over just google them.
Font of your choice. I am using Adleit. You can download it at http://www.dafont.com/adleit.font
Plugins:
NONE
Drop shadow used throughout:
0 0 75 9.00 ##52320c
Let's Begin:
Open paper 1. Shift+D to duplicate. Close the original. Promote the background layer to a raster layer. Re-size by 85%. Apply the photo mask of your choice. Delete the mask layer and merge the group. Selections select all float and de-float on the mask. Open the close-up of your tube. Copy and paste as a new layer and position towards the far left of the mask area. Selections invert and hit delete. Selections select none. Change the property layers of the tube to luminance legacy. Lower the opacity of the tube layer to 55. Merge the tube and paper layers together. Add a slight drop shadow.
Now open your full tube and copy and paste as a new layer. Place on the far right of the mask area and re-size as needed. Add a drop shadow.

Now let’s dress the tag up with elements from the kit. I will list the elements I used. Feel free to use other elements to make your tag unique. Placement of the elements is completely up to you. If you want your tag to look just like mine then use my tag for reference.
Elements I used:
6
23
25
26
27
28
29
34
35
Add your name.
Add your copyright and licensing information.

Crop and save.


Monday, November 7, 2016

Winter Fun


Winter Fun
Written 11/7/2016
This tutorial is meant purely as a guide. Feel free to use your own choice of tube or scrap kit to make your tag unique. If you want your tag to look just like mine them use the same supplies I have used. This tutorial assumes you have a knowledge of paint shop pro. Any resemblance to any other tag or tutorial is completely coincidental.

Supplies Used:
Tube of your choice. I am using a fun tube by Andy Cooper. She is part of the awesome Winter Love Collab at Scraps N Company. You can get this collab by spending $12.50 at the store. http://scrapsncompany.com/
The matching scrap kit is by Jens Sweet Temptations and is also part of the Winter Love Collab.
Mask or masks of your choice. I used 2 different masks to achieve the effect in my tag.  I am using Vix Christmas mask 6 which can be downloaded at http://www.freewebs.com/vixpsp/ and also mask 251 by Insatiable Dreams. You can download it at http://insatiabledreams.net
Font of your choice. I am using Shaka-Pow. You can download it at http://www.dafont.com/shaka-pow.font
Plugins:
NONE
Drop shadow used throughout:
0 0 50 5.50 black

Let's Begin:
Open paper 1 and shift+D to duplicate. Close the original. Promote the background layer to a raster layer. Re-size as needed. Apply the mask of your choice. Delete the mask layer and merge the group. If you are going to use 2 masks like I did then apply the other one also. On the top mask which is the snowflakes I applied some noise and added a drop shadow to help it stand out some.
Now open your tube and copy and paste as a new layer. Re-size as needed. Add a drop shadow.
Now let’s dress the tag up with elements from the kit. I will list the elements I used. Feel free to use other elements to make your tag unique. Placement of the elements is completely up to you. If you want your tag to look just like mine then use my tag for reference.
Elements I used:
6
8
25
26
27
38
39
43
48
51
Add your name.
Add your copyright and licensing information.
Crop and save. 


Thursday, September 22, 2016

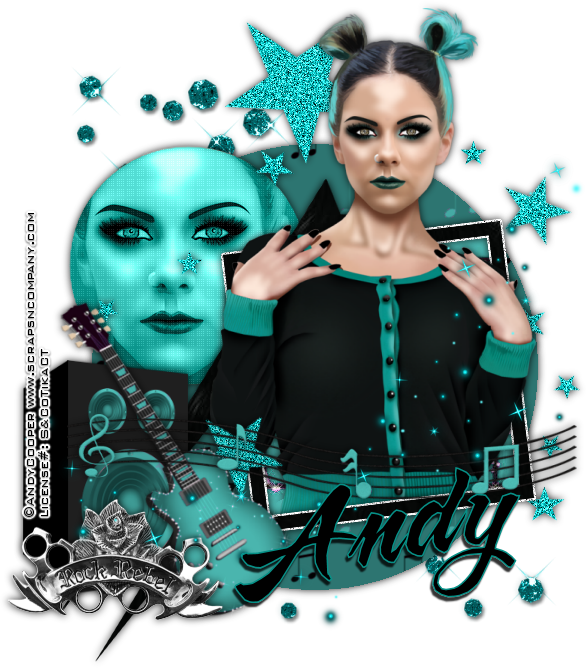
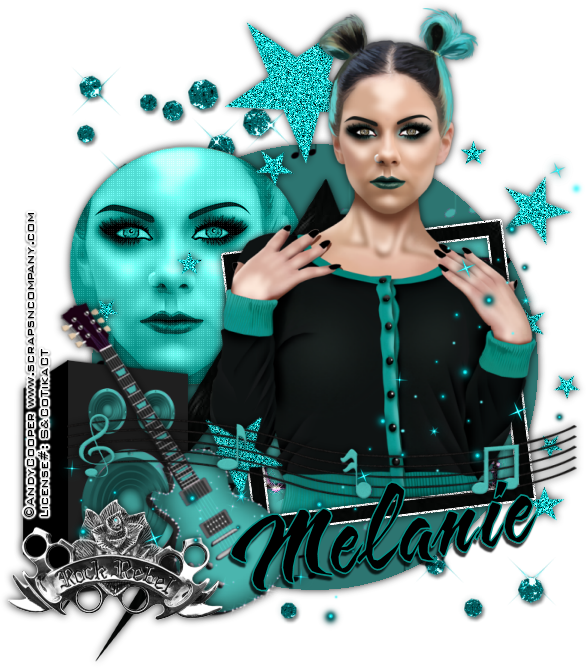
Rock Rebel


Rock Rebel
Written 9/22/2016
This tutorial is meant purely as a guide. Feel free to use your own choice of tube or scrap kit to make your tag unique. If you want your tag to look just like mine them use the same supplies I have used. This tutorial assumes you have a knowledge of paint shop pro. Any resemblance to any other tag or tutorial is completely coincidental.
Supplies Used:
Tube of your choice. I am using the work of Andy Cooper. This tube is called Color Rock and you can purchase it at http://scrapsncompany.com/index.php?main_page=product_info&cPath=113_652_304&products_id=21814
Matching scrap kit is also called color rock and is by Blissful Designs. You can purchase it at http://scrapsncompany.com/index.php?main_page=product_info&products_id=21776
Tag Template of your choice. I am using one by Simple Expressions. You can download it at http://simpleexpressions58.blogspot.com/p/blog-page.html
Font of your choice. I am using HL Butlong.
Plugins:
Xero Porcelain
Penta.com Dot & Cross
Drop shadow used throughout:
0 0 85 12.00 black

Let's Begin:
Open the tag template and shift+D to duplicate. Close the original.
Remove the following layers from the template: background & credits.
Delete all of the layers that have shadows on them unless of course you want to use these shadows however I choose to use a shadow of my own.
Make your canvas large enough to work with.
Fill the layers of the template with either colors, gradients, textures or papers from the kit. Add a drop shadow to each layer once you are done.
On the small circle layer open your tube and copy and paste as a new layer. Position so her face is in the circle. Get rid of the excess that is hanging out. Apply the Xero Porcelain filter using the default settings. Change the properties of this layer to luminance legacy. Merge these 2 layers together.  Apply the Penta Dot & Cross filter change the top value to 30.
Add noise to the star layers using the following settings: uniform Gaussian 90%
Open your tube again and copy and paste within the frame. Erase any bits you do not want hanging outside of the frame. Add a drop shadow when you are done.
Now let’s dress the tag up with elements from the kit. I will list the elements I used. Feel free to use other elements to make your tag unique. Placement of the elements is completely up to you. If you want your tag to look just like mine then use my tag for reference.
Elements I used:
34
36
41
44
48
72
Add your name.
Add your copyright and licensing information. 

Crop and save.


Friday, August 26, 2016

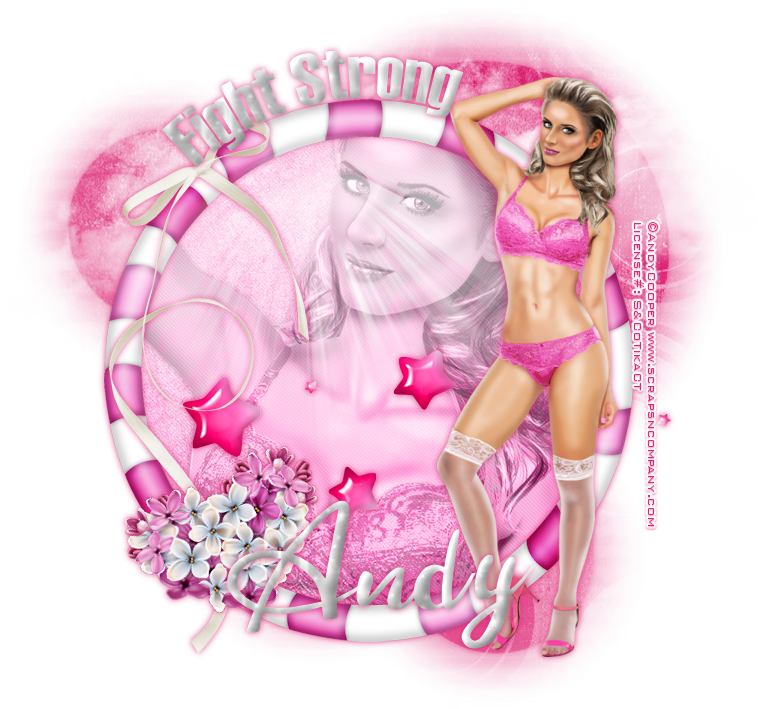
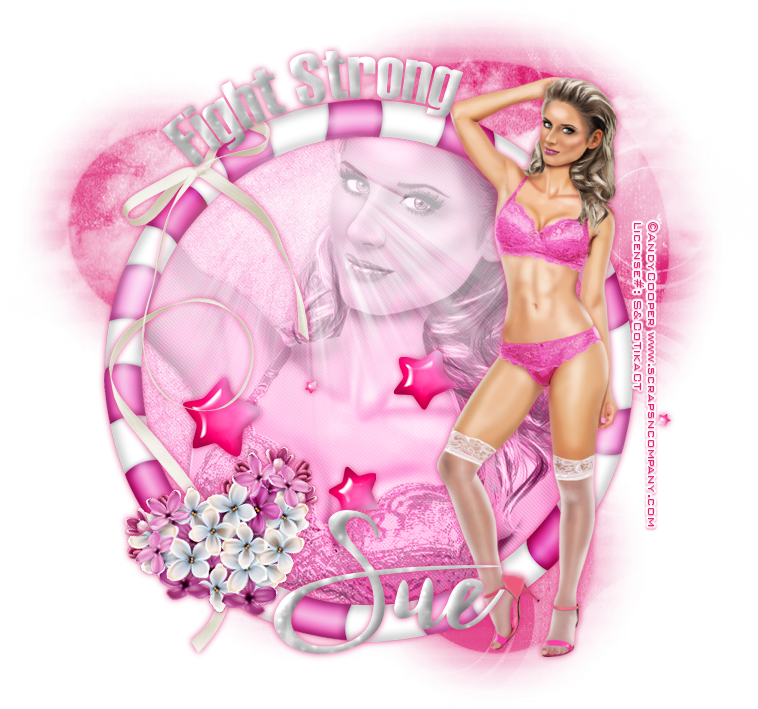
Fight Strong


Fight Strong
Written 8/24/2016
This tutorial is meant purely as a guide. Feel free to use your own choice of tube or scrap kit to make your tag unique. If you want your tag to look just like mine them use the same supplies I have used. This tutorial assumes you have a knowledge of paint shop pro. Any resemblance to any other tag or tutorial is completely coincidental.
Supplies Used:
Tube of your choice. Preferably one with a close up. I am using the work of Andy Cooper. This tube is called Angel Pink and you can purchase her at http://scrapsncompany.com/index.php?main_page=product_info&cPath=113_652_304&products_id=21402
The scrap kit is also called Angel Pink and is by Designz By Sue. You can purchase it at http://scrapsncompany.com/index.php?main_page=product_info&products_id=21458
Mask of your choice. I am using mask 56 by Vix. You can get her masks at http://www.freewebs.com/vixpsp/
Font of your choice. I am using Hattenschweiler and Twister Script(this is a PTU font)
Plugins:
Penta.com Jeans
Drop shadow used throughout:
0 0 85 9.50 Using a dark pink for the color.

Let's Begin:
Open element 19. Shift+D to duplicate. Close the original. Make your canvas large enough to work with.
Open paper 17 and copy and paste as a new layer. Drag under the frame. Apply the mask of your choice. Delete the mask layer and merge the group. Add a drop shadow to the mask using a pink from the paper for your color.
Using your magic wand select the inside of the frame. Selections modify and expand by 3. Open paper 13 and copy and paste as a new layer. Drag under the frame. Selections invert and hit delete. Selections invert again. Open the close up of your tube and copy and paste as a new layer. Position within the frame. Selections invert and hit delete. Selections select none. Change the properties of this layer to luminance legacy. Add a drop shadow to the tube. Merge the tube and paper layers together. Apply penta.com Jeans plugin but change the top value to 10.
Add a drop shadow to the frame.
You can merge the frame layer down to the tube/paper layer if you wish if you like to keep your layer palette clean.
Open your full size tube and copy and paste as a new layer. Re-size until she is just slightly larger than the frame. Move to the far right side of the frame and add a drop shadow.
Now let’s dress the tag up with elements from the kit. I will list the elements I used. Feel free to use other elements to make your tag unique. Placement of the elements is completely up to you. If you want your tag to look just like mine then use my tag for reference.
Elements I used:
2
11
12
38
39
Once you have all the elements you want on the tag then using your preset elipse tool draw out a circle around the outside of the frame. Now place any text you would like on it.
Add your name.
Add your copyright and licensing information.
Crop and save.