Showing posts with label Goth. Show all posts

Thursday, October 27, 2022

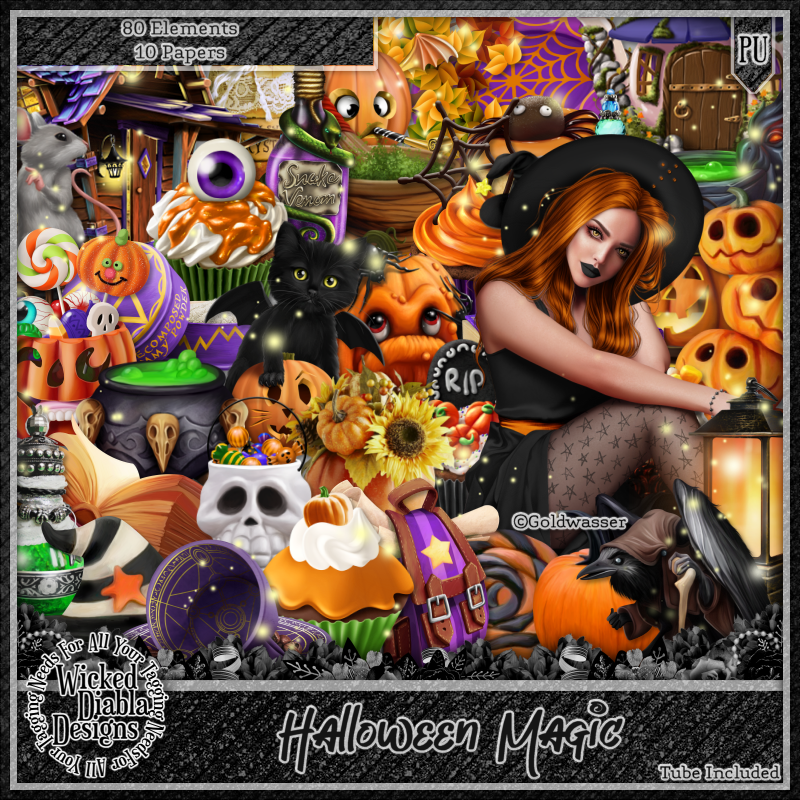
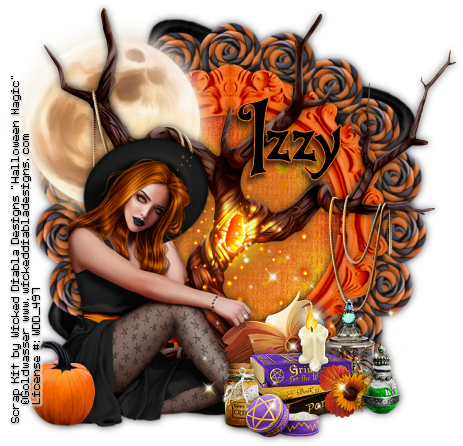
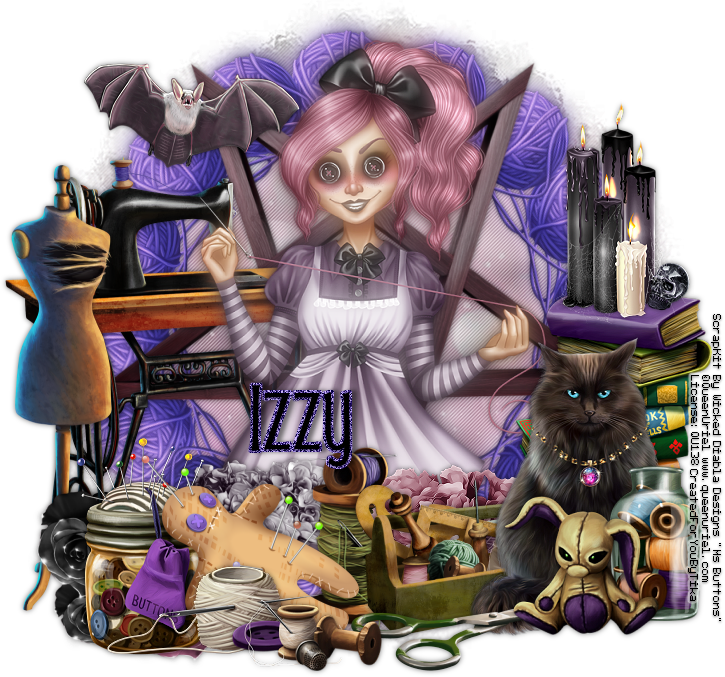
CT Tag for Wicked Diabla Designs - Halloween Magic

 New CT tag created with the awesome kit Halloween Magic by Wicked Diabla Desings. 
The tube is by Goldwasser and is included when you purchase the kit. 
You can find this awesome kit at www.wickeddiabladesigns.com 
This kit is packed with fun and magical elements and papers to make some awesome Halloween or even goth'ish type tags. 


♥♥♥

Thursday, October 20, 2022

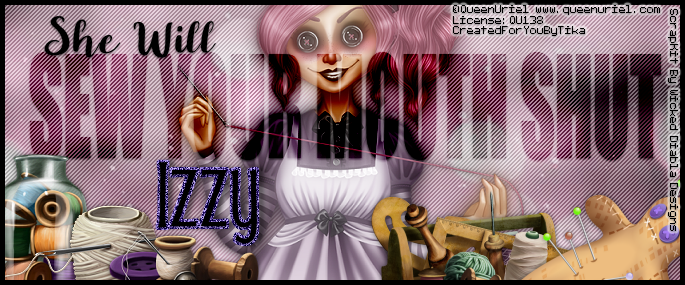
Sew Your Mouth Shut


Sew Your Mouth Shut

Written 10/20/2022

This tutorial is meant purely as a guide. Feel free to use your own choice of tube or scrap kit to make your tag unique.

If you want your tag to look just like mine, then use the same supplies I have used. This tutorial assumes you have a knowledge

of paint shop pro. Any resemblance to any other tag or tutorial is completely coincidental.


Supplies Used:

Tube is by Queen Uriel. She is called Ms Buttons. You must have a license to use this artwork. You can purchase Carolina’s awesome tubes at Home - Queen-Uriel's Art & PSP Tube Store (queenuriel.com)

Scrap Kit is by Wicked Diabla Designs. It is called Ms Buttons also. You can purchase this kit at Welcome To Wicked Diabla Designs, For All Your Tagging Needs

Font of your choice. I am using Mouse Moon.

Mask of your choice. I am using Mask #451 by Vix. You can find her at Vix PSP

Plugins: (plugins are most generally optional)

Mura Meister Copies – Encircle

Penta Jeans


Let's Begin:

Open element 25. Shift+D to duplicate. Close the original. Resize to a size you are happy with.

Open element 88 and resize to a fairly small size. I went 50% and then 60%. Using the Mura Meister Copies filter apply using the encircle option but change the top number in the encircle settings to 15 which will bring the balls of yarn closer together.

Move this layer under the pentagram layer.

On the top layer go to adjust blur gausian blur and set it to 10.

Change the properties of this layer to screen.

Add a slight drop shadow to the bottom layer.

Open paper 12. Copy and paste as a new layer. Resize by 75%. Drag to the bottom. Apply the mask of your choice. Delete the mask layer and merge the group.

Duplicate the mask. On the bottom mask layer apply Penta Jeans using the default settings.

On the top layer go to adjust blur gaussian blur at 10 and change the properties of this layer to screen.

Add a drop shadow to the top pentagram layer.

Open your tube and copy and paste as a new layer at the top.

Resize as needed.

Duplicate the tube layer and we are going to blur and screen it just like you did the yarn and mask layers. Add a drop shadow to the bottom tube layer.

Now let’s dress the tag up with elements from the kit. I will list the elements I used. Feel free to use other elements to make your tag unique. Placement of the elements is completely up to you. If you want your tag to look just like mine, then use my tag for reference.

Elements I used:

1

5

9

20

21

36

43

57

60

62

68

71

76

77

81

82

84

Add your name.

Add your license and copyright information.

If you want to make a 3 piece set like mine just use elements and/or your tube.

Thanks for trying my tutorial

♥♥♥


Tuesday, September 20, 2022

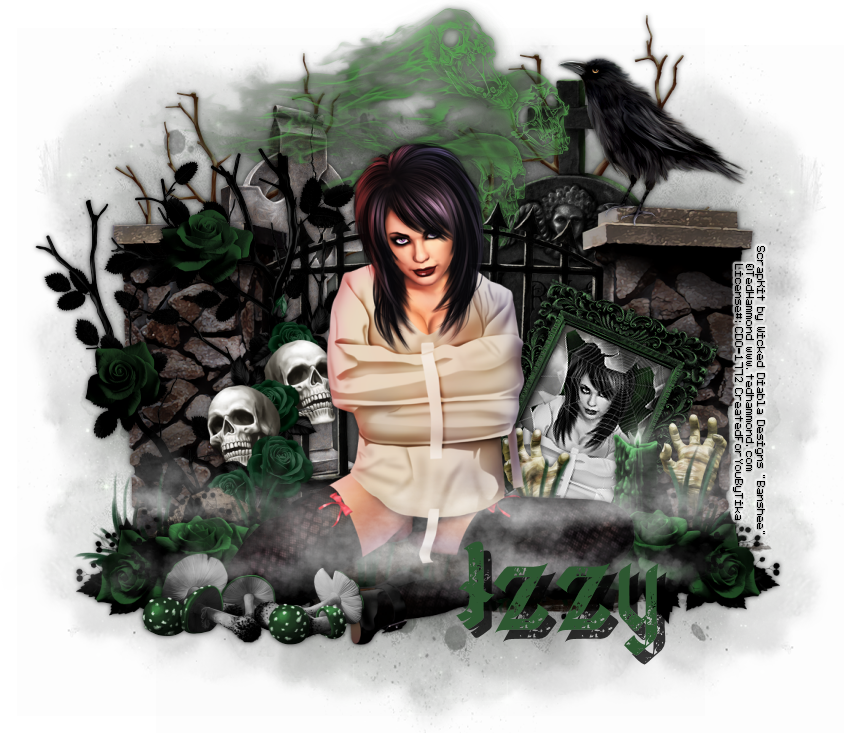
CT Tag for Wicked Diabla Designs


New CT Tag for Wicked Diabla Designs. 

No tutorial for this one. 

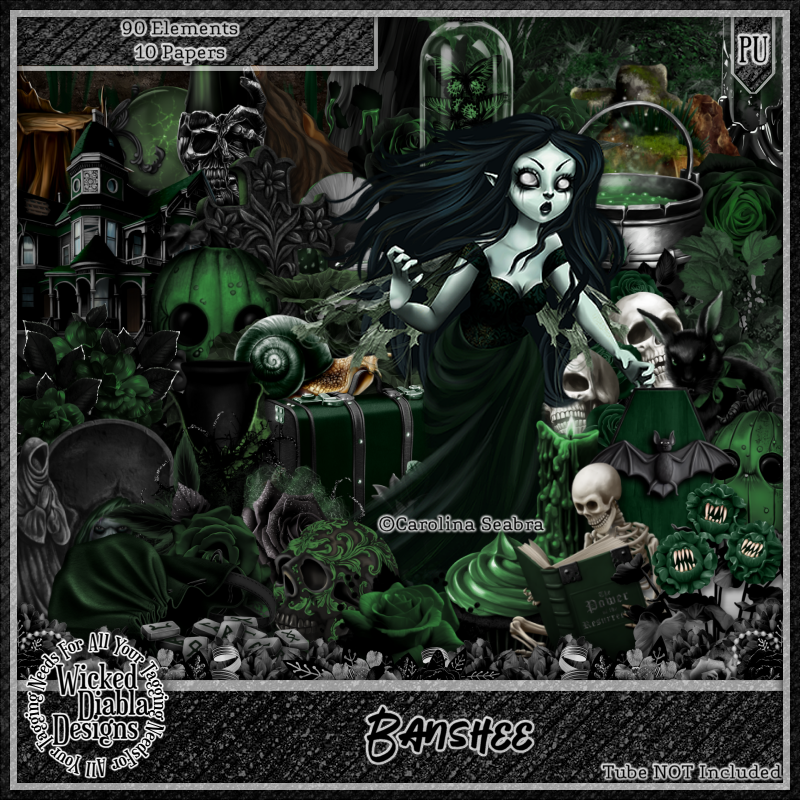
This kit is jam packed full of super cool and creepy elements to use in creating your goth or Halloween tags. 

It has great papers to use for background textures, masks etc. 

The name of the kit is Banshee. 

You can purchase it at www.wickeddiabladesigns.com


Saturday, February 4, 2017

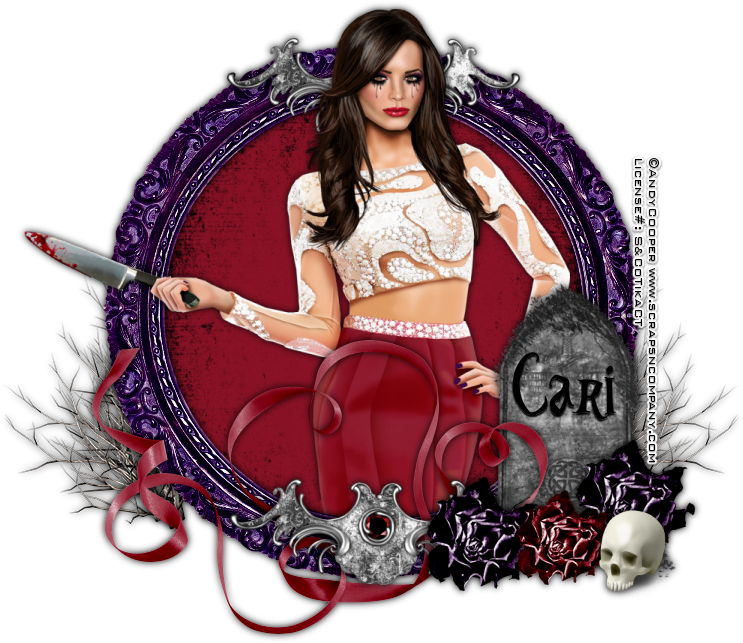
Death Ends A Life Not A Love


Death Ends A Life Not A Love
Written 2/4/2017
This tutorial is meant purely as a guide. Feel free to use your own choice of tube or scrap kit to make your tag unique. If you want your tag to look just like mine then use the same supplies I have used. This tutorial assumes you have a knowledge of paint shop pro. Any resemblance to any other tag or tutorial is completely coincidental.

Supplies Used:
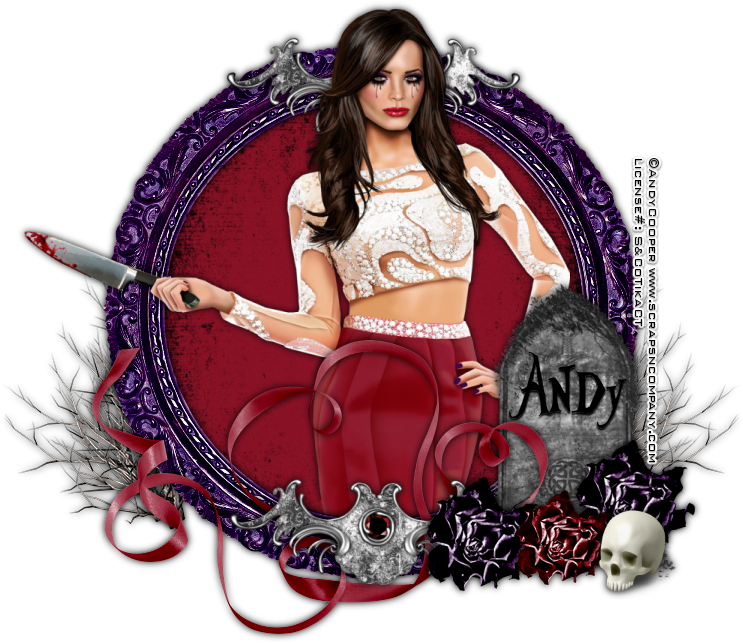
Tube of your choice. I am using the artwork of Andy Cooper. This tube is part of the Love Hurts Collab that you can purchase at Scraps N Company. This collab some great items in it. You can get this collab free with your purchase of $13.00 at the store. Check out the collab at http://scrapsncompany.com/index.php?main_page=product_info&cPath=587_144&products_id=25682

The scrap kit is by Black Widow Creationz. It is also part of the awesome collab.
Font of your choice. I am using Alicia Wonderland. You can download it at http://www.fontspace.com/fz/aliciawonderland

Plugins:
NONE

Let's Begin:

Open element 9 from the kit and shift+D to duplicate. Close the original. Make your canvas large enough to work with.

Using your magic wand select the inside of the frame. Selections modify and expand by 4. Layers new raster layer and drag under the frame. Open paper 4 and copy and paste into selection.

LEAVE SELECTED

Open your tube and copy and paste as a new layer. Re-size if needed. Place in the selected area in the frame. Selections invert Erase any bits you have hanging outside of the frame. Selections select none. Add a drop shadow to the tube.

Add a drop shadow to the frame.

Open element 40 and copy and paste as a new layer. Drag to the bottom. Place on the far right side and position so it is showing out the right side of the frame. Add a drop shadow. Duplicate and image flip horizontal. Move this copy to the left side. Merge together. Add a drop shadow.

Open element 21 and copy and paste as a new layer and place to the right and near the bottom. Add a drop shadow.

Open element 32 and copy and paste as a new layer. Re-size. Place so it is at the bottom of the gravestone and to the left of it. Duplicate and move this one to the right and up a bit. Add a drop shadow to both.

Open element 33 and copy and paste as a new layer. Re-size so it is just slightly smaller than the other 2. Copy and paste as a new layer and place between the other 2. Add a drop shadow.
Open element 45 and copy and paste as a new layer. Re-size. Place to the far right in front of the gravestone and roses. Add a drop shadow.

Open element 27 and copy and paste as a new layer. Re-size if you wish. Place in the center at the bottom of the frame. Add a drop shadow.

Open element 38 and copy and paste as a new layer. Move to the bottom center. Add a drop shadow. Duplicate. Move this copy to the top and behind the head of your tube. Add a drop shadow to both of them.

Add your name.

Add your copyright and licensing information.

Crop and re-size if you want.

Save your tag.
♥♥♥


Wednesday, November 2, 2016

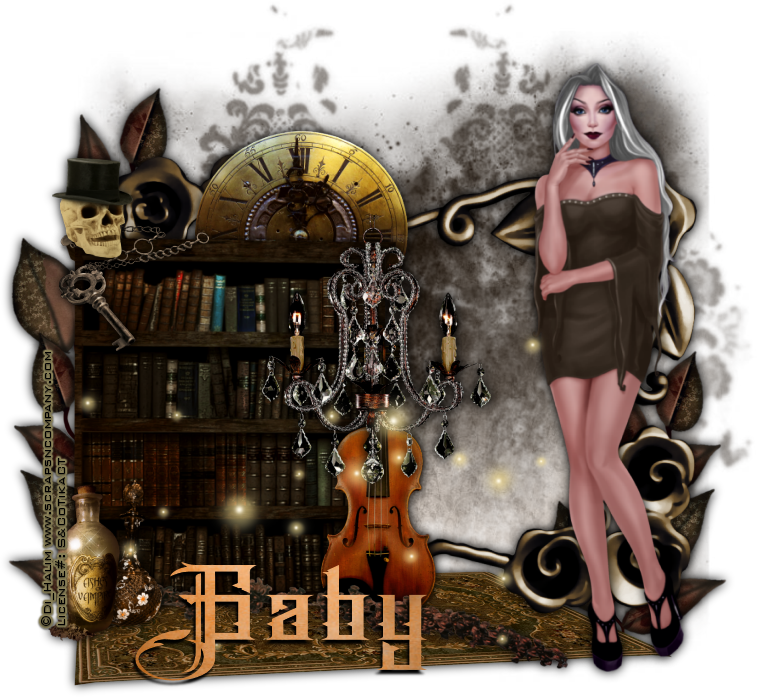
The Story


The Story
Written 11/2/2016
This tutorial is meant purely as a guide. Feel free to use your own choice of tube or scrap kit to make your tag unique. If you want your tag to look just like mine them use the same supplies I have used. This tutorial assumes you have a knowledge of paint shop pro. Any resemblance to any other tag or tutorial is completely coincidental.
Supplies Used:
Tube of your choice. I am using the work of Di Halim and this tube is a store exclusive for Scraps N Company. She is called Morti 1. You can purchase her at http://scrapsncompany.com/index.php?main_page=product_info&cPath=305&products_id=23697
The matching scrap kit is by Disturbed Scraps and is called Bella Morte. You can purchase it at http://scrapsncompany.com/index.php?main_page=product_info&products_id=23690
Mask of your choice. I am using mask #31 by Millies PSP Madness. You can get her masks at http://milliespspmadness.blogspot.com/?zx=cf16f4d1876dde2f
Font of your choice. I am using Brandley. This is a PTU font.
Plugins:
NONE
Drop shadow used throughout:
0 0 100 13.50 black

Let's Begin:
Open element 73 and shift+D to duplicate. Close the original. Make the canvas large enough to work with.
Open paper 11 and copy and paste as a new layer and drag under the frame. Apply the mask of your choice. Delete the mask layer and merge the group.
Add a drop shadow to the frame.
Open element 41 and re-size by 75% and then again by 85%. Copy and paste as a new layer and place on the far left of the tag. Add a drop shadow.
Open element 43 and re-size by 60%. Copy and paste as a new layer and position in the center of the frame from the top and in front of the bookshelf. Add a drop shadow.
At this time open your tube and re-size as needed. You want her still larger than the frame but not by much. Copy and paste as a new layer and place her on the far right side. Add a drop shadow.
Open element 45 and copy and paste as a new layer. Drag under the frame and place at the bottom under the bookshelf and add a drop shadow.
Now let’s dress the tag up with elements from the kit. I will list the elements I used. Feel free to use other elements to make your tag unique. Placement of the elements is completely up to you. If you want your tag to look just like mine then use my tag for reference.
Elements I used:
13
14
24
25
27
34
35
54
77
Add your name.
Add your copyright and licensing information.
Crop and save.


Friday, October 7, 2016

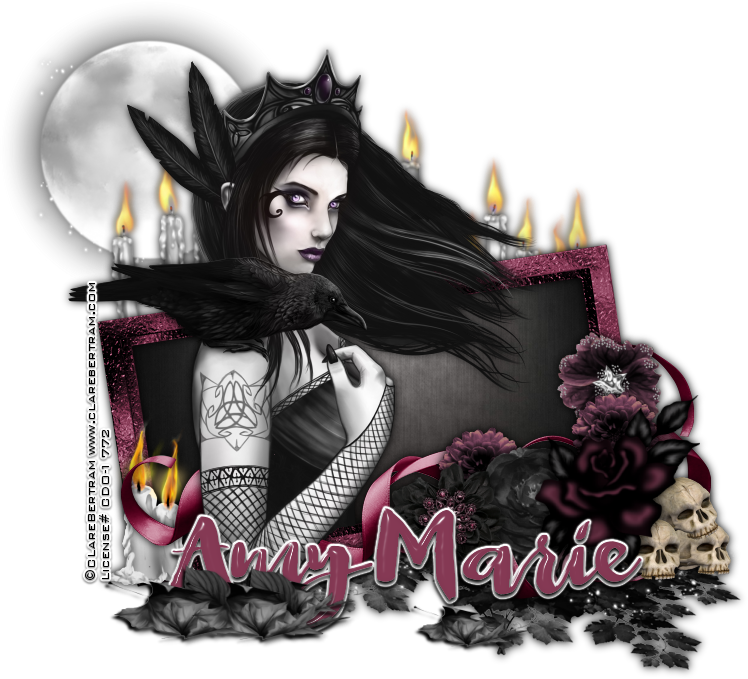
Dark Side Of Me


Dark Side Of Me
Written 10/4/2016
This tutorial is meant purely as a guide. Feel free to use your own choice of tube or scrap kit to make your tag unique. If you want your tag to look just like mine them use the same supplies I have used. This tutorial assumes you have a knowledge of paint shop pro. Any resemblance to any other tag or tutorial is completely coincidental.
Supplies Used:
I am using the work of Clare Bertram.  You can purchase this tube at http://cdoestore.com
Scrap kit is called Dark Lil by Amy Marie’s Kits. You can purchase this kit at http://amymarieskits.com/store/
Font of your choice. I am using Queen. This is a PTU font.
Plugins:
NONE
Drop shadow used throughout:
0 0 100 13.00 black

Let's Begin:
Open element 35 and shift+D To duplicate. Close the original. Make you canvas large enough to give you room to work with.
Using your magic wand select the inside of the frame. Selections modify and expand by 4. Layers new raster layer and drag under the frame. Open paper 16 and edit and copy and paste into selection. Selections select none.
Select the inside of the frame again and this time selections modify and expand by 2. Open your tube and copy and paste as a new layer. Erase any bits hanging out of the frame that you do not want. Selections select none. Add a drop shadow to both the frame and the tube.
Open element 4 and copy and paste as a new layer. Drag to the bottom. Move to the top of the frame so you can see the candles and flame around your tube and above the top edge of the frame. Add a drop shadow.
Open element 107 and copy and paste as a new layer. Drag to the bottom. Move to the top left behind the head of your tube and the candles. Add a drop shadow.
Open element 10 and copy and paste as a new layer and drag to the bottom. Move to the bottom right of the frame. Add a drop shadow.
Open element 6 and re-size as needed. Copy and paste as a new layer and place in the bottom right hand corner of the frame. Add a drop shadow. Now build up around the side and bottom of the frame with other flowers of your choice from the kit. There are so many to choose from. Add a drop shadow to each one.
Open element 24 and re-size. Copy and paste as a new layer and place in the lower left corner of the frame. Add a drop shadow.
Open element 40 and copy and paste as a new layer. Place along the bottom amongst the flowers. Erase any bits to make it look like its wrapped around the flowers and in and around your tube. Add a drop shadow.
Open element 114 and re-size. Copy and paste as a new layer and place in the bottom right corner. Tuck it behind some of the flowers. Add a drop shadow.
Add your name.
Add your copyright and licensing information.
Crop and save.


Thursday, September 29, 2016

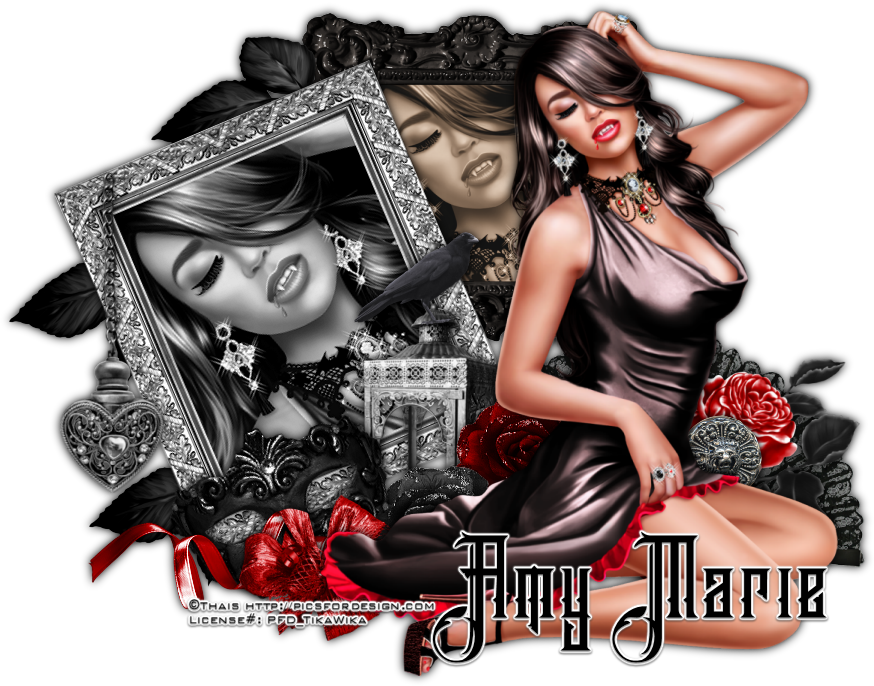
Vampire Love


Vampire Love
Written 9/29/2016
This tutorial is meant purely as a guide. Feel free to use your own choice of tube or scrap kit to make your tag unique. If you want your tag to look just like mine them use the same supplies I have used. This tutorial assumes you have a knowledge of paint shop pro. Any resemblance to any other tag or tutorial is completely coincidental.
Supplies Used:
Tube of your choice. I am using the artwork of Thais. You can purchase this tube at http://picsfordesign.com
The scrap kit is called Simone and is by Amy Marie’s Kits. You can purchase this kit at http://amymarieskits.com/store/
Font of your choice. I am using Brandley. This is a PTU font.
Plugins:
NONE
Drop shadow used throughout:
0 0 100 13.50 black

Let's Begin:
Open a blank canvas that is going to give you plenty of room to work with.
Open element 40 and shift+D to duplicate. Close the original. Using your magic wand select the inside of the frame and go to selections modify and expand by 5. Layers new raster layer and drag under the frame. Flood fill with black. Open your tube and copy and paste as a new layer and drag under the frame. Position so her face is within the frame. Adjust hue and saturation, colorize and set both values to 0. Selections invert and hit delete. Selections select none. Merge all of these layers together. Crop this canvas around the frame. Copy and paste as a new layer on the blank canvas. Re-size. Image free rotate to the left 23 degrees. Adjust sharpen. Move to the left of the canvas. Add a drop shadow.
Open element 66 and we are going to basically repeat the same steps as above but do not colorize. Once you get your tube positioned in the frame go to effects. Photo Effects. Sepia Toning and set the amount to age to 60. Merge the layers together. Crop the canvas. Copy and paste as a new layer onto your tag canvas. Re-size. Move to the top and to the right of your first image and drag under so it comes out from behind that frame. Use my tag for reference if needed. Add a drop shadow.
Open your tube and copy and paste as a new layer. Re-size as needed. Move her to the far right and up so her head is right next to the small black framed image. Use my tag for reference if needed. Add a drop shadow.
Now let’s dress the tag up with elements from the kit. I will list the elements I used. Feel free to use other elements to make your tag unique. Placement of the elements is completely up to you. If you want your tag to look just like mine then use my tag for reference.
Elements I used:
9
10
11
24
27
35
53
54
56
62
65
99
Add your name.
Add your copyright and licensing information.
Crop and save.


Monday, September 26, 2016

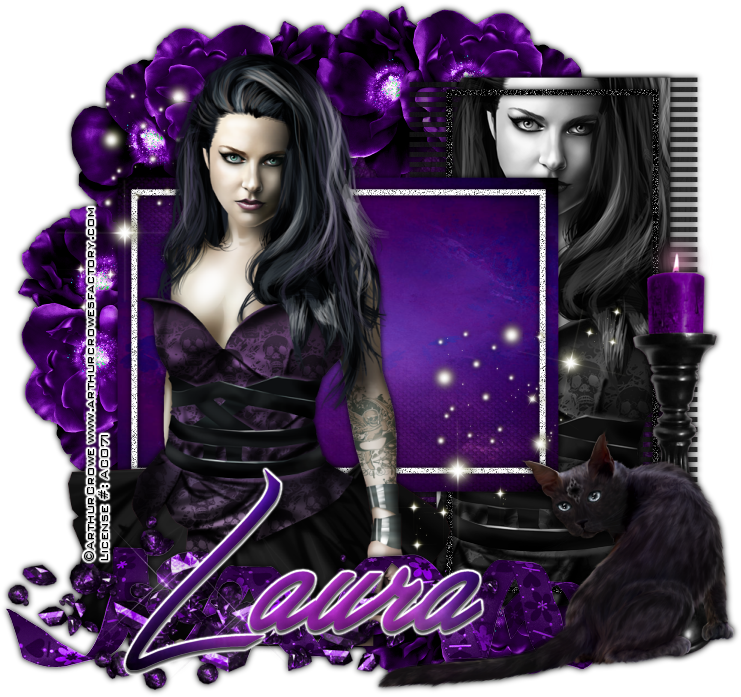
Darkly Enchanted


Darkly Enchanted
Written 9/23/2016
This tutorial is meant purely as a guide. Feel free to use your own choice of tube or scrap kit to make your tag unique. If you want your tag to look just like mine them use the same supplies I have used. This tutorial assumes you have a knowledge of paint shop pro. Any resemblance to any other tag or tutorial is completely coincidental.
Supplies Used:
Tube of your choice. I am using the work of Arthur Crowe. You can purchase this tube and all of his work at http://arthurcrowesfactory.com/store/
Scrap kit is called Beline and is by Tiny Turtle Designs. You can purchase it at http://tinyturtledesigns.com/store/
Tag template by Created By Crys. You can download it at http://createdbycrys.blogspot.com/2011/10/halloween-tag-templates-6-10.html
Font of your choice. I am using Great Day. You can download it at http://www.dafont.com/great-day.font
Plugins:
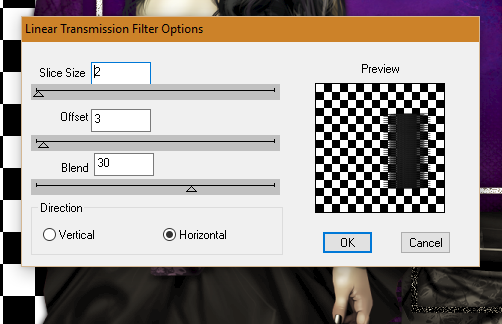
DSB Flux Linear Transmission
Drop shadow used throughout:
0 0 100 9.00 black

Let's Begin:
Open the tag template. Shift+D to duplicate. Close the original. Remove the following layers: copyright, bats, cat, 7 background. Make your canvas large enough to work with.
Fill the layers of the template with colors, gradients, textures or papers from the kit. It is completely up to you.
On the rectangle layer on the right side selections select all float defloat copy and paste your tube as a new layer and position within the selected area. Selections invert and hit delete to clear the excess. Selections select none. Adjust hue and saturation colorize. Set both values to 0. On the bottom rectangle layer apply the DSB flux Linear transmission plugin using the following settings:

Add a drop shadow to all layers.
Open your tube again and copy and paste as a new layer and move more towards the left of the tag. Add a drop shadow.
Now let’s dress the tag up with elements from the kit. I will list the elements I used. Feel free to use other elements to make your tag unique. Placement of the elements is completely up to you. If you want your tag to look just like mine then use my tag for reference.
Elements I used:
21
39
69
73
81
135
Add your name.
Add your copyright and licensing information.
Crop and save.

Thursday, September 15, 2016

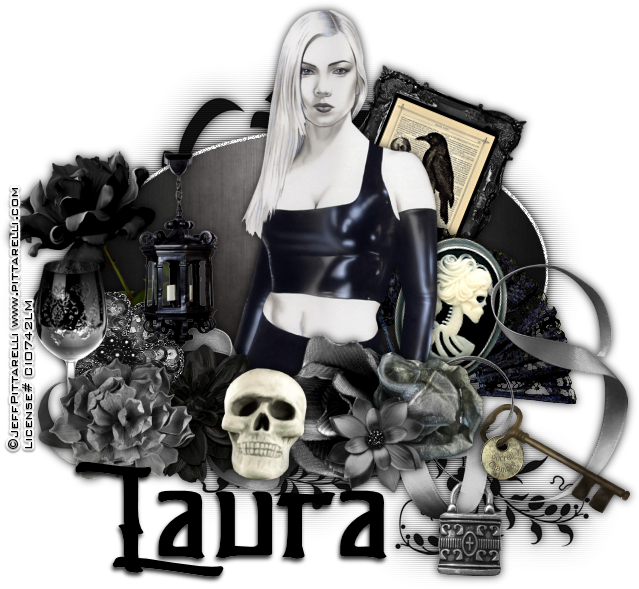
Dark Night Beauty


Dark Night Beauty
Written 9/15/2016
This tutorial is meant purely as a guide. Feel free to use your own choice of tube or scrap kit to make your tag unique. If you want your tag to look just like mine them use the same supplies I have used. This tutorial assumes you have a knowledge of paint shop pro. Any resemblance to any other tag or tutorial is completely coincidental.
Supplies Used:
Tube of your choice. I am using the work of Jeff Pitarelli. I got this tube when he was with CILM. I am not sure where you can get his tubes now or if you even can.
Scrap Kit is called Zypher by Tiny Turtle Designs. You can purchase this kit at http://tinyturtledesigns.com/store/
Font of your choice. I am using Mishall. This is a PTU font.
Plugins:
NONE
Drop shadow used throughout:
0 0 85 13.00 Black

Let's Begin:
Open element 28 from the kit and shift+D to duplicate. Close the original. Make your canvas large enough to work with.
Using your magic wand select the inside of the center of the mask. Open paper 15 and copy and paste into selection. Open your tube and copy and paste as a new layer. Place in the center of the mask area. Erase any bits you do not want hanging out with your eraser tool. Add a drop shadow.
Back on the mask layer select the white outline using your magic wand. Add noise of your choice to the outline. Add a drop shadow to the mask layer.
Duplicate the mask layer. On the bottom layer adjust blur Gaussian blur at 15.00. Effects Texture Effects Blinds with the following settings:
Width – 2
Opacity – 85
Color – White
Horizontal and Light from left/top – both checked
Now let’s dress the tag up with elements from the kit. I will list the elements I used. Feel free to use other elements to make your tag unique. Placement of the elements is completely up to you. If you want your tag to look just like mine then use my tag for reference.
Elements I used:
7
13
15
16
23
40
42
43
48
51
55
60
61
63
82
97
Add your name.
Add your copyright and licensing information.
Crop and save.

Thursday, August 4, 2016

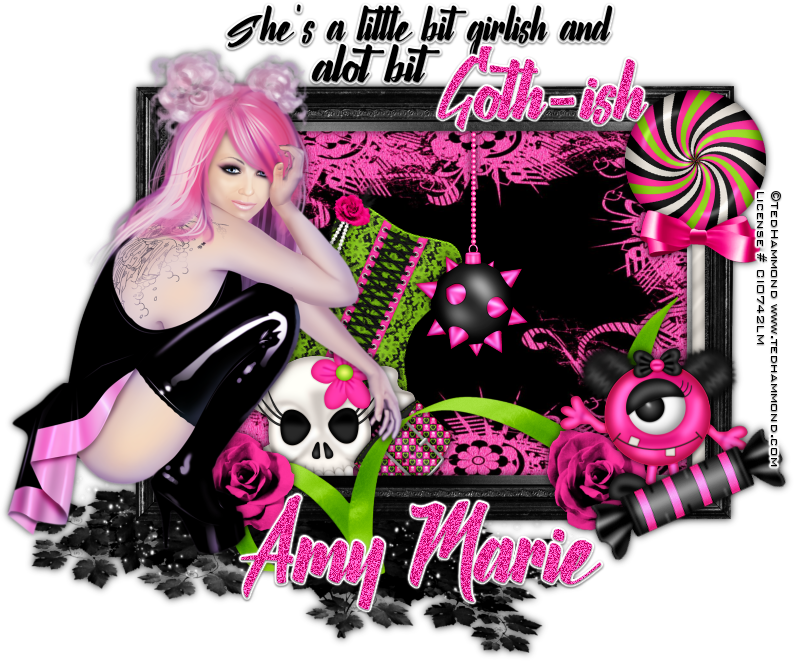
Goth-ish


Goth-ish
Written 8/4/2016
This tutorial is meant purely as a guide. Feel free to use your own choice of tube or scrap kit to make your tag unique. If you want your tag to look just like mine them use the same supplies I have used. This tutorial assumes you have a knowledge of paint shop pro. Any resemblance to any other tag or tutorial is completely coincidental.
Supplies Used:
Tube of choice. I am using an image by Ted Hammond. I purchased this image when his work was sold at CILM which is no longer in business. However you can now purchase his work at http://cdoestore.com
Scrap Kit is a little Mini Kit by Amy Marie’s Kits called Lexi. You can purchase this kit at http://amymarieskits.com/store/
Font of your choice. I am using Nalika. This is a PTU font.
Plugins:
NONE
Drop shadow used throughout:
0 0 85 11.00 black

Let's Begin:
Open F1 and shift+D to duplicate. Close the original. Image free rotate to the right 90 degrees. Make your canvas large enough to work with.
Using your magic wand select the inside of the frame. Selections modify and expand by 5. Layers new raster layer and drag under the frame. Open a paper of your choice from the kit and copy and paste into selection. Selections select none. I used paper 2.
Add a drop shadow to the frame.
Open your tube and copy and paste as a new layer. Re-size if needed so your tube is just slightly larger than the frame. Move to the far left. Add a drop shadow.
Now we are going to use some of the elements from the kit and make them look like they are inside and popping out of the frame. Use whichever elements you would like or I will the elements I used below.
Elements I used :
2
4
6
10
21
23
30
31
34
39
Add a drop shadow to all elements.
Add some text along the top if you wish.
Add your name.
Add your copyright and licensing information.

Crop and save.

Tuesday, July 12, 2016

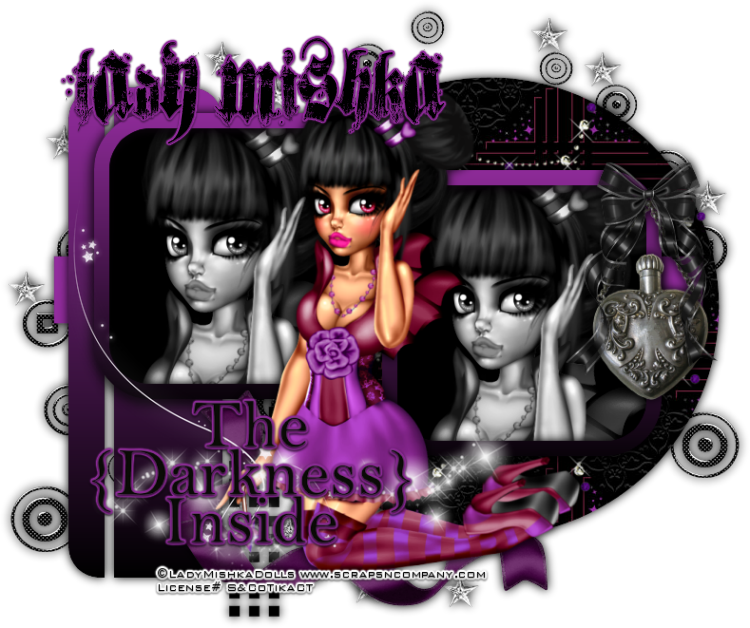
The Darkness Inside


The Darkness Inside
Written 7/12/2016
This tutorial is meant purely as a guide. Feel free to use your own choice of tube or scrap kit to make your tag unique. If you want your tag to look just like mine them use the same supplies I have used. This tutorial assumes you have a knowledge of paint shop pro. Any resemblance to any other tag or tutorial is completely coincidental.

Supplies Used:
Tube of your choice. I am using a Scraps N Company store exclusive tube by Lady Mishka called Gothic Beauty Love. You can purchase her at http://scrapsncompany.com/index.php?main_page=product_info&cPath=490_554&products_id=20730
The scrap kit is called Goth Love by Jens Sweet Temptations. You can purchase the kit at http://scrapsncompany.com/index.php?main_page=product_info&products_id=20743
Tag Template by Scraps Of Enchantment. You can download it at http://scrapsofenchantment.blogspot.ca/2015/12/template-137.html?zx=c1e42b2654db3653
Font of your choice. I am using hardcorium. You can download it at http://www.fontspace.com/last-soundtrack/hardcorium
Plugins:
NONE
Drop shadow used throughout:
0 0 100 15.00 Black

Let's Begin:
Open the tag template and shift+D to duplicate. Close the original. Delete the info layer and the background layer. Make your canvas large enough to work with. Fill each of the layers of the template with papers and colors of your choice. Once you are done add a drop shadow to each layer.
Select the inside of each of the frame areas on the template and copy and paste your tube inside. Position how you want. Selections invert and hit delete. Selections select none. Adjust hue and saturation colorize both and change the values to 8. Merge all of the layers of the frames together.
Open your tube again and copy and paste as a new layer and position in the middle of the template. Add a drop shadow.
Now let’s dress the tag up with elements from the kit. I will list the elements I used. Feel free to use other elements to make your tag unique. Placement of the elements is completely up to you. If you want your tag to look just like mine then use my tag for reference.
Elements I used:
8
9(I flipped it vertical and moved to the left)
21
28
29
36
41
47
61
Add your name.
Add your copyright and licensing information.
Crop and save.


Monday, June 27, 2016

Dark Night


Dark Night
Written 6/27/2016
This tutorial is meant purely as a guide. Feel free to use your own choice of tube or scrap kit to make your tag unique. If you want your tag to look just like mine them use the same supplies I have used. This tutorial assumes you have a knowledge of paint shop pro. Any resemblance to any other tag or tutorial is completely coincidental.
Supplies Used:
Tube of your choice. I am using a tube by Alex Prihodko. It is called Dark Queen. You can purchase this tube at http://picsfordesign.com
Scrap Kit is called Punk Girls by Amy Marie’s Kits. You can purchase this kit at http://amymarieskits.com/store/
Font of your choice. I am using Real Prizes. You can download it at http://www.dafont.com/realprizes.font
Plugins:
Xero Mistifier
DSB Flux Linear Transmission
Drop shadow used throughout:
0 0 100 15.00 black

Let's Begin:
Open element 84 and shift+D to duplicate. Close the original. Make your canvas large enough to work with. Using your magic wand select the inside of the frames. Selections modify and expand by 3. Open paper 10 and copy and paste as a new layer. Drag under the frame and selections invert. Hit delete. Selections select none. Using your magic wand again select the inside of only one side of the frame. Selections modify and expand by 2. Open your tube and copy and paste as a new layer. Position within the frame. Selections invert and hit delete. Selections select none. Repeat with the other frame. Change layer property to Luminance Legacy on both tubes. Merge these 2 tube layers together. Apply the Xero Mistifier plugin using the default settings. Add a drop shadow to the frame. Merge all the layers visible. Duplicate. On the bottom layer go to adjust blur Gaussian blur at 12.00. Resize this bottom layer by 105%. Apply the DSB Flux Linear Transmission plugin using the following settings:

Add noise to this layer using uniform monochrome and 25%.
Open your tube again and copy and paste as a new layer at the top. Re-size as needed. Position in the center of the frames. Apply the Xero Mistifier plugin again the same as before. Add a drop shadow.
Now let’s dress the tag up with elements from the kit. I will list the elements I used. Feel free to use other elements to make your tag unique. Placement of the elements is completely up to you. If you want your tag to look just like mine then use my tag for reference.
Elements I used:
9
36
39
40
57
77
105
108
112
126
Add your name.
Add your copyright and licensing information.
Crop and save.


Tuesday, June 7, 2016

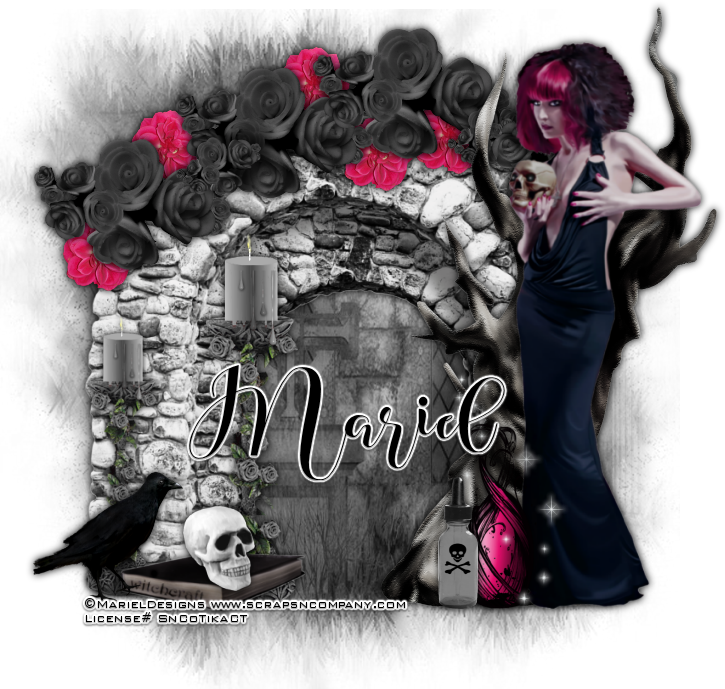
Pick Your Poison


Pick Your Poison
Written 6/4/2016
This tutorial is meant purely as a guide. Feel free to use your own choice of tube or scrap kit to  make your tag unique. If you want your tag to look just like mine them use the same supplies I have used. This tutorial assumes you have a knowledge of paint shop pro. Any resemblance to any other tag or tutorial is completely coincidental.
Supplies Used:
Tube is by Mariel and is part of the Dark Roses Collab at Scraps N Company. You can get this awesome collab by spending $12.50 in the store. You can find the collab at http://scrapsncompany.com/index.php?main_page=product_info&cPath=587_144&products_id=20089&zenid=08nhk49kqodhrq436is8imqu71
Matching scrap kit is by Lil Mz Brainstorm and is called Dark Roses. It is also part of the collab that you can find above.
Mask of your choice. I am using mask #177 by Insatiable Dreams You can get her masks at http://insatiabledreams.net under resources.
Font of your choice. I am using Zombis Nigth. This is a PTU font.
Plugins:
NONE
Drop shadow used throughout:
0 0 100 12.00 black

Let's Begin:
Open element 21 from the kit and shift+D to duplicate. Close the original. Re-size if you wish. Make your canvas large enough to work with.
Open paper 1 and copy and paste as a new layer. Drag under the column. Apply the mask of your choice. Delete the mask layer and merge the group.
Add a drop shadow to the cement arch.
Open your tube and copy and paste as a new layer and re-size as needed. Move to the far right side of the cement arch. Add a drop shadow.
Open element 19 and copy and paste as a new layer. Move to the far right side. Drag under your tube and place in front of the cement arch but behind your tube. Add a drop shadow.
Open element 25. Image flip vertical. Copy and paste as a new layer and move to the top of the arch. Add a drop shadow.
Open element 23 and re-size. Copy and paste as a new layer and drag under the black flowers. Place so it is peeking out around the black flowers. Duplicate several times and place randomly around the black flowers. Add a drop shadow to each flower.
Open element 35 and re-size by 50%. Copy and paste as a new layer. Move to the bottom and left of your tube. Add a drop shadow.
Open element 1 and re-size. Copy and paste as a new layer and move to the bottom by the other bottle. Add a drop shadow.
Open element 47 and re-size. Copy and paste as a new layer. Add a drop shadow.
Open element 48 and re-size. Image flip horizontal. Copy and paste as a new layer and set on the book. Add a drop shadow.
Open element 50 and copy and paste as a new layer. Place in front of the left column. Add a drop shadow. Duplicate and re-size by 85%. Move this one to the farther left.
Open element 45 and re-size. Copy and paste as a new layer and move to the bottom far left. Add a drop shadow.
Add your Name.
Add your copyright and licensing information.
Crop and save.


Monday, May 2, 2016

Fluent Sarcasm - Forum Set


Fluent Sarcasm – Forum Set
written 5/2/2016

This tutorial is meant purely as a guide. Feel free to use your own choice of tube and scrap kit to make your tag unique. If you want your tag to look just like mine then use the same supplies I have used. This tutorial assumes you have a knowledge of paint shop pro. Any resemblance to any other tag or tutorial is purely coincidental.

Supplies Used:

Tube is by Lysisange. This tube is part of a wonderful collab at Scraps N Company. All you have to do is spend $12.50 at the store and you can get this collab as a free gift. Lots of great goodies in it. Check out the collab at http://scrapsncompany.com/index.php?main_page=product_info&cPath=587_144&products_id=19502

Scrap Kit is by Design By Joan. It is also part of the above collab.


Font of your choice. I am using Raven Script. You can download it at http://www.fontspace.com/mikrojihad-font/raven-script-demo

Plugins:
NONE

Drop shadow used throughout:
0 0 100 12.00 black

Let's Begin:
Open all of your supplies.
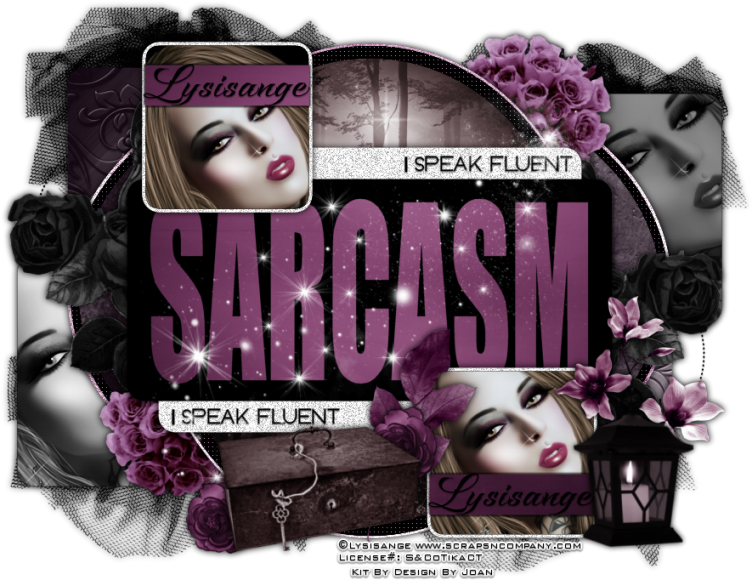
We are going to start with the large tag first.
Shift+D to duplicate the template and close the original.
Delete the watermark and text pixel right and left layers off the template.
Fill all of your layers of the tag template using papers from the kit.
Colorize any layers you wish to colorize to match your tube.
I also added noise to the white layers but this is completely up to you.
I used settings of :
uniform monochrome and 75%.
Select the black square right layer and selections select all float and defloat.
Open your tube and copy and paste as a new layer.
Re-size as needed.
Position so the face of your tube is within the selected area.
Selections invert and hit delete
Selections select none.
Merge together all of the layers that go with the black square right.
I added a drop shadow of
1 -1 100 3.00 black
to the color stripe before I merged but this is completely up to you.
Repeat with the black square left layers.
Add a drop shadow to these merged layers.
Merge toether all of the layers that go with the center word art.
Once merged add a drop shadow to it
Merge together all layers that have to do with gradient small oval and add a drop shadow.
Repeat with gradient large oval.
Make your blk square top right layer active and selections select all float and defloat.
Open your tube and copy and paste as a new layer.
Re-size as needed.
Position so your face is in the selected area.
Selections invert and hit delete.
Selections select none.
Adjust hue and saturation colorize and set both values to 0.
Lower the opacity of the tube layer to 60.
Merge these 2 layers together.
Repeat with the blk square bottom left layer.
Once you are done add a drop shadow to both layers.
Add a drop shadow to the remaining layers.
Now lets dress this tag up with some of the awesome elements from the kit.
I will simply list the elements I used.
Placement is up to you.
Feel free to use elements I did not use.
Use my tag for reference if you wish.
Elements I used:
6
8
9
10
14
17
30
32
34
Add your name to the 2 stripes across the smaller squares.
Add your copyright and licensing information.
Crop and re-size if you wish.
Save.
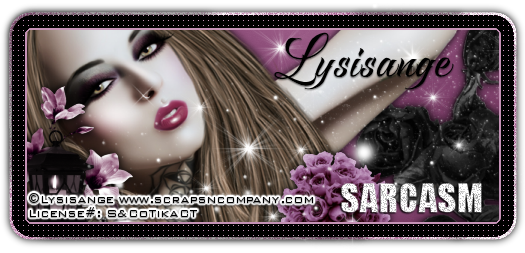
Lets move onto the banner style tag.
Open that template and shift+D to duplicate.
Close the original.
Delete the watermark and the text pixel layer.
Make your canvas larger if you need to.
Colorize the following layers to match your tube:
gradient border , pink inner border and black dotted border.
Make the black background layer active and selections select all float and defloat.
Open paper 5 and copy and paste as a new layer.
Selections invert and hit delete.
Selections invert again.
Open your tube and copy and paste as a new layer.
Re-size if needed.
Position within the selected area.
Selections invert and hit delete.
Add a drop shadow.
Add a drop shadow to the bottom gradient layer.
Add some noise to the word art.
Add a drop shadow to it.
Now lets add some elements to this tag.
I again will list the elements I used and placement is up to you.
Feel free to use other elements.
Elements I used:
6
8
10
14
17
Add your name.
Add your copyright and licensing information.
Save.
Now lets move onto the avatar:
Remove the watermark layer.
Make the black background layer active and selections select all float and defloat.
Open paper 5 and copy and paste as a new layer.
Selections invert and hit delete.
Selections invert again.
Open your tube again and copy and paste as a new layer.
Re-size as needed.
Position within the selected area and selections invert and hit delete.
Selections select none.
Colorize the pink rectangle to match your tube.
Add a drop shadow to the tube and the rectangle layer.
Add your name.
Add your copyright and licensing information.
Save.