Beauty Of The Deep
Written 8/04/2016
This tutorial is meant purely as a guide. Feel free to
use your own choice of tube or scrap kit to make your tag unique. If you want
your tag to look just like mine them use the same supplies I have used. This
tutorial assumes you have a knowledge of paint shop pro. Any resemblance to any
other tag or tutorial is completely coincidental.
Supplies Used:
Tube of your choice. I am using the work of Andy
Cooper and this tube is called Sea Mermaid. You can purchase this tube at http://scrapsncompany.com/index.php?main_page=product_info&cPath=113_652_304&products_id=21033
The scrap kit is called Sea Mermaid and it is by
Mysterfeerie Creation. You can purchase this kit at http://scrapsncompany.com/index.php?main_page=product_info&products_id=21236
Mask of your choice. I am using one by Scrappy Bit of
Fun. You can get them at http://scrappybitoffun.blogspot.ca/2016/07/six-new-masks.html
Plugins:
NONE
Drop shadow used throughout:
0 0 85 11.00 black
Let's Begin:
Open element 5 from the frames folder of the kit.
Shift+D to duplicate. Close the original. Make your canvas large enough to work
with. Open paper 5 from the papers folder of the kit. Copy and paste as a new
layer and drag under the frame. Apply the mask of your choice. Delete the mask
layer and merge the group. Using your magic wand select the inside of the frame
and selections modify and expand by 15. Copy and paste the paper again and move
to the very bottom. Selections invert and hit delete. Selections select none.
Open your tube and re-size as needed. Copy and paste
as a new layer and position within the frame. Erase any bits you don’t want
hanging out of the frame. Add a drop shadow to the tube.
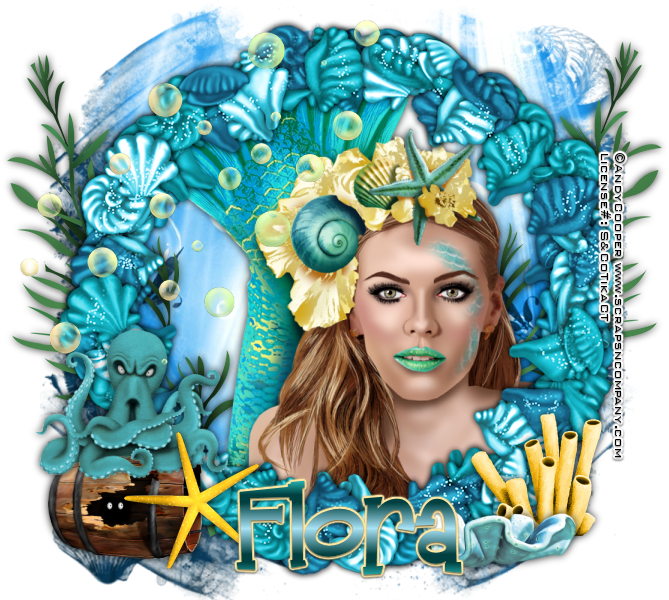
Now let’s dress the tag up with elements from the kit.
I will list the elements I used. Feel free to use other elements to make your
tag unique. Placement of the elements is completely up to you. If you want your
tag to look just like mine then use my tag for reference.
Elements I used:
36
41
43
44
47
55
60
Add your name.
Add your copyright and licensing information.
Crop and save.