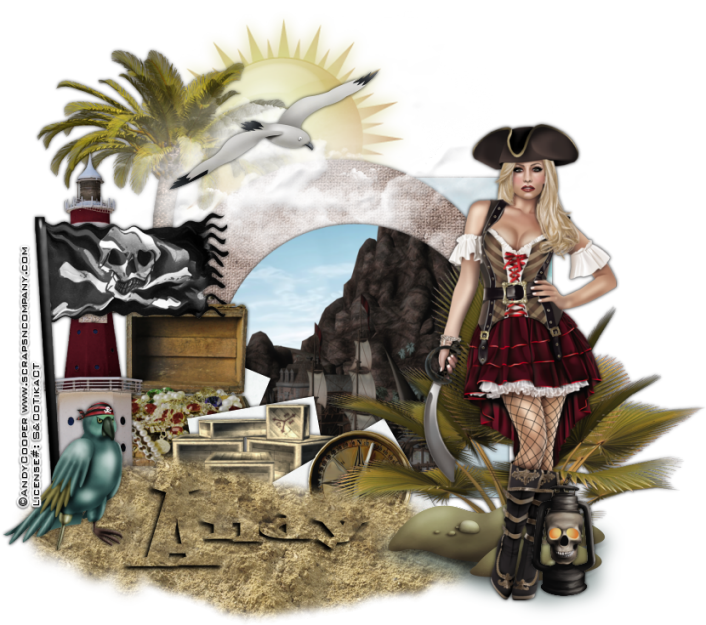
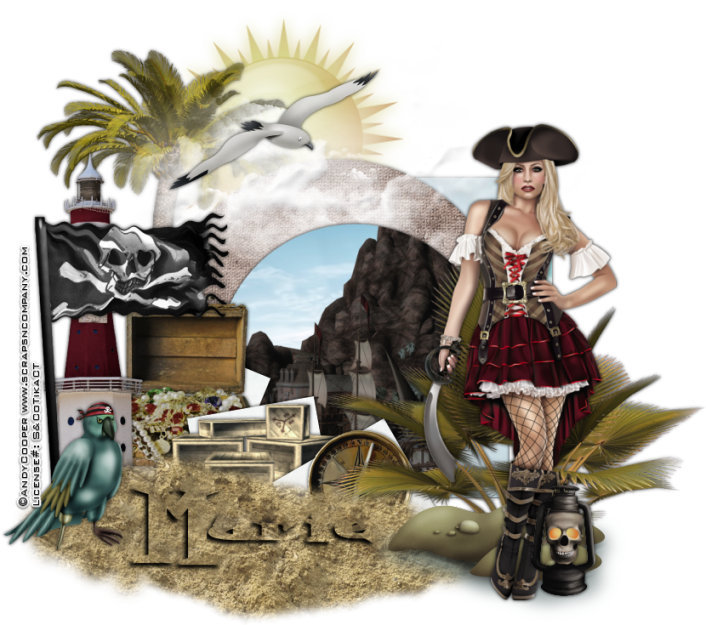
Showing posts with label Mariel Designs. Show all posts

Wednesday, January 18, 2017

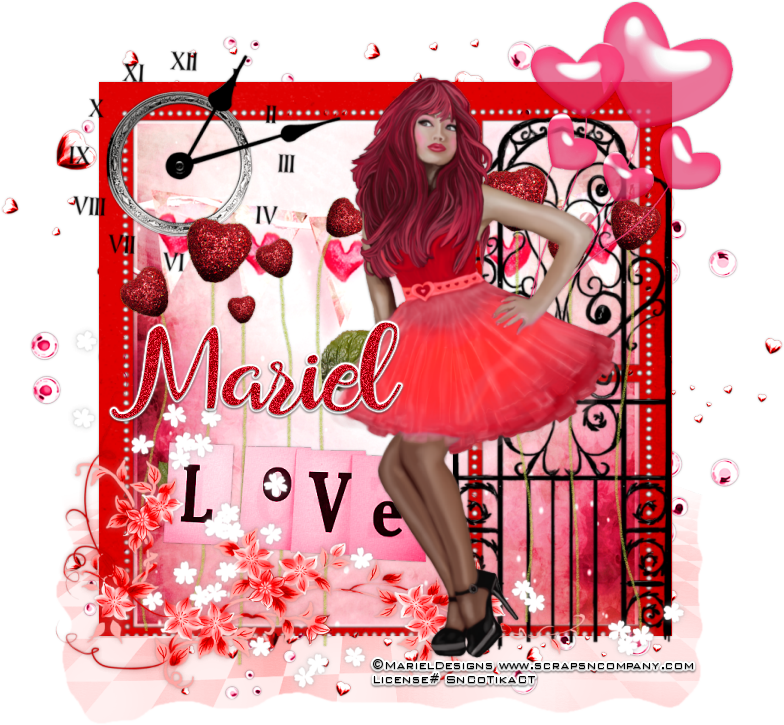
Time For Love


Time For Love
Written 1/18/2017
This tutorial is meant purely as a guide. Feel free to use your own choice of tube or scrap kit to make your tag unique. If you want your tag to look just like mine them use the same supplies I have used. This tutorial assumes you have a knowledge of paint shop pro. Any resemblance to any other tag or tutorial is completely coincidental.

Supplies Used:
Tube of your choice. I am using a tube by Mariel Designs called Perfect Love. She was created for the Perfect Love Collab at Scraps N Company. You can get this entire collab free with your $13.50 purchase. Check out the collab at http://scrapsncompany.com/index.php?main_page=product_info&cPath=587_144&products_id=25373
The scrap kit I used is also called Perfect Love and is by Chili Designz. This kit is also part of the awesome collab.
Font of your choice. I am using Saldina. This is a PTU font.
Plugins:
NONE
Drop shadow used throughout:
0 0 30 3.00 black

Let's Begin:
Open frame 2 from the kit. Shift+D to duplicate. Close the original. Re-size if you wish. Make your canvas large enough to work with. Using your magic wand select the inside of all sections of the frame. Selections modify and expand by 5. Layers new raster layer and drag under the frame. Open paper 1 and copy and paste into selection. Selections select none. Add a drop shadow to the frame.
Open your tube and copy and paste as a new layer. Re-size until she is just barely bigger than the frame. Move to where she is standing between the main part of the frame and the 2 smaller parts to the right. Add a drop shadow.
Open the floor element from the kit. Copy and paste as a new layer. Drag to the bottom. Move to the bottom of the frame as we are going to make the tube stand on it.  Re-size until it just slightly larger than the frame on both sides. Now if you notice there are some pretty sharp lines and angles and we want to get rid of those. There are 2 ways you can do this. Use your eraser tool and set your hardness down to about 25 and the opacity to about 4. The size to medium to large and just around the edge and erase some of the bits and get rid of the straightness. The second way is to use your freehand selection tool set to freehand and just draw around the edges in an imperfect manner. Selections invert and hit delete. You can use your eraser again to get rid of any sharpness or you can use your soften tool. Just check out the tools in psp they are pretty handy.

Now let’s dress the tag up with elements from the kit. I will list the elements I used. Feel free to use other elements to make your tag unique. Placement of the elements is completely up to you. If you want your tag to look just like mine then use my tag for reference.
Elements I used:
balloons
clock
corner2
deco
gate
Hearts2
Spill
Wa
Add your name.
Add your copyright and licensing information.
Crop and re-size as you wish.
Save your tag.
♥♥♥

Sunday, September 4, 2016

Play For You


Play For You
Written 9/4/2016
This tutorial is meant purely as a guide. Feel free to use your own choice of tube or scrap kit to make your tag unique. If you want your tag to look just like mine them use the same supplies I have used. This tutorial assumes you have a knowledge of paint shop pro. Any resemblance to any other tag or tutorial is completely coincidental.

Supplies Used:
Tube of your choice. I am using the work of Selisan Al-Gaib. This tube is called Grace. You can purchase her at http://scrapsncompany.com/index.php?main_page=product_info&cPath=113_666_668&products_id=21950
Scrap Kit is by Mariel Designs. The kit is called Concerto. You can purchase it at http://scrapsncompany.com/index.php?main_page=product_info&products_id=22119
Template is by Millie’s PSP Madness. It is template # 762 and you can download it at http://milliespspmadness.blogspot.com/2015/05/tags-and-snags-w-celinart-pinup.html
Brushes of your choice. You can get some decent brushes at http://deviantart.com
Font of your choice. I am using You Are Precious. You can download it at http://www.fontspace.com/jonathan-s-harris/you-are-precious
Plugins:
NONE
Drop shadow used throughout:
0 0 85 11.00

Let's Begin:
Open your template and shift+D to duplicate. Close the original. Remove the temp by Millie and background layers. Make your canvas big enough to work with.
Fill each of the layers of the template with either papers from the kit or colors/gradients of your choice. Once you have them all filled then add a drop shadow to each one.
Open your tube and copy and paste as a new layer. Add a drop shadow.
Layers new raster layer and drag to the bottom. Apply the brushes of your choice to this layer.
Now let’s dress the tag up with elements from the kit. I will list the elements I used. Feel free to use other elements to make your tag unique. Placement of the elements is completely up to you. If you want your tag to look just like mine then use my tag for reference.
Elements I used:
8
14
16
17
18
26
27
51
Add a drop shadow to each of the elements.
Add your name.
Add your copyright and licensing information.
Crop and save.


Tuesday, June 7, 2016

Pick Your Poison


Pick Your Poison
Written 6/4/2016
This tutorial is meant purely as a guide. Feel free to use your own choice of tube or scrap kit to  make your tag unique. If you want your tag to look just like mine them use the same supplies I have used. This tutorial assumes you have a knowledge of paint shop pro. Any resemblance to any other tag or tutorial is completely coincidental.
Supplies Used:
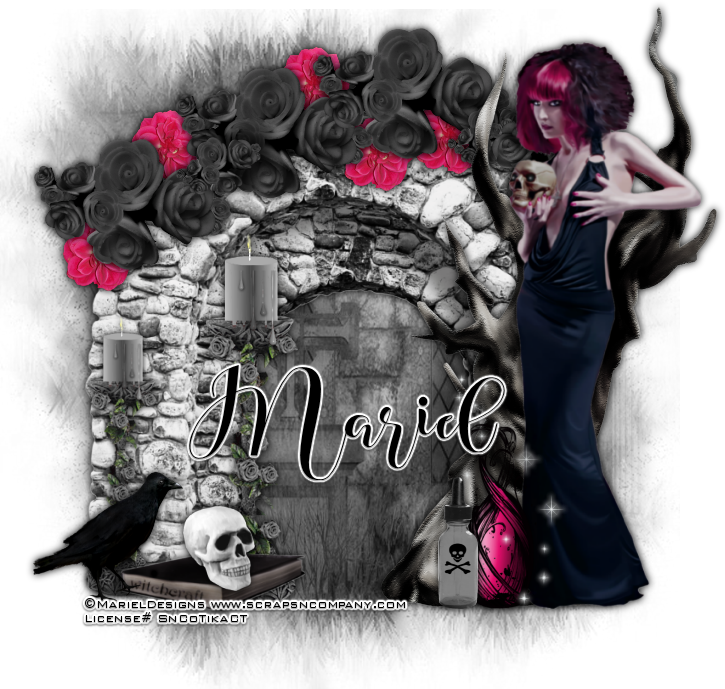
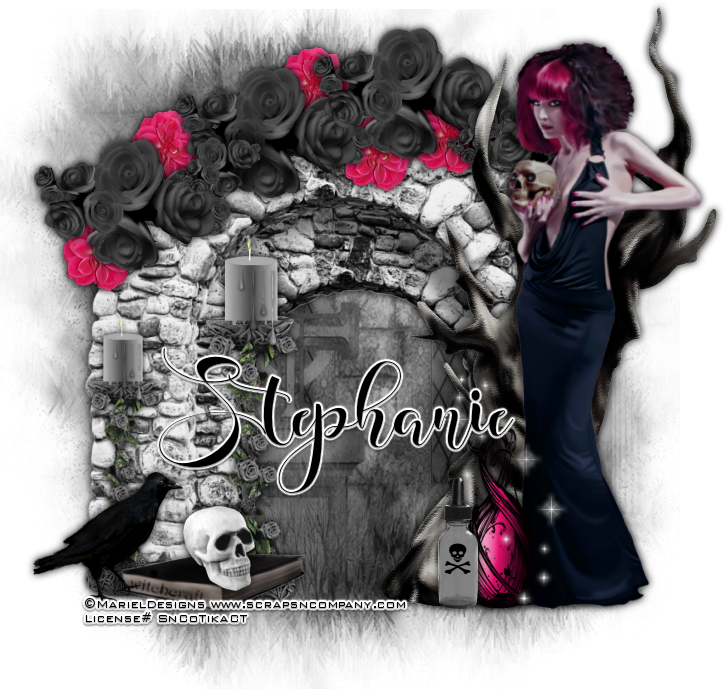
Tube is by Mariel and is part of the Dark Roses Collab at Scraps N Company. You can get this awesome collab by spending $12.50 in the store. You can find the collab at http://scrapsncompany.com/index.php?main_page=product_info&cPath=587_144&products_id=20089&zenid=08nhk49kqodhrq436is8imqu71
Matching scrap kit is by Lil Mz Brainstorm and is called Dark Roses. It is also part of the collab that you can find above.
Mask of your choice. I am using mask #177 by Insatiable Dreams You can get her masks at http://insatiabledreams.net under resources.
Font of your choice. I am using Zombis Nigth. This is a PTU font.
Plugins:
NONE
Drop shadow used throughout:
0 0 100 12.00 black

Let's Begin:
Open element 21 from the kit and shift+D to duplicate. Close the original. Re-size if you wish. Make your canvas large enough to work with.
Open paper 1 and copy and paste as a new layer. Drag under the column. Apply the mask of your choice. Delete the mask layer and merge the group.
Add a drop shadow to the cement arch.
Open your tube and copy and paste as a new layer and re-size as needed. Move to the far right side of the cement arch. Add a drop shadow.
Open element 19 and copy and paste as a new layer. Move to the far right side. Drag under your tube and place in front of the cement arch but behind your tube. Add a drop shadow.
Open element 25. Image flip vertical. Copy and paste as a new layer and move to the top of the arch. Add a drop shadow.
Open element 23 and re-size. Copy and paste as a new layer and drag under the black flowers. Place so it is peeking out around the black flowers. Duplicate several times and place randomly around the black flowers. Add a drop shadow to each flower.
Open element 35 and re-size by 50%. Copy and paste as a new layer. Move to the bottom and left of your tube. Add a drop shadow.
Open element 1 and re-size. Copy and paste as a new layer and move to the bottom by the other bottle. Add a drop shadow.
Open element 47 and re-size. Copy and paste as a new layer. Add a drop shadow.
Open element 48 and re-size. Image flip horizontal. Copy and paste as a new layer and set on the book. Add a drop shadow.
Open element 50 and copy and paste as a new layer. Place in front of the left column. Add a drop shadow. Duplicate and re-size by 85%. Move this one to the farther left.
Open element 45 and re-size. Copy and paste as a new layer and move to the bottom far left. Add a drop shadow.
Add your Name.
Add your copyright and licensing information.
Crop and save.


Friday, February 26, 2016

Swag In The City


Swag In The City
written 2/26/2016

This tutorial is meant purely as a guide. Feel free to make your tag unique by using your own choice of tube and scrap kit. If you want your tag to look just like mine then use the same supplies I have used. Any resemblance to any other tag or tutorial is purely coincidental.

Supplies Used:


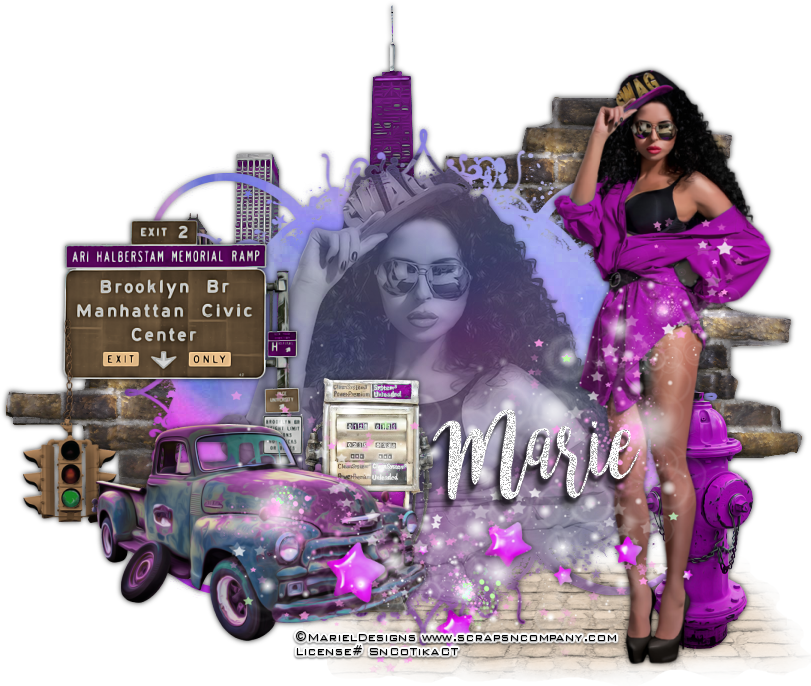
Matching scrap kit by Mariel Designs and you can purchase it at http://scrapsncompany.com/index.php?main_page=product_info&products_id=17726

Mask of your choice. I am using mask #424 by Vix. You can get her awesome masks at http://www.freewebs.com/vixpsp/

Font of your choice. I am using Bromello. You can download it at http://www.fontspace.com/alit-design/bromello

Plugins:
Xero Porcelain

Let's Begin:
Open paper 8 and shift+D to duplicate.
Close the original.
Promote background layer to a raster layer.
Make your canvas large enough to give you plenty of room to work with.
Apply your mask to the paper layer .
Delete the mask layer and merge the group.
On your mask layer selection select all float and defloat.
Open your tube and copy and paste as a new layer.
Position her face within the selected area.
Selections invert and hit delete.
Selections select none.
Adjust hue and saturization/colorize and set both values to 0.
Apply the Xero Porcelain filter using the default settings.
Lower the opacity of this tube layer to 60.
Add a drop shadow to both the tube and the mask.
Merge these 2 layers together.
Open element 2 and copy and paste as a new layer.
Drag under the mask layer.
Place so the buildings peek out at the top and sides.
Add a drop shadow.
Open your tube again and copy and paste as a new layer at the top.
Re-size so she is just bigger than the mask layer.
Move to the far right side.
Add a drop shadow.
Open element 34-1 and copy and paste as a new layer.
Re-size by 60%.
Move to the lower left corner and add a drop shadow.
Open element 7-2 and copy and paste as a new layer.
Re-size by 60%.
Drag under the truck layer.
Move to the center part of the truck.
Add a drop shadow.
Open element 13-2 and copy and paste as a new layer.
Re-size by 50% and then again by 75%.
Move to the far left of the sign and add a drop shadow.
Open element 14-2 and copy and paste as a new layer.
Re-size by 50% and move to the right side of the truck behind it.
Add a drop shadow.
Open element 44-1 and copy and paste as a new layer.
Re-size by 75% and move to the bottom of the tag.
Add a drop shadow.
Open element 51 and copy and paste as a new layer.
Re-size by 50%.
Drag under your tube.
Move to the far right side of your tube behind and peeking out.
Add a drop shadow.
Open element 67 and copy and paste as a new layer layer.
Re-size by 50% and drag to the bottom.
Place behind your tube's head.
Duplicate and move down and to the right so it peeks out behind your tube and the fire hydrant.
Duplicate again and move to the far left so it peeks out behind the sign and truck.
Add a drop shadow to each of these layers and then merge them together.
Open element 78 and copy and paste as a new layer.
Drag to the bottom.
Move to the bottom of the tag so it appears the tube is standing on it along with the fire hydrant.
Open element 68 and copy and paste as a new layer.
Image flip horizontal.
Place at the top across the tube and the truck.
Add your name.
Add your copyright and licensing information.
Crop and save.

Thursday, February 4, 2016

Be Mine


Be Mine
written 2/4/2016

This tutorial is meant purely as a guide. Feel free to make your tag unique by using your own choice of tube and scrap kit. If you want your tag to look just like mine then use the same supplies that I have used. This tutorial assumes you have a basic knowledge of paint shop pro. Any resemblance to another tutorial is purely coincidental and unintended.

Supplies Used:

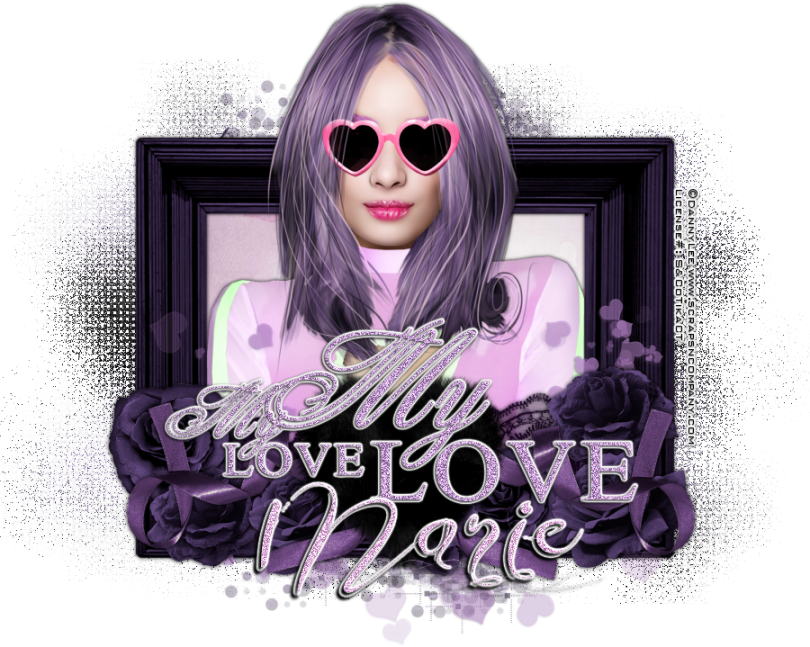
Tube By Danny. Lee. It is called Hearts Valentine. You can get this tube in the awesome collab at Scraps n Company right now.

The scrap kit is by Mariel Designs and is also part of the above collab.

Mask of your choice. I am using one from The Taggers Lounge Blog.

Font of your choice. I am using Honeymoon Midnight. You can purchase it at https://fontbundles.net/valentines-fonts/rel=br8HiE

Plugins:
NONE

Let's Begin:
Open frame 1 from the kit.
Shift+D to duplicate.
Close the original.
Make your canvas large enough to work with.
Open paper 1-1 from the kit and copy and paste as a new layer.
Drag to the bottom.
Apply the mask of your choice.
Delete the mask layer and merge the group.
Make your frame layer active.
Using your magic wand select the inside of the frame.
Selections modify and expand by 5.
Open paper 4 and copy and paste as a new layer.
Drag under the frame.
Selections invert and hit delete.
Selections select none.
Make the frame layer active again and using your magic wand select the inside of the frame and selections modify and expand by 1.
Open your tube and copy and paste as a new layer.
Position within the selected frame area.
Erase any bits you do not want hanging out of the frame.
Selections select none.
Add a drop shadow to both the tube and the frame.
Open element 5 and copy and paste as a new layer.
Drag down to just above your mask.
Move to the far left so it is peeking out from behind the frame.
Duplicate and move this copy to the far right. Merge these 2 layers together.
Open element 17 and copy and paste as a new layer.
Place at the bottom along the bottom of the frame.
Open element 13 and re-size by 50% 2x.
Copy an dpaste as a new layer and move to the bottom of the frame.
Duplicate a few times if you wish and place randomly around the bottom of the frame.
Repeat the above steps with elements 14 & 15.
Add a drop shadow to all when done.
Merge all of them together just to help keep your layer palette clean.
Open element 16 and copy and paste as a new layer.
Drag down under the flowers and move down so it is peeking out from behind at the top.
Add a drop shadow.
Open element 18 and re-size by 50%.
Copy and paste as a new layer.
Image flip vertical.
Move to the far right bottom corner.
Add a drop shadow.
Duplicate and image flip horizontal.
Move to the far left bottom corner.
Open element 11 and re-size by 50% and then again by 85%.
Copy and paste as a new layer and place bottom center.
Add a drop shadow.
Open element 52 and copy and paste as a new layer.
Place at center bottom over the top half of the heart.
I added noise at 70% this is completely up to you.
Add a slight gradient glow to help it stand out.
Add a drop shadow.
Add your name.
Add your copyright and licensing information.
Crop and save.


Tuesday, January 19, 2016

Ye Land Lubber


Ye Land Lubber
written 1/19/2016

This tutorial is meant purely as a guide. Feel free to make your tag unique by using your own choice of tube and scrap kit. If you want your tag to look just like mine use the same supplies I have used.

Supplies used:


Scrap Kit by Mariel Designs. You can purchase it at http://scrapsncompany.com/index.php?main_page=product_info&products_id=16844

Template by Seraph Creations. You can download it at http://seraphcreations.blogspot.co.uk/2013/07/tag-templates-26-30.html

Font of your choice. I am using Jack Bisio. You can get it at http://fontzone.net/font-details/jack-bisio

Plugins:
NONE

Let's Begin:
Open your template and shift+D to duplicate.
Close the original. Delete the credits layer and the background layer.
Make your canvas large enough to work with.
Make rectangle 1 layer active and selections select all float and defloat.
Open paper 7 and copy and paste as a new layer.
Selections invert and hit delete.
Selections select none.
Delete the original rectangle layer.
Repeat these steps with the remaining layers using the papers of your choice.
Add a drop shadow to each layer.
Open your tube and copy and paste as a new layer .
Re-size until it is just larger than the template.
Move to the far right side.
Add a drop shadow.
Open element 62 and copy and paste as a new layer.
Re-size if needed.
Drag to the bottom and move to the far left and up near the top.
Add a drop shadow.
Open element 61 and copy and paste as a new layer.
Drag under your tube.
Move to the bottom near her feet.
Add a drop shadow.
Open element 83 and re-size by 50%.
Copy and paste as a new layer and drag to the bottom.
Move to the top and just right of the tree.
Open element 84 and copy and paste as a new layer.
Drag down to just below the top circle layer.
Move to the top so it is front of the tree and the sun.
Open element 67 and copy and paste as a new layer.
Drag under your tube.
Move to the bottom in front of the 3 squares of the template.
Open element 71 and copy and paste as a new layer.
Image flip horizontal.
Re-size by 50% and then again by 65%.
Move to the far left in the bottom corner so it is standing in the sand.
Add a drop shadow.
Open element 64 and re-size by 50% 2x.
Copy and paste as a new layer.
Drag down to just above the squares layers.
Place in front of the square that is most right.
Add a drop shadow.
Open element 48 and re-size by 50% and then again by 65%.
Copy and paste as a new layer.
Drag down to below the first square layer.
Move in front of the center square.
Add a drop shadow.
Open element 44 and re-size by 75%.
Copy and paste as a new layer and move over to the far left behind the bird.
Add a drop shadow.
Open element 43 and re-size by 65%.
Copy and paste as a new layer and move to the left on front of the light house.
Add a drop shadow.
Open element 35 and copy and paste as a new layer.
Re-size by 50%.
Move up to the top in front of the sun and tree.
Add a drop shadow.
Open element 34 and re-size by 50%.
Copy and paste as a new layer and move to the far right under your tube at her feet.
Open element 23 and re-size by 50% 2x.
Copy and paste as a new layer and drag down to just above the bottom square layer.
Move it over in front of that square.
Add a drop shadow.
Open element 8 and re-size by 50% 2x.
Copy and paste as a new layer at the top.
Move to the bottom right of your tube by her feet.
Add a drop shadow.
Add your name.
If you want your name to look like mine it is fairly simple.
Type out your name and get it to the size and in the place you want.
Selections select all float and defloat.
Selections modify and expand by 2.
Hit delete.
Add a drop shadow.
Selections select none.
Add your copyright and licensing information.
Crop and save.