This tutorial is written exclusively for The Taggers
Lounge forum. You can find the tutorial by joining us at http://thetaggerslounge.forumotion.com/
Showing posts with label Exclusive. Show all posts
Showing posts with label Exclusive. Show all posts
Monday, November 7, 2016
Wednesday, November 2, 2016
The Story
The Story
Written 11/2/2016
This tutorial is meant purely as a guide. Feel free to
use your own choice of tube or scrap kit to make your tag unique. If you want
your tag to look just like mine them use the same supplies I have used. This
tutorial assumes you have a knowledge of paint shop pro. Any resemblance to any
other tag or tutorial is completely coincidental.
Supplies Used:
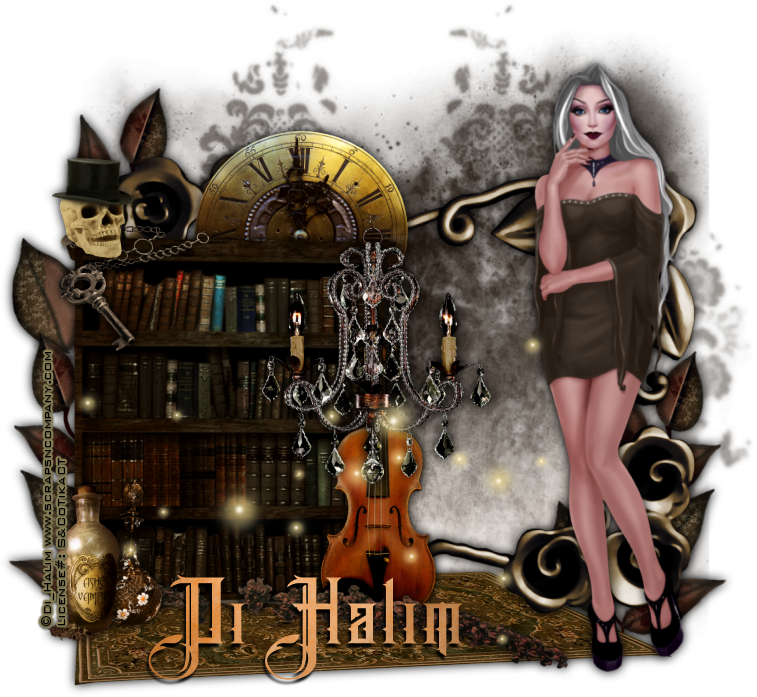
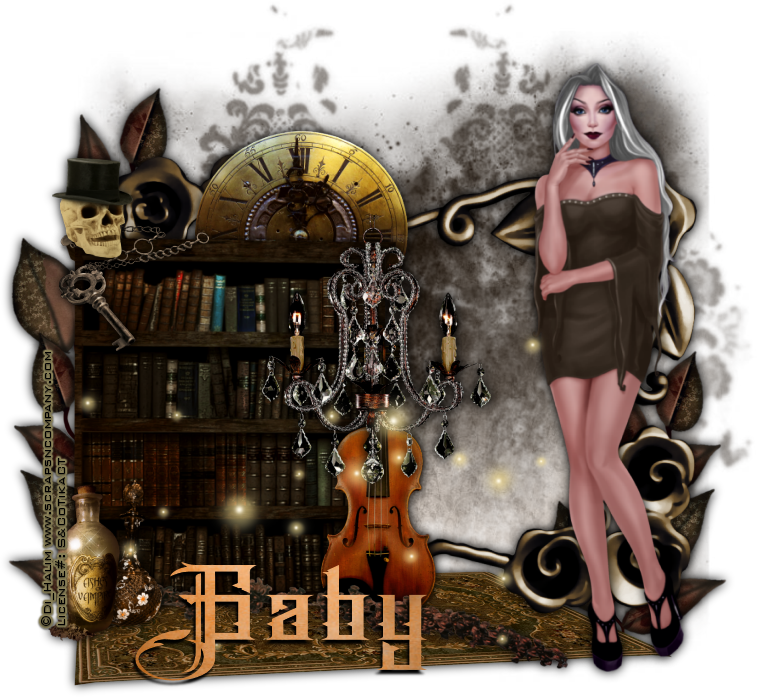
Tube of your choice. I am using the work of Di Halim
and this tube is a store exclusive for Scraps N Company. She is called Morti 1.
You can purchase her at http://scrapsncompany.com/index.php?main_page=product_info&cPath=305&products_id=23697
The matching scrap kit is by Disturbed Scraps and is
called Bella Morte. You can purchase it at http://scrapsncompany.com/index.php?main_page=product_info&products_id=23690
Mask of your choice. I am using mask #31 by Millies
PSP Madness. You can get her masks at http://milliespspmadness.blogspot.com/?zx=cf16f4d1876dde2f
Font of your choice. I am using Brandley. This is a
PTU font.
Plugins:
NONE
Drop shadow used throughout:
0 0 100 13.50 black
Let's Begin:
Open element 73 and shift+D to duplicate. Close the
original. Make the canvas large enough to work with.
Open paper 11 and copy and paste as a new layer and
drag under the frame. Apply the mask of your choice. Delete the mask layer and
merge the group.
Add a drop shadow to the frame.
Open element 41 and re-size by 75% and then again by
85%. Copy and paste as a new layer and place on the far left of the tag. Add a
drop shadow.
Open element 43 and re-size by 60%. Copy and paste as
a new layer and position in the center of the frame from the top and in front
of the bookshelf. Add a drop shadow.
At this time open your tube and re-size as needed. You
want her still larger than the frame but not by much. Copy and paste as a new
layer and place her on the far right side. Add a drop shadow.
Open element 45 and copy and paste as a new layer.
Drag under the frame and place at the bottom under the bookshelf and add a drop
shadow.
Now let’s dress the tag up with elements from the kit.
I will list the elements I used. Feel free to use other elements to make your
tag unique. Placement of the elements is completely up to you. If you want your
tag to look just like mine then use my tag for reference.
Elements I used:
13
14
24
25
27
34
35
54
77
Add your name.
Add your copyright and licensing information.
Crop and save.
Labels:
Dark,
Di_Halim,
Disturbed Scraps,
Exclusive,
Fall,
Goth,
Halloween,
PTU,
ScrapsnCompany
Tuesday, May 3, 2016
Dark Royalty
Dark
Royalty
written
5/3/2016
This
tutorial is meant purely as a guide. Feel free to make your tag
unique by using your own choice of tube and scrap kit. If you want
your tag to look just like mine then use the same supplies I have
used. This tutorial assumes you have a knowledge of paint shop pro.
Any resemblance to any other tag or tutorial is purely coincidental.
Supplies
Used :
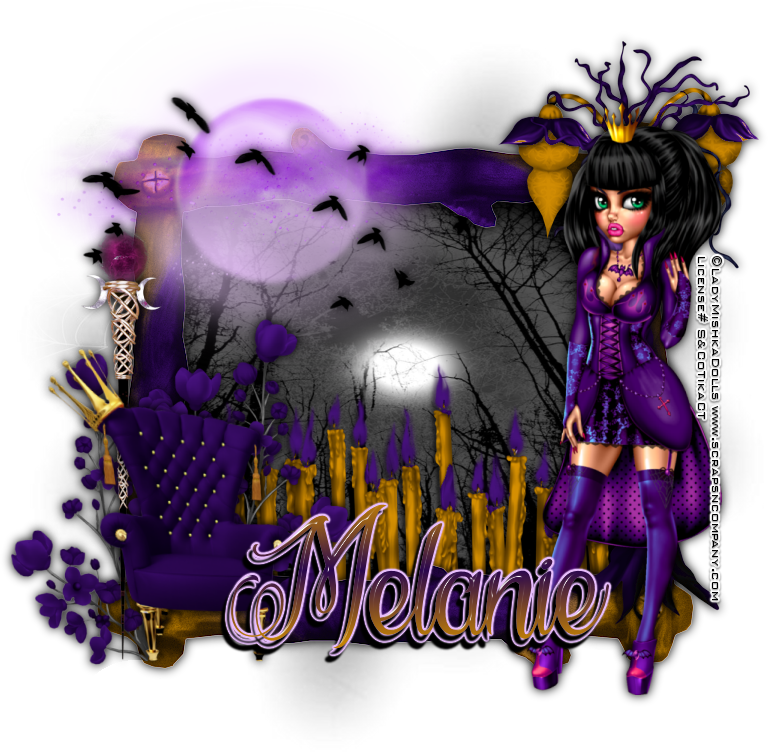
Tube is a
commission for Scraps N Company store by Lady Mishka. She is called
Dark Princess Mona. You can purchase her at
http://scrapsncompany.com/index.php?main_page=product_info&cPath=490_554&products_id=19302
The
matching scrap kit is also called Dark Princess Mona and it is by
Blissful Designs. You can purchase it at
http://scrapsncompany.com/index.php?main_page=product_info&products_id=19306
Mask of
your choice. I am using mask #7 by Weescotslass Creations. You can
get her masks at
http://weescotslasscreations.blogspot.com/2009/04/masks.html
Font of
your choice. I am using La Cite des Mille Reines. You can download it
at http://www.dafont.com/la-cite-des-mille-reines.font
Plugins:
NONE
Drop
shadow used throughout:
0 0 100
15.00 black
Let's
Begin:
Open
element 78 and shift+D to duplicate.
Close the
original for use at another time.
Make your
canvas large enough to work with. You can crop and re-size when you
are done.
Using your
magic wand select the inside of the frame and go to selections modify
and expand by 6.
Layers new
raster layer.
Drag under
the frame.
Open paper
8 and copy and paste into selection.
LEAVE
SELECTED.
Open
element 51 and re-size by 75%.
Copy and
paste as a new layer.
Place
within the selected frame area and move to the bottom.
Selections
invert and hit delete to clear any that is hanging out the bottom and
sides of the frame.
Selections
select none.
Add a drop
shadow to the candles and the frame.
Open paper
3 and copy and paste as a new layer.
Drag to
the bottom.
Apply the
mask of your choice.
Delete the
mask layer and merge the group.
Open
element 1 and copy and paste as a new layer at the top.
Re-size by
75%.
Move to
the top left corner of the frame.
Open
element 49 and copy and paste as a new layer.
Move to
the far right and place on the side of the frame.
Add a drop
shadow.
Open your
tube and re-size as needed.
Copy and
paste as a new layer and move to the far right in front of the tree.
Add a drop
shadow.
Open
element 71 and copy and paste as a new layer.
Re-size by
75% 2x.
Move to
the bottom left corner.
Using your
pick tool push in the bottom left and top right corners a bit.
Add a drop
shadow.
Open
element 23 and re-size by 75%.
Copy and
paste as a new layer and drag under the chair.
Move to
the far left of the chair.
Add a drop
shadow.
Open
element 19 and re-size by 75%.
Copy and
paste as a new layer and place on the top left in front of the moon.
Add a drop
shadow.
Open
element 33 and re-size by 75% 2x.
Copy and
paste as a new layer and drag under the chair.
Place over
behind the chair so it is peeking out from behind it on the right
side.
Add a drop
shadow.
Duplicate
and image flip horizontal.
Move this
duplicate to the left side of the chair.
I used my
eraser tool and removed the stems that were showing at the bottom of
the chair but that is completely up to you.
Add your
name.
Add your
copyright and licensing information.
Crop and
save.
Labels:
Blissful Designs,
Exclusive,
Lady Mishka Dolls,
PTU,
ScrapsnCompany
Wednesday, December 2, 2015
Snow Pink
Snow
Pink
written
12/2/2015
This
tutorial is meant purely as a guide. Feel free to make your tag
unique by using your own choice of tube and scrap kit. If you want
your tag to look just like mine then use the same supplies I have
used.
Supplies
Used:
Tube
is an exclusive commission by Chris Pastel for Scraps n Company
store. You can purchase this tube at
http://scrapsncompany.com/index.php?main_page=product_info&cPath=305&products_id=15802
Matching
scrap kit is by FWTags. You can purchase it at
http://scrapsncompany.com/index.php?main_page=product_info&products_id=15718
Animation
is by Scrappy Bit of Fun. You can get it at
http://scrappybitoffun.blogspot.ca/2011/11/animations-2-3.html
Font
of your choice. I am using Bellanche. This is a PTU font so use
whatever font you would like.
Plugins:
None
Let's
Begin:
Open
frame 2 from the kit.
Shift+D
to duplicate. Close the original.
Re-size.
Make
your canvas large enough to give you plenty of room to work with.
Using
your magic wand select the inside of the frame.
Selections
modify and expand by 4.
Open
paper 1.
Copy
and paste as a new layer.
Drag
under the frame.
Selections
invert and hit delete.
Selections
select none.
Open
element 27.
Copy
and paste as a new layer and drag to the bottom.
Move
to the bottom of the frame so it is peeking out of the bottom and the
sides.
Duplicate.
Image
flip vertical.
Move
this copy to the top.
Merge
these 2 layers together.
Open
your tube and copy and paste as a new layer at the top.
Re-size
as needed.
Place
where you want on your tag.
Open
element 60.
Copy
and paste as a new layer and drag under your tube.
Re-size
as needed.
Image
flip horizontal.
Place
behind your tube so it appears she is sitting on the end of the
sleigh.
Open
element 6.
Copy
and paste as a new layer and drag under your tube but on top of the
sleigh.
Re-size
if you wish.
Move
to the bottom of the tag so it looks like the sleigh is behind it in
the snow and your tube is standing in it.
Duplicate
and move the duplicate under the sleigh.
Move
it up and over to the left a bit.
Open
element 47 and copy and paste as a new layer.
Drag
under your sleigh.
Re-size
as needed.
Move
to the far left of the frame.
Open
element 73 and copy and paste as a new layer.
Re-size
as needed.
Place
in the sleigh. I erased bits to make it appear to be sitting inside
of the sleigh.
Open
element 63 copy and paste as a new layer.
Re-size
as needed and place in the sleigh with the gift.
Open
element 59 and repeat the above steps.
Open
element 51 copy and paste as a new layer.
Place
in the snow next to your tube.
Re-size
as needed.
Open
element 44 and repeat the above steps.
Open
element 43 and copy and paste as a new layer.
Place
so it is hanging from the tree.
Re-size
as needed.
Open
element 28 and repeat above steps.
Open
element 25 and repeat above steps.
Open
element 24 and copy and paste as a new layer.
Re-size
as needed and place at the top of the tree.
Open
element 30 and copy and paste as a new layer.
Move
to the bottom of the tag.
Open
element 42 and copy and paste as a new layer and drag down under your
frame.
Place
in the top area of the framed area where its kind of a blank space in
your paper layer.
Re-size
as needed.
I
duplicated and re-sized this layer several times and placed them
randomly to fill in the empty space.
Add
your name.
Add
your copyright and licensing information.
Crop.
Layers
new raster layer and fill with white.
Move
to the very bottom.
Lets
take this into animation shop and add the cute lil animation.
Copy
your tag and open animation shop and right click and paste as a new
animation.
Open
your animation and select all of the frames.
Take
note of the number of frames in the animation.
Duplicate
the frames of your tag to match the frames in your animation.
Select
all of the frames in your tag.
Grab
frame 1 of the animation and drag it onto frame 1 of your tag.
Place
where you want.
This
might take some undoing to get it right.
Once
you are happy view your animated tag.
Re-size
if needed/wanted.
Save.
Labels:
Animated,
Chris Pastel,
Christmas,
Exclusive,
FwTags Creations,
PTU,
ScrapsnCompany,
Winter
Friday, July 10, 2015
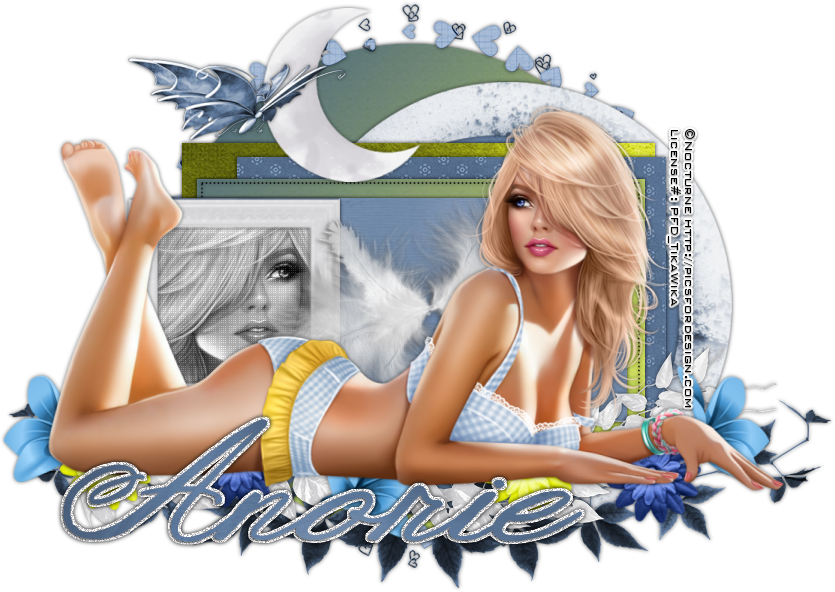
A Summer Night - TTL Exclusive
A Summer Night
This
tutorial was written as an exclusive for The Taggers Lounge PSP
Forum.
Come and
join us.
The Tube is a PTU tube by Nocturne that you can get at http://picsfordesign.com
The Scrap Kit was made by Designz By Anorie. http://anorie.blogspot.de/
It is an exclusive kit which you can get by joining the forum and participating.
Labels:
Anories Little World,
Exclusive,
Nocturne,
Summer,
TTL
Subscribe to:
Posts (Atom)

