Showing posts with label Jose Cano. Show all posts

Sunday, August 20, 2017

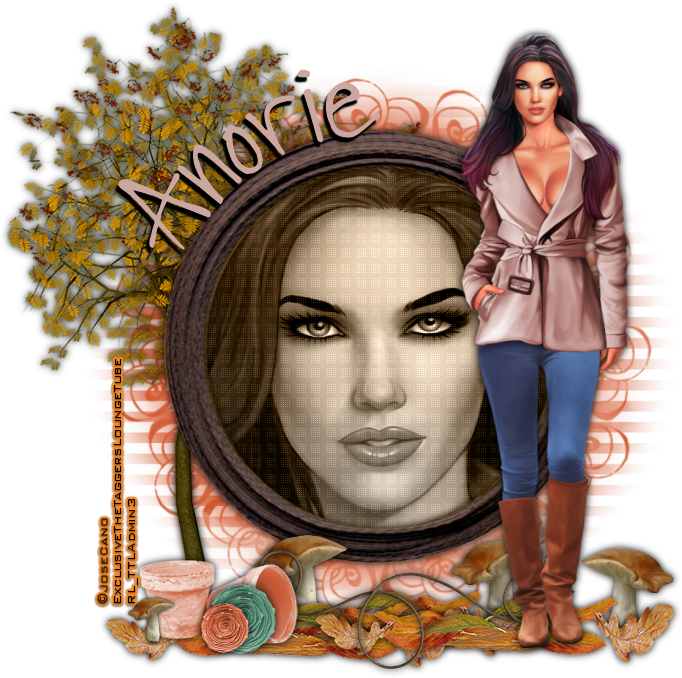
Fall Beauty


Fall Beauty

Written 8/20/2017

This tutorial is meant purely as a guide. Feel free to use your own choice of tube or scrap kit to make your tag unique. If you want your tag to look just like mine then use the same supplies I have used. This tutorial assumes you have a knowledge of paint shop pro. Any resemblance to any other tag or tutorial is completely coincidental.

Supplies Used:
Tube Of your choice. Preferably one with a close up.   I am using a commission by Jose Cano that was created for The Taggers Lounge forum. This tube is FTU by being a member at The Taggers Lounge and participating and earning loot to get her. You can find the forum at http://thetaggerslounge.forumotion.com/ . You must have a TTL license number to use this tube. You can find Jose’s awesome work at https://canotubes.com/

Scrap Kit is called Autumn Skies by Anorie and again is an exclusive to The Taggers Lounge forum. Come join us and get some goodies!!! You can also find Anorie at https://anorie.blogspot.de/

Mask of your choice. I am using mask #353 by WeeScotsLass Creations. You can get her masks at http://weescotslasscreations.blogspot.com/2009/04/masks.html

Font of your choice. I am using DJB Liz.

Plugins: (plugins are most generally optional)
Penta.com Dot and Cross

Let's Begin:
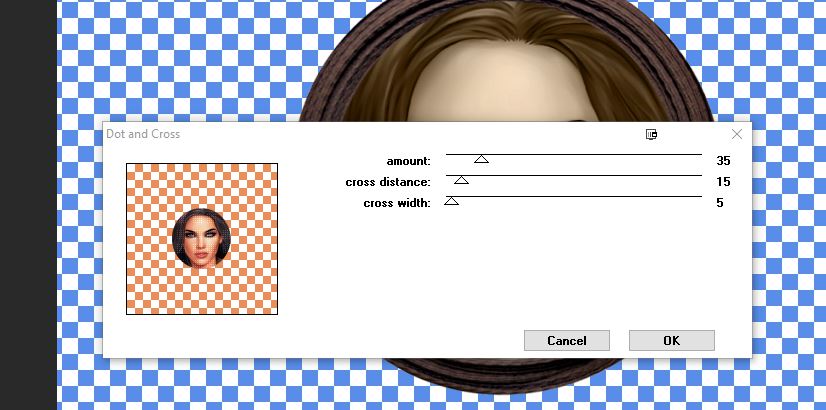
Open Frame02 and shift +D to duplicate. Close the original. Re-size as you wish. Make your canvas large enough to work with. Using your magic wand select the inside of the frame. Selections modify and expand by 5. Layers new raster and drag under the frame. Open paper03 and copy and paste into selection. Copy and paste the close up of your tube as a new layer above the paper layer. Position within the frame and selections invert and hit delete. Selections select none. Change the properties of this layer to luminance legacy. Apply the Penta.com Dot and Cross filter using the following settings:

Add a drop shadow to the frame.
Open paper02 and copy and paste as a new layer and drag to the bottom. Apply the mask of your choice. Delete the mask layer and merge the group.
Open your full-sized tube and copy and paste as a new layer. Re-size as needed. Place to the far right of the frame. Add a drop shadow.
Open element 10 and copy and paste as a new layer. Move to the bottom of your tag and duplicate many times and place along the bottom. Make it as full as you want it to be. Add a drop shadow to each one and merge them together to help keep your layer palette organized.
Open element 07 and copy and paste as a new layer. Re-size as needed. Place to the far left and drag down to just above your mask. You want it behind your frame but also showing out to the left side and top. Add a drop shadow.
Open element 11 and copy and paste as a new layer. Place at the base of the tree. Add a drop shadow.
Open element 06 and copy and paste as a new layer. Resize as needed. Duplicate a few times and place along the bottom around the pots and tree and your tube. Add a drop shadow to each.
Open element 04 and copy and paste as a new layer. Place along the bottom and drag to just above your leaves. Add a drop shadow.
Open elements 02 and 03 and copy and paste as a new layer and re-size. Place in front of the pots. Add a drop shadow to each one.
Add your name.
Add your copyright and licensing information.
Crop and save. 


Sunday, July 3, 2016

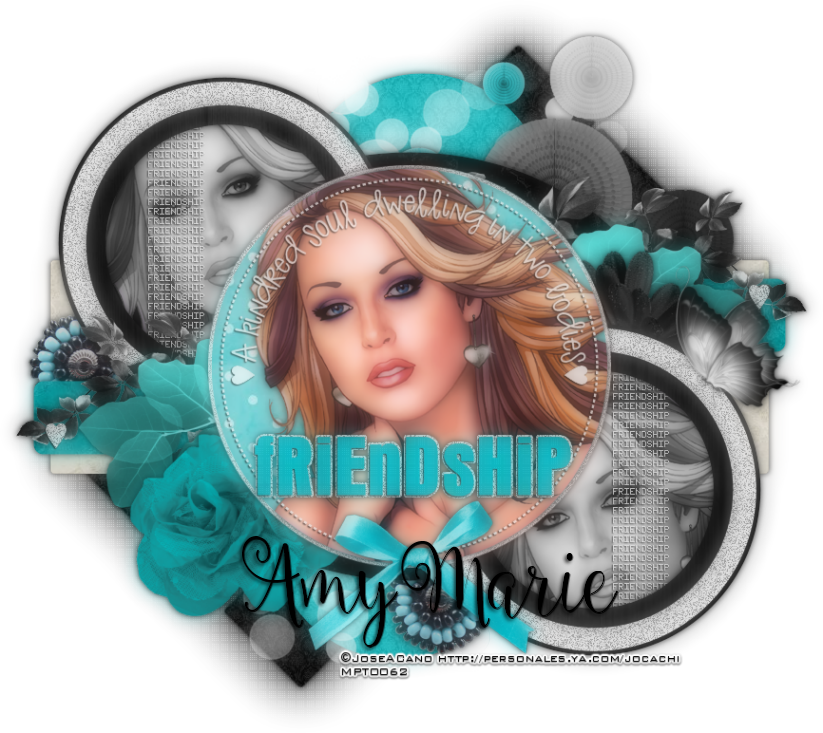
Friendship


Friendship
Written 7/3/2016
This tutorial is meant purely as a guide. Feel free to use your own choice of tube or scrap kit to make your tag unique. If you want your tag to look just like mine them use the same supplies I have used. This tutorial assumes you have a knowledge of paint shop pro. Any resemblance to any other tag or tutorial is completely coincidental.
Supplies Used:
Tube of your choice. Preferably a close-up for this tutorial. I am using the work of Jose Cano. I purchased this tube at MPT when they were in business but you can now get Jose’s tubes at http://canotubes.com/
Scrap kit is by Amy Marie’s Kits. The kit is called Turquoise. You can get the kit at http://amymarieskits.com/store/
Template is by Sylly Creationz and Dangerously Delicious Designz. You can download the template at http://syllycreationz.blogspot.com/2016/03/collaboration-templates-friendship.html
Font of your choice. I am using Ballerina Script. You can download it at http://www.dafont.com/ballerina-script.font?text=Ford&psize=l
Plugins:
Xero Porcelain
Penta.com Dot and Cross (optional)
Drop shadow used throughout:
0 0 75 9.50 black

Let's Begin:
Open the tag template and shift+D to duplicate. Close the original. Remove the info layer. Make your canvas large enough to work with. Fill each of the layers on the template with papers from the kit or colors/gradients of your choice. Once you are done add a drop shadow to each layer.
On the smaller blue circles open selections select all float and de-float. Open your tube and copy and paste as a new layer. Position within the selected area. Selections invert and hit delete. Selections select none. Apply the Xero Porcelain plugin using the default settings.
When you get to the main center circle layer open your tube and copy and paste as a new layer again. Center within the circle. Erase any bits you do not want hanging out. Apply the Xero Porcelain plugin again.
On the word Friendship I applied Penta Dot and Cross with the top value set to 20. This is completely up to you but I wanted it to have a little texture.
On the bottom rectangle layers. Duplicate. On the bottom layer adjust blur Gaussian blur and blur at 25.00. Apply the Penta.com Dot and Cross plugin again but change the top value to 140.
Now let’s dress the tag up with elements from the kit. I will list the elements I used. Feel free to use other elements to make your tag unique. Placement of the elements is completely up to you. If you want your tag to look just like mine then use my tag for reference.
Elements I used:
1
13
19
28
29
61
68
103
138
Merge all layers visible. Duplicate. On the top layer go to adjust blur Gaussian blur by 10.00. Lower the opacity of this blurred layer to 45.
Add your name.
Add your copyright and licensing information.
Crop and save.


Tuesday, September 29, 2015

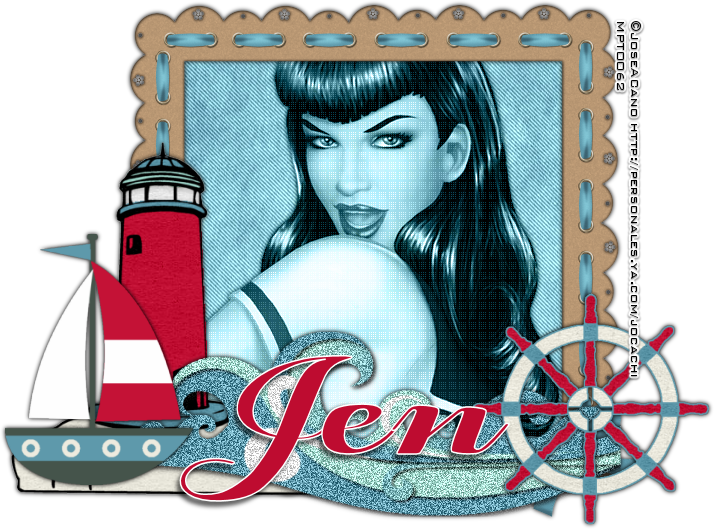
Ships Ahoy


Ships Ahoy
written 7/22/2015

This tutorial is meant to be a guide. Feel free to use any tubes and scrapkits of your choice. If you want your tag to look just like mine then use the same supplies and use my tag as a reference.

Supplies Used:

Tube by Jose Cano. You can get his tubes at http://canotubes.com/
Preferably use one that has a closeup.

FTU Scrap Kit by Jens Sweet Temptations. You can get it at http://jenssweettemptations.blogspot.ca/2009/05/june-goodie-train.html

Font of your choice. I am using Egregio Script. You can get it at http://www.dafont.com/egregio-script.font

Plugins:
Penta Dot and Cross
Penta Jeans

Let's Begin:
Open the frame and shift+D to duplicate.
Close the original.
Make your canvas large enough to work with.
Using your magic wand select the inside of the frame.
Selections modify and expand by 5.
Open paper 9 and copy and paste as a new layer.
Drag under the frame.
Selections invert and hit delete.
Selections invert again.
Open the close up of your tube and copy and paste as a new layer.
Position within the frame.
Selections invert and erase any bits hanging outside of the frame.
Selections select none.
Change the properties of this layer to luminance legacy.
Apply the Penta Dot and Cross filter and change the top number to 50.
Make your paper layer active and apply Penta Jeans using default settings.
Add a drop shadow to both the tube and the frame.
Open water element and re-size so it will fit along the bottom of the frame.
Copy and paste as a new layer layer and position at the bottom.
Go to adjust add/remove noise and add noise at 60%.. uniform and monochrome checked.
Add a drop shadow.
Open lighthouse1 from the kit and re-size by 85%.
Copy and paste as a new layer and drag under the water.
Move to the far left side of the frame.
Add a drop shadow.
Open boat1 from the kit and re-size so it will fit nicely in front of the lighthouse.
Copy and paste as a new layer and place to the far left in front of the lighthouse and the water.
Add a drop shadow.
Open wheel from the kit and re-size so it will fit nicely in the far right hand corner.
Copy and paste as and position.
Add a drop shadow.
Add your name.
Add your copyright and licensing information.
Crop and save.
Sunday, July 19, 2015

High Maintenance


High Maintenance
written 7/8/2015

Supplies Needed:

Tube of your choice. I am using a tube by Jose Cano that I got at MPT but you can now purchase his tubes at http://canotubes.com/ You will want to use a tube with a close up preferably.

Scrapkit is a freebie by TK Dezigns. It's called High Maintenance. Grab the kit and the add-on you will need both. You can get them at http://tkdezigns.blogspot.com/2014/05/3-free-kits.html

Font of your choice I am using hl comic. Which you can get at http://www.hunglan.com/?page_id=494 it is #4 on this page.

Animation by Divine Intentionz. You can get it at http://divineintentionz.blogspot.com/2011/05/new-animations.html

Plugins:
Xero Soft Mood.

Let's Begin:
Open the framestars element from the kit and shift+D to duplicate.
Close the original.
Make your canvas large enough to work with.
Using your magic wand select the inside of the frame and go to selections modify and expand by 5.
Open the paper called blinged-pink and copy and paste as a new layer.
Drag under the frame and go to selections invert and hit delete.
Selections invert again.
Open the close up of your tube and copy and paste as a new layer.
Drag under the frame and position within the frame area and selections invert and hit delete to clear the excess hanging out of the frame.
Selections select none.
Go to adjust hue and saturation – colorize and set both properties to 0.
Apply Xero Soft Mood with both properties set to 50.
Add a drop shadow to the tube.
Open the full size of your tube and copy and paste as a new layer and position over the stars on the frame.
Lower the opacity of this tube layer so you can see the stars through the tube.
Using your eraser tool very carefully erase the bits of your tube that is over the stars. The object is to make it look like she is behind the stars and coming out of the frame.
When happy raise the opacity of this layer back up to 100 and add a drop shadow.
Add a drop shadow to the frame.
Open crown1 and re-size by 50% 2x.
Copy and paste as a new layer and place near the bottom overlapping the stars.
Add a drop shadow.
Open moneypink and re-size by 50% and copy and paste as a new layer and move to the bottom of the stars.
Add a drop shadow.
Open diamond rec frame.
Re-size by 75%.
Copy and paste as a new layer.
Drag under the crown and the money.
Move to the bottom and place so the crown and the money are overlapping the left side.
Using your magic wand select the inside of the frame.
Selections modify and expand by 3.
Open paper rkpinkdamask which can be found in the add-on kit.
Copy and paste as a new layer.
Drag under the frame.
Selections invert and hit delete.
Selections select none.
Add a drop shadow to the frame.
Add your name to the inside of the frame.
Use the pink white and black diamonds and re-size them and copy and paste randomly over the top of your name.
Add your copyright and licensing information.
Lets get ready to animate:
Crop your tag.
Layers new raster layer and move this layer to the bottom.
Flood fill with white.
Merge your layers together and edit copy.
Open animation shop and right click and paste as a new animation.
Look at the animation you are going to use and see how many frames are in it.
Duplicate your tag animation to the same amount of frames.
Edit select all frames on both the animation and your tag.
Grab the first frame of your animation and drag it onto the first frame of your tag.
Don't let go until you have it where you want it.
View your animated tag. If you are happy then optimize and save.
You might have to undo it a couple of times to get the placement how you want.
Re-size if you wish.