Showing posts with label Zlata M. Show all posts

Monday, August 22, 2016

Falling Leaves


Falling Leaves
Written 8/22/2016
This tutorial is meant purely as a guide. Feel free to use your own choice of tube or scrap kit to make your tag unique. If you want your tag to look just like mine them use the same supplies I have used. This tutorial assumes you have a knowledge of paint shop pro. Any resemblance to any other tag or tutorial is completely coincidental.
Supplies Used:
Tube of your choice. I am using the work of Zlata M and this tube is called Autumn Blues. You can purchase this tube at http://zlatam.com/
Scrap Kit is by Amy Marie’s Kits and is called Autumn Days. You can purchase this kit at http://amymarieskits.com/store/
Tag template is by Dangerously Delicious Designz. You can get it at http://dangerouslydeliciousdesignz.blogspot.de/2016/07/template-176-summertime-with-3-word-art.html
Mask of your choice. I am using vix big mask 001. You can get this mask at http://vixpsp.blogspot.com/
Font of your choice. I am using Aqualita. This is a PTU font.
Plugins:
NONE
Drop shadow used throughout:
0 0 85 6.50 black

Let's Begin:
Open the tag template and shift+D to duplicate. Close the original. Delete the following layers : info and bg. Make your canvas large enough to work with. Now lets clean up this layer palette a bit and merge some of the layers together. Merge together: bottom right yellow square and top left lt blue square, merge together top and bottom orange squares, merge together left blue square and right blue square.
Now fill each of the layers with either papers from the kit or colors and gradients of your choice. Once you get them all filled then add a drop shadow to each layer.
Open your tube and copy and paste as a new layer. I placed mine in the smaller of the 2 circles at the top. Add a drop shadow.
Using some of the elements from the kit add them to the 3 fames of the template.
Open the paper of your choice and copy and paste as a new layer and drag to the bottom. Apply the mask of your choice. Delete the mask layer and merge the group.
Now let’s dress the tag up with elements from the kit. I will list the elements I used. Feel free to use other elements to make your tag unique. Placement of the elements is completely up to you. If you want your tag to look just like mine then use my tag for reference.
Elements I used:
1
3
9
31
38
40
41
49
79
83
Add your name.
Add your copyright and licensing information.

Crop and save.

Tuesday, August 16, 2016

Summers Last Fling


Summers Last Fling
Written 8/16/2016
This tutorial is meant purely as a guide. Feel free to use your own choice of tube or scrap kit to make your tag unique. If you want your tag to look just like mine them use the same supplies I have used. This tutorial assumes you have a knowledge of paint shop pro. Any resemblance to any other tag or tutorial is completely coincidental.

Supplies Used:
Tube of your choice. Preferably one with a close up.  I am using the work of Zlata M. The tube is called Barely and can be purchased at http://picsfordesign.com
The scrap kit is called Sea Breeze by Purple Dreams Scraps and can also be purchased at http://picsfordesign.com
Mask of your choice. I am using mask#451 by Vix. You can download her masks at http://www.freewebs.com/vixpsp/
Font of your choice. I am using Vallerie. This is a PTU font.
Plugins:
NONE
Drop shadow used throughout:
0 0 85 6.50 Black

Let's Begin:
Open paper 5 and shift+D to duplicate. Close the original. Promote the background layer to a raster layer. Make your canvas large enough to work with. Re-size the paper if you wish. Apply the mask of your choice. Delete the mask layer and merge the group. Selections select all float and defloat. Open the close up of your tube and copy and paste as a new layer. Position over the mask how you want within the selected area. Selections invert and hit delete. I hit delete a couple of times to bring mine in a little bit from the edges but this is completely up to you and the mask you may be using. Once you are happy selections select none. Change the properties of the tube layer to luminance legacy. Lower the opacity to 60. Merge these 2 layers together if you like to keep  your layer palette organized like I do.
Open element 26 from the kit and copy and paste as a new layer. Move to the far left side. Drag under the mask layer. Duplicate and move this duplicate over to the right side. Merge these 2 layers together.
Open element 49 and copy and paste as a new layer on top of the layer palette. Place in the bottom left of the mask area. Duplicate and move this one down and to the right a bit.
Open your tube and copy and paste as a new layer. Re-size as needed. Place on the bottom right so she is sitting in the sand. Add a drop shadow.
Now let’s dress the tag up with elements from the kit. I will list the elements I used. Feel free to use other elements to make your tag unique. Placement of the elements is completely up to you. If you want your tag to look just like mine then use my tag for reference.
Elements I used:
1
4
9
10
12
16
23
28
35
36
40
46
Add your name.
Add your copyright and licensing information.
Crop and save.



Friday, July 22, 2016

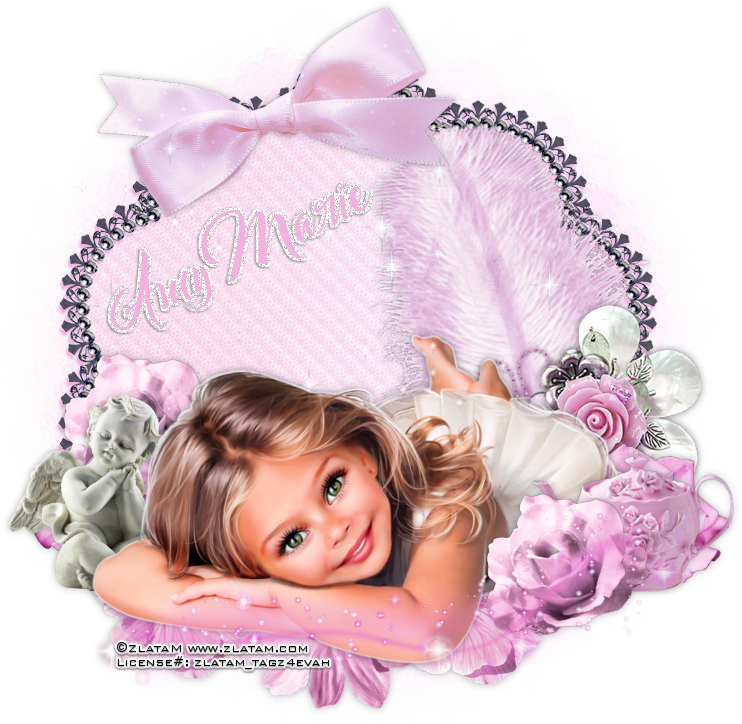
Sweet Innocence


Sweet Innocence
Written 7/22/2016
This tutorial is meant purely as a guide. Feel free to use your own choice of tube or scrap kit to make your tag unique. If you want your tag to look just like mine them use the same supplies I have used. This tutorial assumes you have a knowledge of paint shop pro. Any resemblance to any other tag or tutorial is completely coincidental.

Supplies Used:
Tube of your choice. I am using the work of Zlata M. This tube is called Angi and you can purchase her at http://zlatam.com/node/354
The scrap kit is called Megan by Amy Marie. You can purchase this kit at http://amymarieskits.com/store/
Mask of your choice. I am using mask #451 by Vix. You can download her masks at http://www.freewebs.com/vixpsp/
Font of your choice. I am  using Bareken. This is a PTU font.
Plugins:
NONE
Drop shadow used throughout:
0 0 65 11.50 medium grey

Let's Begin:
Open element 84 and shift+D to duplicate. Close the original. Make your canvas large enough to give you plenty of room to work and create with. You can crop and re-size when we are all done.
Open paper 18 and copy and paste as a new layer and drag under the element. Apply the mask of your choice. Delete the mask layer and merge the group. Add a drop shadow to the element but be careful on the color you choose as it will make the lace in the element too dark. I used a pink from the paper I used.
Open your tube and copy and paste as a new layer. Re-size if you need to. Position center bottom of the element. Add a drop shadow.
Now let’s dress the tag up with elements from the kit. I will list the elements I used. Feel free to use other elements to make your tag unique. Placement of the elements is completely up to you. If you want your tag to look just like mine then use my tag for reference.
Elements I used:
4
13
20
23
26
34
37
40
103
Add a drop shadow to each element.
Add your name.
Add your copyright and licensing information.
Crop and save.