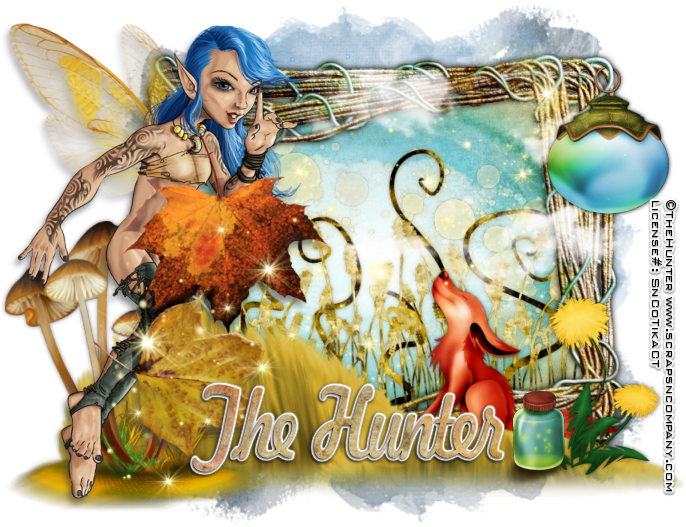
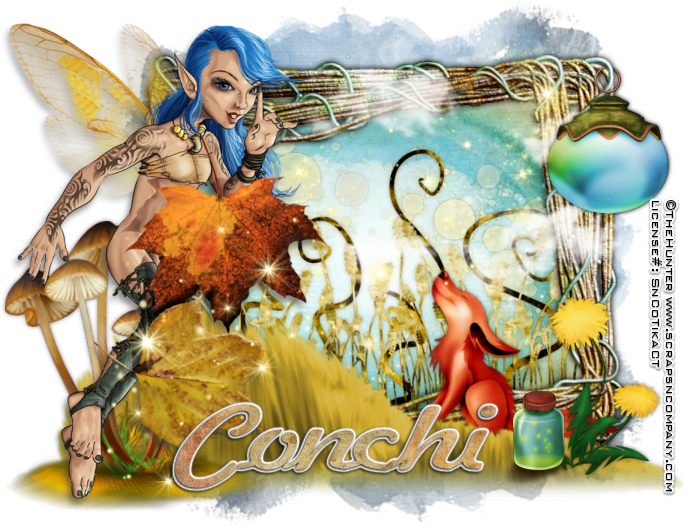
Rebel
Fairy
written
7/26/2014
Supplies
Needed:
Tube by
The Hunter. You can get this tube at
http://scrapsncompany.com/index.php?main_page=product_info&cPath=161&products_id=4820
Scrap Kit
by DNScraps. You can get this kit at
http://scrapsncompany.com/index.php?main_page=product_info&products_id=4882
Mask of
your choice. I am using mask #254 by Wescotlass Creations. You can
get her masks at
http://weescotslasscreations.blogspot.com/2009/04/masks.html
Font of
your choice. I am using GE Ballantine Script Normal. You can get it
at
http://www.fontpalace.com/font-details/GE+Ballantine+Script+Normal/
Lets
Begin:
Open the
wire frame from the kit and shift+d to duplicate.
Close the
original.
Rotate the
frame to the right.
Resize by
80%.
Make your
canvas large enough to give you room to work with.
Center the
frame in the canvas.
You will
notice that this is 2 frames on top of each other with one slightly
skewed.
Using your
selection tool set to point to point select the outside edges and
make sure you are getting both frames in there so we can place the
paper in both.
Layers new
raster layer and drag under the frame.
Open paper
4 and edit copy.
Paste into
selection.
Selections
select none.
Add a nice
drop shadow to the frame.
I used
0
0
9.00
black
Open your
tube and resize her so she will fit nicely on the side of the frame.
Copy and
paste as a new layer and move to the left side of the frame.
Add a nice
drop shadow but you don't want it to be too dark as the wings are
semi transparent.
I used
5
-3
60
medium
grey color
Open paper
11 and copy and paste as a new layer and drag to the bottom.
Apply your
mask. Delete the mask layer and merge the group.
Open
clouds from the kit and resize if you need to so it will fit along
the top of your frame.
Copy and
paste as a new layer on top of your frame but under your tube.
You will
notice that the top clouds have a straight line so to make this look
ok line it up along the top of your frame.
Open
elves2 element and resize if you need to but you want this along the
bottom of the frame but on the outside.
Copy and
paste as a new layer and drag under your clouds but on top of y our
frame.
Place
along the bottom.
Add a soft
drop shadow.
I used
0
0
6.50
the dark
green from the grass.
Open the
fox from the kit and resize so it will fit nicely behind the grass on
the right hand side.
The object
is to give this some dimension.
Add the
same drop shadow as above but change the color to black.
Open the
flowes element and resize so it will fit nicely on the far right in
front of your grass.
Add the
same drop shadow as above.
Open grass
element and copy and paste as a new layer just above the paper in
your frame layer.
Resize so
it will fit nicely in the frame.
Add the
same drop shadow as above but change the color to the darker color in
the grass.
Open lamp2
from the kit and resize so it will fit nicely on the far right of the
frame.
I wanted
mine a lil large; again creating dimension here.
I erased
bits of the circle at the top so it looked like it was hooked onto
the wire in the frame.
Open
magicpotions from the kit and resize so it is smaller than the
flowers.
Copy and
paste as a new layer and move to the bottom left of the flowers.
Open
mushroom from the kit and resize.
Flip
horizontal.
Copy and
paste as a new layer and move under your tube and move to the left.
Add a drop
shadow using the darker color in the mushroom.
Open
sparkles2 and resize so it will fit nicely right on top of your tag
so the sparkles go from bottom left to top right.
Add your
name.
Add your
copyright and licensing information.
Crop and
save.


No comments:
Post a Comment