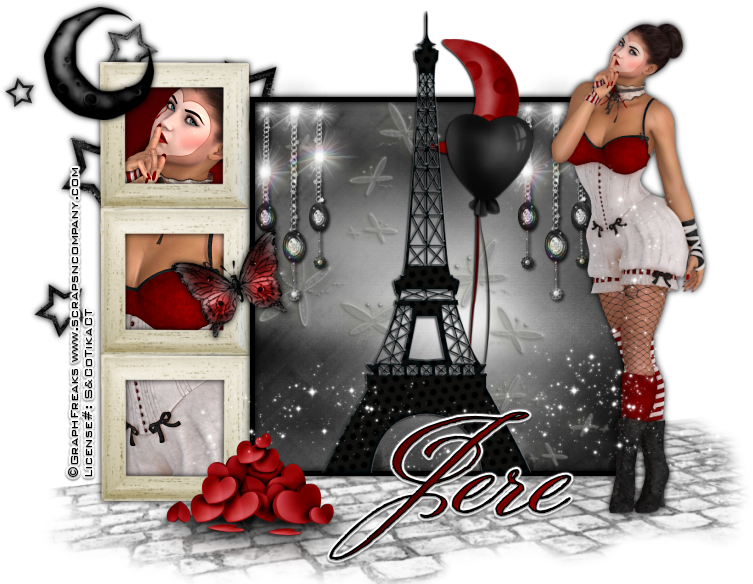
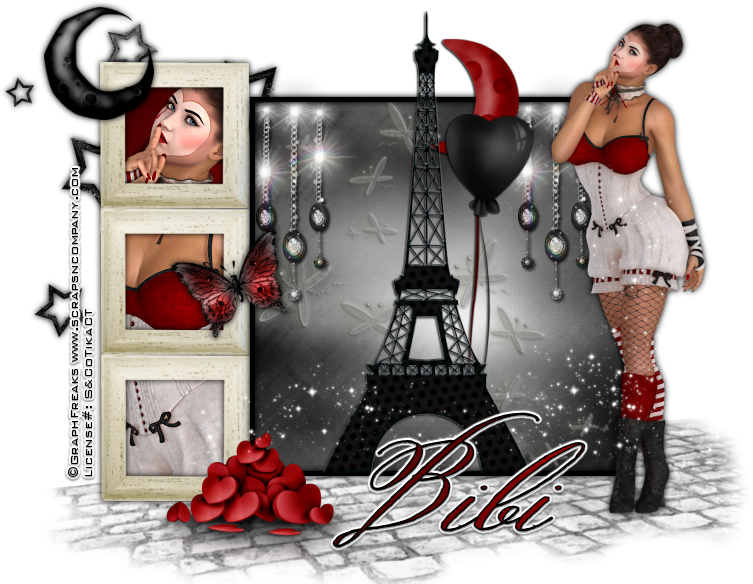
Silent
Beauty
written
9/27/2014
Supplies
Needed:
Tube is by
Graphfreaks. You can get it at
http://scrapsncompany.com/index.php?main_page=product_info&cPath=161&products_id=5726
Scrap Kit
is by Bibi's Collection. You can get it at
http://scrapsncompany.com/index.php?main_page=product_info&products_id=5727
Font of
your choice. I am using Belluccia. It is a PTU font and you can
purchase it at
http://www.myfonts.com/fonts/correspondence-ink/belluccia/
Lets
Begin:
Open
element 23 from the kit and shift+D to duplicate.
Close the
original.
Re-size so
it will fit nicely within your tag. It is not the main focus but will
be off to the left side. Use my tag for reference.
Make your
canvas large enough to give you plenty of room to work with.
Move the
frames to the left side.
Using your
magic wand select the inside of the 3 frames.
Selections
modify and expand by 5.
Open your
half body tube and copy and paste as a new layer.
Drag under
the frames.
Position
so her face is in the top frame and the other 2 frames will work
themselves out.
Selections
invert and hit delete.
Open paper
2 and copy and paste as a new layer and drag to the bottom.
Hit delete
on the paper layer.
Selections
select none.
Merge
these 3 layers together.
Open
element 50 and copy and paste as a new layer and re-size so it will
fit nicely behind the frames.
Drag under
the frame.
Add a drop
shadow.
Set your
foreground color to black and turn off your background color.
Now using
your rectangle preset shape tool with the width set to 6 we are going
to draw a square next to the frames.
Use my tag
for reference on the size if needed.
Using your
magic wand select the inside of the square.
Selections
modify and expand by 2.
Layers new
raster layer and drag under your square.
Open paper
10 and edit copy and paste into selection.
Selections
select none.
Open
element 61 and copy and paste as a new layer and position with your
square.
Re-size so
it fits nicely.
Open
element 35 and copy and paste as a new layer and drag to the bottom.
Re-size so
it will fit nicely from one side of your tag to the next.
Open
element 9 and re-size so it is just bigger than your square.
Copy and
paste as a new layer at the top and position in the middle of your
square.
Add a drop
shadow.
Open
element 13 and re-size so it will fit nicely next to the tower.
Copy and
paste as a new layer and place on the right hand side.
Add a drop
shadow.
Open
element 14 and repeat the above steps but place this one a little
lower than the first.
Open
element 12 and re-size and copy and paste as a new layer at the top
and place between your frames and your square.
Open your
full tube and copy and paste as a new layer and place on the right
side of your square.
Add a drop
shadow.
Open
element 24 and copy and paste as a new layer and place inside of your
square at the top left.
Duplicate
and move this layer to the right side.
Open
element 63 and re-size.
Image flip
horizontal.
Copy and
paste as a new layer at the top on the left hand side of the white
frames.
Add a drop
shadow.
Open
element 69 and copy and re-size.
Copy and
paste as a new layer and place on the right hand side of the white
frames in the middle.
Add a drop
shadow.
Open
element 76 and re-size a bit.
Copy and
paste as a new layer and place so it is coming out of the pile of
hearts and up and over your main tube.
Add your name and copyright/licensing information.
Crop and save.
Add your name and copyright/licensing information.
Crop and save.


No comments:
Post a Comment