
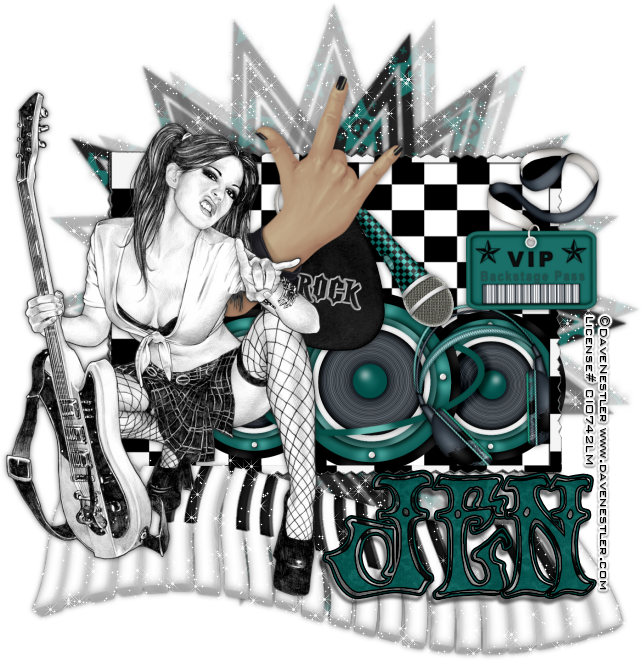
Forever
Rockin'
written
3/7/2015
Supplies
Needed:
Tube of
your choice. I am using the work of Dave Nestler. I got this image at
CILM however you can now purchase his work at http://cdoestore.com/
Scrap Kit
by Wicked Princess Scraps. You can get it at
http://wickedprincessscraps.blogspot.com/2014/08/freebie-alert-ffbt-takes-off-inspired.html
Mask of
your choice. I am using mask #151 by Vix. You can get her masks at
http://www.freewebs.com/vixpsp/
Font of
your choice. I am using Hendrix. You can get it at
http://www.dafont.com/hendrix.font
Plugins:
Alien Skin
Xenofex 2 constellation
Let's
Begin:
Open Frame
1 and shift+D to duplicate.
Close the
original.
Make your
canvas large enough to work with.
Image free
rotate to the right 90 degrees.
Using your
magic wand select the inside of the frame and go to selections modify
and expand by 4.
Layers new
raster layer and drag under the frame.
Open paper
12 and edit copy and paste into selection.
Selections
select none.
Add a drop
shadow to the frame.
Open paper
7 and edit copy and paste as a new layer and drag to the bottom.
Apply your
mask.
Delete the
mask layer and merge the group.
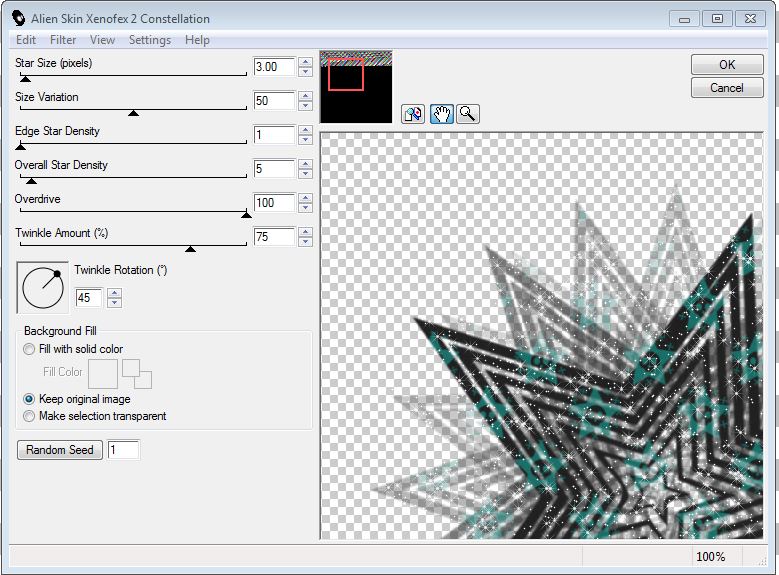
Apply the
Xenofex Constellation plugin using the following settings:
Open your
tube and copy and paste as a new layer.
Place on
either the far left or far right side; wherever your tube will look
best.
Add a drop
shadow.
Now we are
going to use some elements and dress it up.
I will
simply give you the list of elements that I used and you can place
them wherever you would like according to your taste.
All of my
elements are within the framed area minus the backstage pass which is
on top of the frame in the top corner opposite my tube and the devil
horns which are just below my tube but on top of the frame at the top
and also the piano keys which are just below my tube at the bottom so
my tube is standing on them.
Elements:
backstage
pass
devil
horns
headphones
microphone
piano keys
speakers
pick
Apply the
constellation plugin to the piano keys like you did to your mask.
Add your
copyright and licensing information.
Crop and
save.

No comments:
Post a Comment