

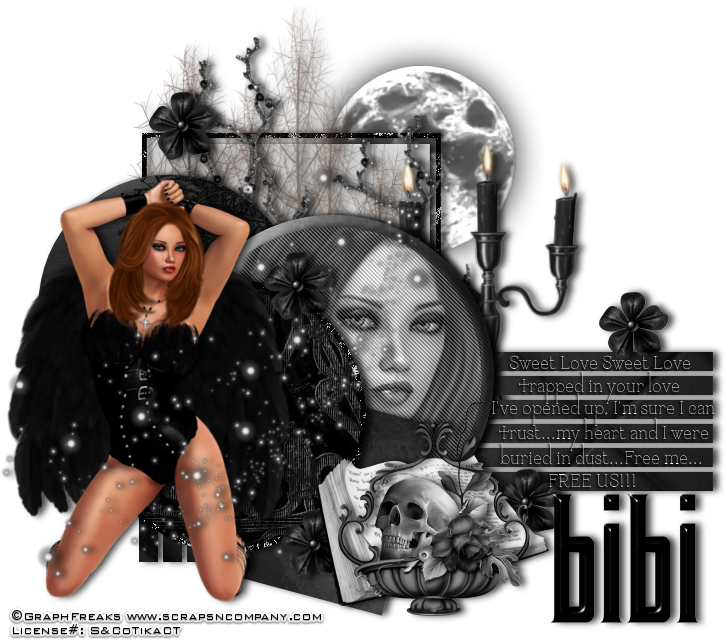
Bound
By You
written
11/10/2015
This
tutorial is meant purely as a guide. Feel free to make your tag
unique by using your own choice of tube and scrap kit. If you want
your tag to look just like mine then use the same supplies that I
have used.
Supplies
Used:
Tube
by Graph Freaks called Malphas Mastema. You can get it at
http://scrapsncompany.com/index.php?main_page=product_info&cPath=113_342&products_id=15426
Beautiful
matching scrap kit by Bibi's Collection. Also called Malphas Mastema.
You can get it at
http://scrapsncompany.com/index.php?main_page=product_info&cPath=112_114_168&products_id=15425
Tag
template by Chantals Corner. You can get it at
http://chantals-corner.blogspot.nl/2014/08/new-template.html?zx=6c7b2d7f58b880a6
Font
of your choice. I am using Tourette Normal which is a PTU font you
can purchase at http://www.fonts.com/font/virus-fonts/tourette/normal
and also Triac Seventy One which you can get FTU at
http://www.1001fonts.com/triac-71-font.html
Plugins:
Penta
Jeans
Let's
Begin:
Open
your template and shift+D to duplicate.
Close
the original.
Remove
the following layers:
Creds
7
3
BG
Make
your canvas large enough to work with.
Fill
each of the layers in the template with the different papers from the
kit.
The
papers you use on each layer are completely up to you.
Once
you get them all filled with the papers add a drop shadow to each
layer.
Open
the closeup of your tube and copy and paste as a new layer over the
largest of the 3 circles.
Selections
select all float and defloat on that circle.
Selections
invert and hit delete on the tube layer.
Apply
the penta jeans filter using the default settings.
Change
the properties of this layer to luminance legacy.
Add
a drop shadow.
Open
your full tube and copy and paste as a new layer.
Position
where you want in front of the tag template.
Add
a drop shadow.
Now
lets dress it up with some of the awesome elements from the kit.
I
will list the elements I used and the placement is up to you.
Use
my tag for reference if you want your tag to look just like mine.
Elements
used:
43
52
54
69
73
74
76
85
Using
a font of your choice add some text to the lined layers that are out
the right side.
Add
your name.
Add
your copyright and licensing information.
Crop
and save.

No comments:
Post a Comment