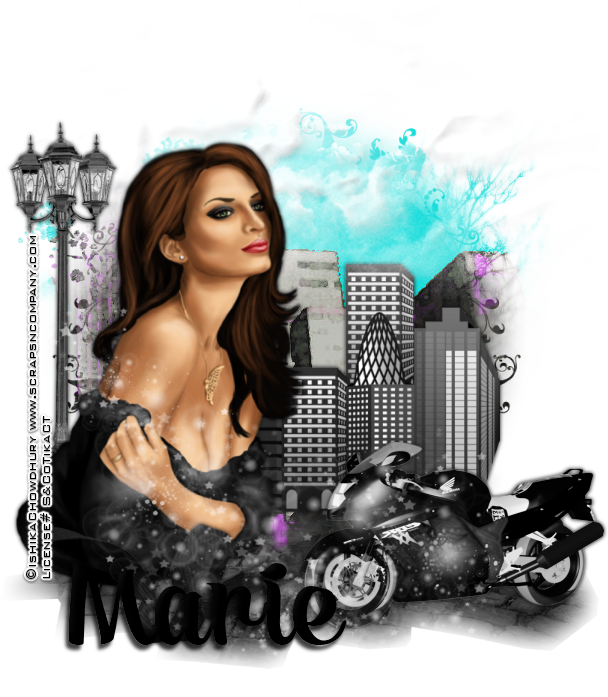
Affair
in the City
written
12/6/2015
This
tutorial is purely meant as a guide. Feel free to make your tag
unique by using your own choice of tube and scrap kit. If you want
your tag to look just like mine then use the same supplies that I
have used.
Supplies
Used:
Tube
by Ishika Chowdhury. It is part of the Madness Collab at Scraps and
Company. You can purchase the collab or get it free with a $10.50
purchase. You can find the collab at
http://scrapsncompany.com/index.php?main_page=product_info&cPath=144&products_id=15830
The
matching scrap kit is by Mariel Designs and is called Rock City. It
is also part of the collab.
Mask
of your choice. I am using mask #53 from Moonbeams and Spiderwebs.
You can get it at http://moonbeamsandspiderwebs.blogspot.com/
Font
of your choice. I am using Anggie. This is a PTU font so use whatever
font you choose.
Plugins:
NONE
Let's
Begin:
Open
paper 3 and shift+D to duplicate.
Close
the original.
Promote
the background layer to a raster layer.
Make
your canvas large enough to work with.
Apply
your mask to the paper layer.
Delete
the mask layer and merge the group.
Open
your tube and copy and paste as a new layer.
Re-size
as needed.
Position
on your tag to the far left side.
Add
a drop shadow.
Open
element 43 and copy and paste as a new layer and drag to the bottom.
Move
down so it is peeking out of the bottom of the tag.
Open
element 48 and copy and paste as a new layer.
Drag
behind your tube and move to the lower part of the masked area.
Re-size
as needed.
Add
a drop shadow.
Open
element 49 and copy and paste as a new layer.
Move
down below your tube.
Move
to the far left side of the tag.
Add
a drop shadow.
Open
element 51 and copy and paste as a new layer.
Drag
under the light post layer.
Move
to the top part of the tag.
Open
element 31 and copy and paste as a new layer.
Re-size
by 50%.
Image
flip horizontal.
Move
to the far right side at the bottom in the pavement.
Add
a drop shadow.
Open
element 34 and copy and paste as a new layer.
Move
to the bottom part of the tag.
Lower
the opacity of this layer to 60.
Open
element 56 and copy and paste as a new layer.
Drag
down under the bike.
Place
along the bottom of the tag.
Add
a drop shadow.
Add
your name.
Add
your license and copyright information.


No comments:
Post a Comment