Tuesday, August 11, 2015

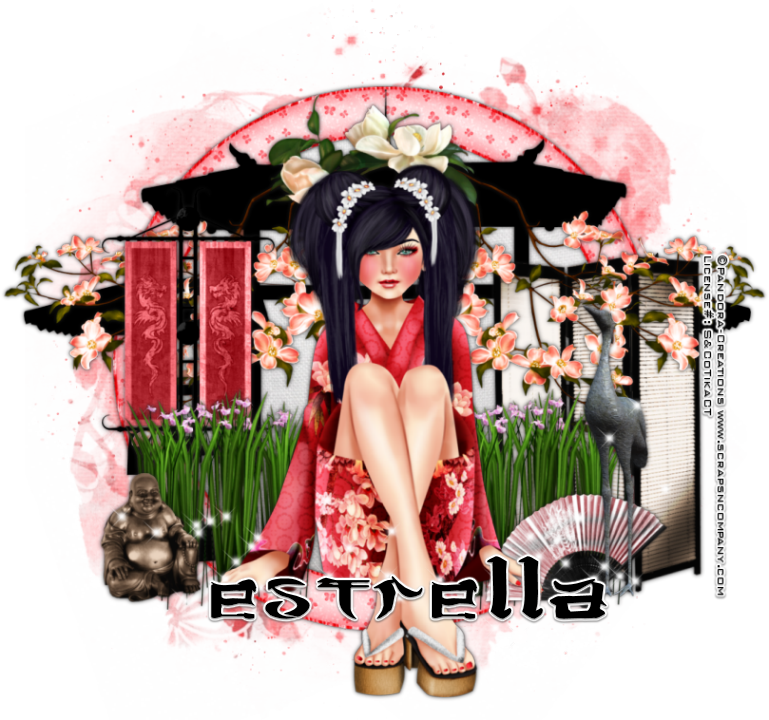
Zen Princess


Zen Princess
written 8/11/2015

This tutorial is meant purely as a guide. Make your tag unique to you by using your own tube and scrap kit. If you want your tag to look just like mine then use the same tube and scrap kit that I am and use my tag as a reference.

Supplies Used:


Mask of your choice. I am using mask 2 in this set from Rachel Designs.

Font of your choice. I am using JSA Lovechinese. You can get it at http://www.dafont.com/jsa-lovechinese.font

Plugins:
NONE

Let's Begin:
Open element 80 and shift+D to duplicate.
Close the original.
Re-size to a size you are happy with. This will be the base of your tag.
Make your canvas large enough to give you plenty of room to work with.
Open paper 4 and copy and paste as a new layer and drag to the bottom.
Apply your mask.
Delete the mask layer and merge the group.
Make your frame layer active and using your magic wand select the inside of the frame.
Selections modify and expand by 8.
Layers new raster layer and drag under the frame.
Open paper 3 and copy and paste into selection.
Selections select none.
Add a drop shadow to the frame.
Open element 52 and copy and paste as a new layer.
Position over the center of the frame.
Add a drop shadow.
Open your tube and copy and paste as a new layer.
Position so she is sitting on the bottom of the frame in the center.
Add a drop shadow.
Now lets dress it up with some elements.
I will list the elements I used.
Placement is completely up to you.
If you want your tag to look just like mine then use my tag as reference for placement of the elements.
Be sure to add a drop shadow to each element.
Elements used:
element 4
element 6
element 9
element 30
element 44
element 45
element 51
element 88
Add your name.
Add your copyright and licensing information.
Crop and save.


Monday, August 10, 2015

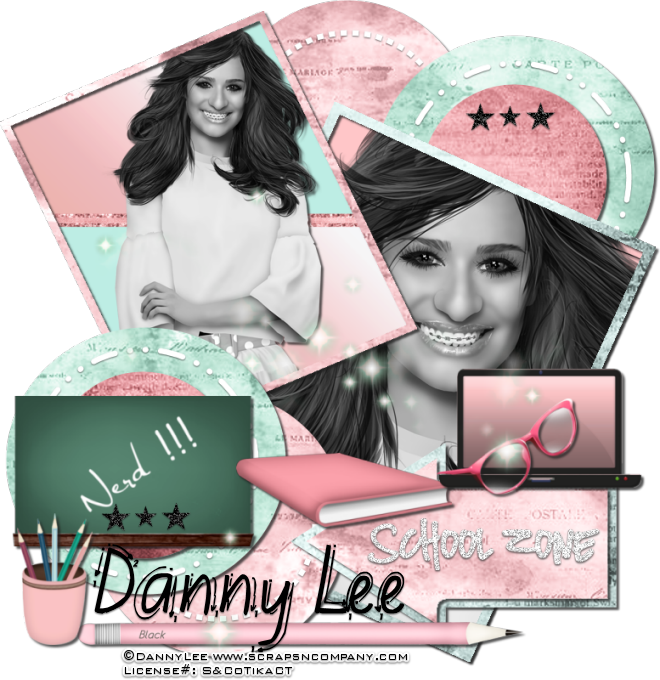
School Zone


School Zone
written 8/10/2015

This tutorial is meant purely as a guide. Make your tag unique to you. Feel free to use any tubes and scrap kits of your choice. If you want your tag to look exactly like mine then use the same supplies as I do and use my tag for reference.

Supplies Used:


Tag template is by Jen's Sweet Temptations. You can get it at http://jenssweettemptations.blogspot.de/2014/08/back-to-school-tag-temps-ftu.html

Font of your choice. I am using Kiwi School Handwriting with Guides. You can get it at http://www.dafont.com/kiwi-school-handwriting-with-guides.font

Plugins:
NONE

Let's Begin:
Open the template and delete the following layers:
raster 16
raster 1
raster 16
raster 15
raster 2
copy of raster 2
raster 11
copy of raster 11
Ok start with raster 3
selections select all float and defloat.
Open paper 6 and copy and paste as a new layer.
Selections invert and hit delete.
Selections select none.
Delete the original raster 3.
Repeat with all of the layers using different papers for each layer.
Add noise to the star layers and the word art layer.
Add a drop shadow to all layers.
Open your tube and copy and paste as a new layer 2x inside of each frame.
Go to adjust hue and saturation colorize and set both values to 0 for both tubes.
Add a drop shadow to each.
Now lets dress it up with some of the elements from the kit.
I will tell you which elements I used and the placement is completely up to you.
Use my tag for a reference if you want yours to be identical.
Elements used:
element 6
element 7
element 15
element 16
element 17
element 22
element 40
Add your name.
Add your copyright and licensing information.
Crop and save.


Wednesday, August 5, 2015

Into The Summer Sun


Into The Summer Sun
written 8/5/2015

This tutorial is meant purely as a guide. Use any tube and scraps to make your tag unique to you. If you want your tag to look just like mine then use the same supplies that I have. Also use my tag as a reference.

Supplies Used:


Scrap Kit by Disturbed Scraps. You can get it at http://scrapsncompany.com/index.php?main_page=product_info&products_id=12487

Mask of your choice. I am using mask #11 by Vix. You can get her awesome masks at http://www.freewebs.com/vixpsp/

Font of your choice. I am using Karl Wright Script.

Plugins:
None

Let's Begin:
Open element 76 and shift+D to duplicate.
Close the original.
Re-size to a size you are happy with.
This will be the base/frame of your tag.
Make your canvas large enough to work with.
Using your magic wand select the inside of the frame and go to selections modify and expand by 8.
Layers new raster layer and drag under the frame.
Open paper 14 and copy and paste into selection.
Open your tube and copy and paste and position so she is in the frame and erase any bits you do not want hanging out.
Selections select none.
Add a drop shadow to the frame and to your tube.
Open paper 5 and copy and paste as a new layer and then drag to the bottom.
Apply your mask.
Delete the mask layer and merge the group.
Alright lets use some of the great elements found in this kit and dress this tag up.
Again my tutorial is just a guide so I will provide the list of the elements I used.
You can use whatever elements you wish.
If you want your tag to look just like mine then use my tag as a reference for placement.
Elements I used:
element 1 – duplicated and placed randomly around the frame.
Element 12 – duplicated and placed on each side.
Element 14 – duplicated and placed on each side.
Element 23
element 35
element 39
element 40
element 41
element 61
element 63
element 69
Add your name.
Add your copyright and licensing information.
Crop and save.



Sunday, August 2, 2015

Sweet Surprise


Sweet Surprise
written 8/1/2015

This tutorial is meant to simply be a guide. Make your tag your very own by using whatever tubes and scrap kits you want. If you want your tag to look just like mine then use the same supplies that I use and use my tag as a reference.

Supplies Used:


Font of your choice. I am using Simply Glamorous. You can get it at http://www.dafont.com/simply-glamorous.font

Plugins:
NONE

Let's Begin:
Open element 97 and shift+D to duplicate.
Close the original.
Re-size if you wish.
Make your canvas large enough to work with.
Using your magic wand select the inside of the frame and then go to selections modify and expand by 20.
Open paper 7 and copy and paste as a new layer and drag under the frame.
Selections invert and hit delete.
Selections invert again.
Open the close up of your tube and copy and paste as a new layer.
Position her face within the framed area.
Selections invert and hit delete.
Selections select none.
Change the properties of the tube layer to luminance legacy.
Merge down to the paper layer.
Now use your smudge tool and run along the edges to smooth them out and blend them so they don't look so choppy behind the frame.
Add a slight drop shadow to the frame using the pink color.
Open your full size tube and copy and paste as a new layer.
Re-size and then move to the far right side of the frame.
Open element 10 and copy and paste as a new layer.
Re-size so it is within proportion of your tube.
I placed mine so it looked like the tube was standing inside of the cupcake wrapper.
You can do this by erasing bits of the tube.
Add a drop shadow to both the tube and the cupcake wrapper.
Now lets dress the tag up with some of the great elements included in this great kit.
I will simply list the elements I used. Placement is entirely up to you.
Elements used:
element09
element011
element013
element027
element033
element036
element042
element059
Add your name.
Add your copyright and licensing information.
Crop and re-size if needed.
Save.