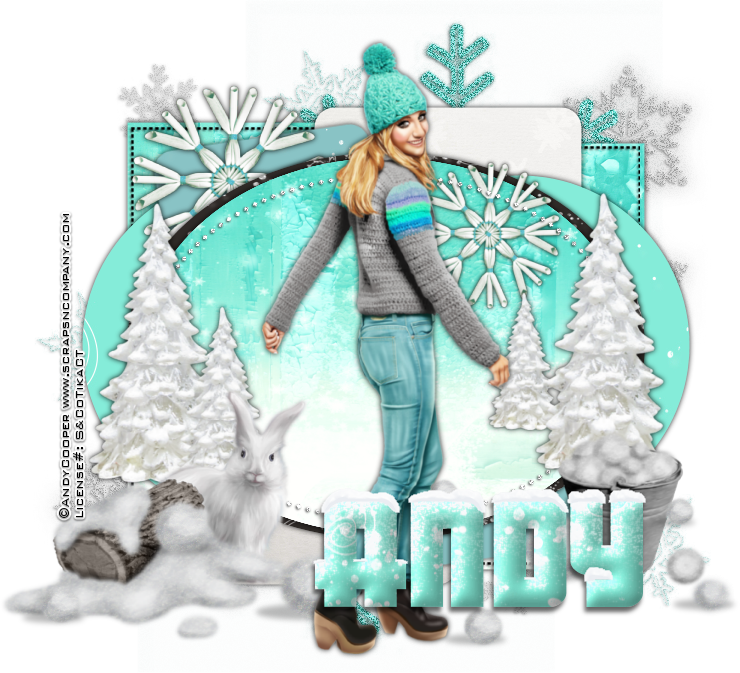
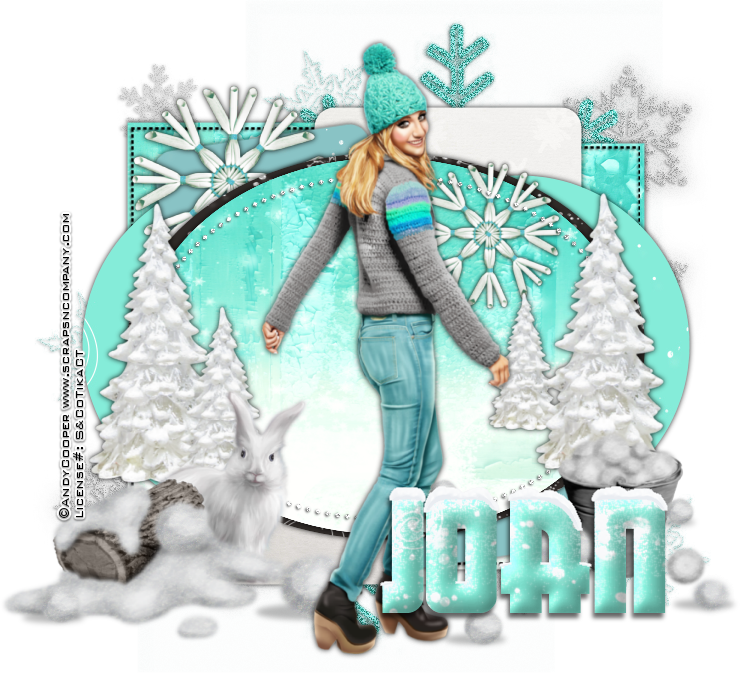
Chill
in the Air
written
1/7/2016
This
tutorial is meant purely as a guide. Feel free to make your tag
unique by using your own choice of tube and scrap kit. If you want
your tag to look exactly like mine then use the same supplies that I
have used.
Supplies
Used:
Tube
by Andy Cooper. It is called Winter Turquoise and you can purchase it
at
http://scrapsncompany.com/index.php?main_page=product_info&cPath=113_304&products_id=15487
Scrap
Kit is by Design By Joan. It is also called Winter Turquoise and you
can purchase it at
http://scrapsncompany.com/index.php?main_page=product_info&products_id=15489
Template
724 by Millies PSP Madness. You can download it at
http://milliespspmadness.blogspot.com/2014/12/template-724-and-tags-featuring-winter.html
Brushes
of your choice. You can get some good brushes at
http://deviantart.com
Font
of your choice. I am using Aerojones NF.
Plugins:
Alien
Skin Eye Candy 5 Nature Snow Drift (optional)
Let's
Begin:
Open
the template and shift+D to duplicate.
Close
the original for use again later if you wish.
Remove
the following layers from the template:
cr,
15, 14 & background.
Make
your canvas large enough to work with.
Grab
layer 3 and move it down so it is just above layer 1.
Merge
these 2 layers together.
Selections
select all float and defloat.
Open
paper 1 and copy and paste as a new layer.
Position
within the selected area.
Selections
invert and hit delete.
Selections
select none.
Delete
the original layer that you had merged.
Merge
together layers
Add
a drop shadow to this new layer.
Merge
together layers 5 & 6.
Selections
select all float and defloat.
Open
paper 2 and copy and paste as a new layer.
Position
within the selected area.
Selections
invert and hit delete.
Selections
select none.
Delete
the original layer that you merged.
Grab
layer 9 and drag it down to just above layer 7.
Merge
these two layers together.
Selections
select all float and defloat.
Open
paper 3 and copy and paste as a new layer.
Position
within the selected area and hit delete.
Selections
select none.
Delete
the original layer that you had merged.
Merge
together layers 10 & 8.
Selections
select all float and defloat.
Open
paper 6 and copy and paste as a new layer.
Position
within the selected area.
Selections
invert and hit delete.
Selections
select none.
Delete
the original layer that you had merged.
Make
layer 11 active and selections select all float and defloat.
Layers
new raster layer.
Open
paper 5 and copy and paste into selection.
Selections
select none.
Delete
the original layer 11 layer.
Make
layer 12 active and selection select all float and defloat.
Layers
new raster layer.
Open
paper 1 and copy and paste into selection.
Selections
select none.
Delete
the original layer 12 layer.
Layers
new raster layer and drag to the bottom.
Apply
some brushes of your choice.
Open
element 33 and re-size by 75% 2x.
Copy
and paste as a new layer at the top.
Place
so the trees line up the sides of the top oval layer.
Open
your tube and copy and paste as a new layer.
Re-size
if needed.
Place
in the center of the tag area between the trees.
Open
element 70 and copy and paste as a new layer.
Re-size
if needed.
Drag
under your tube and move to the bottom of the tag around the feet of
your tube.
Open
element 6.
Copy
and paste as a new layer.
Re-size
if needed.
Drag
under the other snowballs tube.
Move
to the bottom left of the tag.
Open
element 3 and copy and paste as a new layer.
Re-size
if needed.
Move
to the bottom right of the tag.
Open
element 65 and copy and paste as a new layer.
Drag
down under the log and move to where it is behind the log and peeking
out the right side.
Open
element 13 and copy and paste as a new layer.
Drag
under your tube.
Re-size
and duplicate a few times and place them around the top area of the
template.
Add
your name.
Apply
an inner bevel.
Add
the Snowdrift plugin if you wish.
Add
your copyright and licensing information.
Crop
your tag and save.


No comments:
Post a Comment