
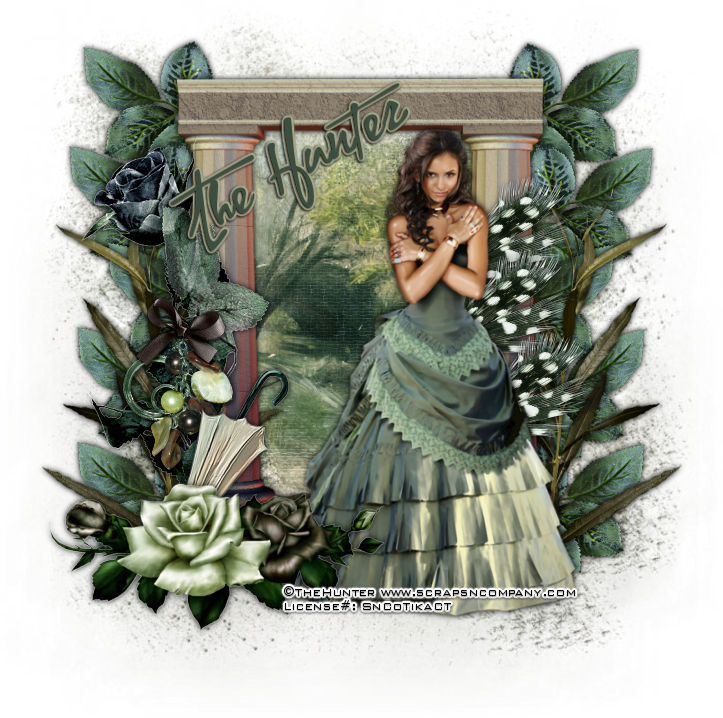
My
Beauty
written
1/11/2016
This
tutorial is meant purely as a guide. Feel free to make your tag
unique by using your own choice of tube and scrap kit. If you want
your tag to look just like mine then use the same supplies I have
used.
Supplies
Used:
Tube
by The Hunter. It is called Katherina. You can purchase it at
http://scrapsncompany.com/index.php?main_page=product_info&cPath=113_576_577&products_id=16793
Scrap
kit by Devilish Dezines. It is also called Katherina. You can
purchase it at
http://scrapsncompany.com/index.php?main_page=product_info&products_id=16851
Mask
of choice. I am using one by Designs By Anorie. It is mask #11. You
can get it at http://anorie.blogspot.de/2016/01/mask-11.html
Also
the second mask I am using is Mask #81 by Weescotslass Creations. You
can get it at
http://weescotslasscreations.blogspot.com/2009/04/masks.html
Font
of your choice. I am using Yankee Ghosts BB. It is a PTU font and you
can purchase it at
https://www.myfonts.com/fonts/blambot/yankee-ghosts-bb/
Plugins:
NONE
Let's
Begin:
Open
paper 3 and shift+D to duplicate. Close the original.
Re-size
if you choose.
Promote
the background layer to a raster layer.
Apply
the mask of your choice. This is where I used the mask by Anorie.
Delete
the mask layer and merge the group.
Open
element 7 and copy and paste as a new layer.
Re-size
as needed so it will fit nicely in the center of the mask layer.
Open
paper 1 and re-size so it just slightly larger than the columns.
Apply
the second mask of your choice. This is where I used the mask by
Weescotslass.
Delete
the mask layer and merge the group.
Make
sure it is centered in the columns.
Add
a drop shadow to the columns.
Open
element 17 and copy and paste as a new layer.
Drag
under the columns.
Place
at the top on the left side.
Duplicate
several times and arrange all down the left side of the column.
Erase
any bits that end up in the center of the columns.
Add
a drop shadow to each and then merge them all together.
Duplicate
and image flip horizontal.
Move
to the right side.
Open
element 31 and copy and paste as a new layer.
Place
under the columns but on top of the other leaves on the right side.
Add
a drop shadow.
Duplicate
and move this copy to the left side.
Open
your tube and copy and paste as a new layer.
Re-size
so she fits nicely within the column area and to the right.
Add
a drop shadow.
Open
element 8 and copy and paste as a new layer.
Re-size
and move under your tube.
Place
so it is peeking out around the right side of the tube.
Add
a drop shadow and duplicate a couple of times.
Move
the copies down so they run along the right side of the tube.
Open
element 25 and copy and paste as a new layer.
Image
free rotate to the left 90 degrees.
Adjust
sharpen.
Re-size
so it is just smaller than the columns and move over in front of the
left column.
Add
a drop shadow.
Open
element 47 and copy and paste as a new layer.
Re-size
so it will fit nicely at the bottom of the left column in front of
the rose.
Add
a drop shadow.
Open
element 2 and copy and paste as a new layer.
Re-size
so it will fit nicely at the bottom on the left in front of
everything.
Add
a drop shadow.
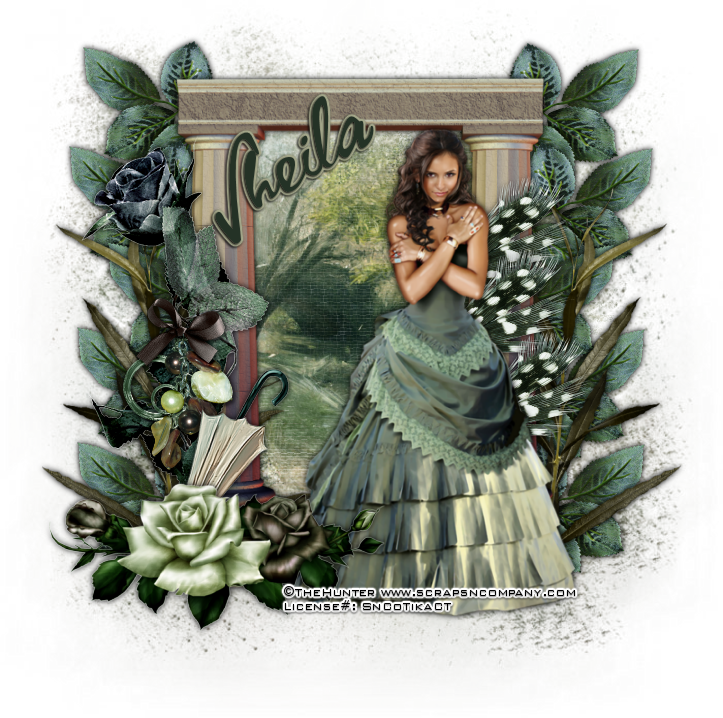
Add
your name.
Add
your copyright and licensing information.
Crop
and save.

No comments:
Post a Comment