Saturday, April 30, 2016

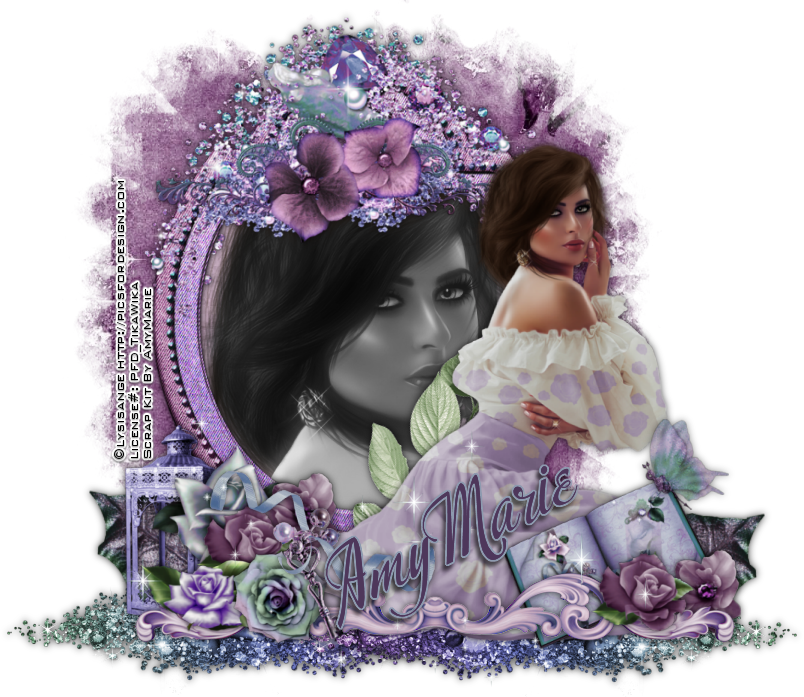
Woman In Love


Woman In Love
written 4/30/2016

This tutorial is meant purely as a guide. Feel free to use your own choice or tube and scrap kit to make your tag unique. If you want your tag to look just like mine then use the same supplies I have used. This tutorial assumes you have a knowledge of paint shop pro. Any resemblance to any other tag or tutorial is purely coincidental.

Supplies Used:

Tube is by Lysisange and is called Romantic. You can purchase it at http://picsfordesign.com

The beautiful scrap kit is by Amy Marie and is called Mystic Treasure. You can purchase it at http://amymarieskits.com/store/

Mask of your choice. I am using mask 41 by Babs Bitzy Designz. You can download it at http://babspsp.blogspot.com/2011/06/mask-41-50.html

Font of your choice. I am using Calligraphy Script. This is a PTU font.

Plugins:
Xero Greyscaler
Xero Misitifier

Drop shadow used throughout:
0 0 70 11.00 Black

Let's Begin:
Open element 44 and shift+D to duplicate. Close the original for use at a later time.
Make your canvas large enough to work with.
Re-size the frame if you want to.
Using your magic wand select the inside of the frame.
Selections modify and expand by 15.
Open paper 9 and copy and paste as a new layer and drag under the frame.
Selections invert and hit delete.
Selections invert again.
Open your tube and copy and paste as a new layer between the paper and the frame.
Re-size if you need to.
Place so her face is within the selected framed area.
Selections invert and hit delete.
Selections select none.
Apply the Xero Greyscaler plugin using the default settings.
Apply the Xero Mistifier plugin changing the top number to 150.
Add a drop shadow to the frame.
Merge these 3 layers together.
Open paper 3 and copy and paste as a new layer.
Drag to the bottom.
Apply the mask of your choice.
Delete the mask layer and merge the group.
Open your tube and copy and paste as a new layer.
Re-size as needed.
Place on the right of the frame.
Add a drop shadow.
Now I will list the elements I used.
Placement is completely up to you but if you want your tag to look just like mine then use my tag for reference.
Feel free to use elements I did not use to make your tag unique.
Elements used:
4
13
15
22
28
31
37
49
64
65
78
105
110
Add your name.
Add your copyright and licensing information.
Crop and save.

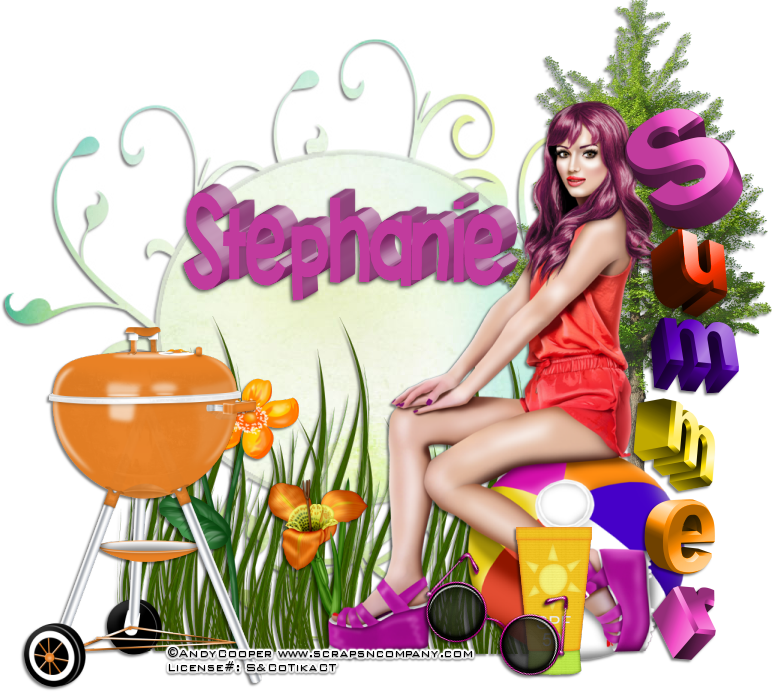
Summer Playin


Summer Playin'
written 4/30/2016

This tutorial is meant purely as a guide. Feel free to make your tag unique by using your own choice of tube and scrap kit. If you want your tag to look just like mine then use the same supplies I have used. This tutorial assumes you have a knowledge of paint shop pro. Any resemblance to any other tag or tutorial is purely coincidental.

Supplies Used:

Tube is called Beach Ball by Andy Cooper. You can purchase her at http://scrapsncompany.com/index.php?main_page=product_info&cPath=113_652_304&products_id=19092

Super fun scrap kit is also called Beach Ball and it is by A Lil Mz Brainstorm. You can purchase it at http://scrapsncompany.com/index.php?main_page=product_info&products_id=19166

Mask of your choice. I am using doodle mask #4 by Cat at insatiable dreams. You can get her awesome masks at http://insatiabledreams.net/Resource_page.html

Font of your choice. I am using KBPay The Lady. You can download it at http://www.fontspace.com/khryskreations/kbpaythelady

Plugins:
Alien Skin Eye candy 4 Impact Extrude (optional)

Drop shadow used throughout:
2 -2 50 3.00 black

Let's Begin:
Open paper 2 and shift+D to duplicate.
Close the original so you can use it again another time if you wish.
Promote the background layer to a raster layer.
Make your canvas large enough to work with.
Apply your mask to the paper layer.
Delete the mask layer and merge the group.
Center your mask within your canvas.
Add a drop shadow to the mask.
Open your tube and re-size as needed.
Copy and paste as a new layer.
Move to the far right of the mask.
Add a drop shadow.
Open element 43 and copy and paste as a new layer.
Drag behind your tube and to the right a bit.
Add a drop shadow.
Open element 56 and copy and paste as a new layer.
Re-size as needed.
Drag under your tube.
Place over to the right so you can see it between her foot and the ball.
Duplicate and move this copy to the left and then duplicate again and move to the left.
Merge all 3 grass layers together and add a drop shadow.
Open element 11 and re-size as needed.
Copy and paste as a new layer.
Move to the far left at the end of the grass.
Add a drop shadow.
Open element 7 and re-size as needed.
Copy and paste as a new layer and image free rotate to the right 24 degrees.
Place as the bottom near her feet. Add a drop shadow.
Open element 16 and re-size as needed.
Copy and paste as a new layer.
Drag under the glasses.
Move to the bottom and place behind the glasses and to the right.
Add a drop shadow.
Open elements 24 and 26 and re-size as needed.
Copy and paste as a new layer for each and place them down in the grass area.
Add a drop shadow.
Open element 4 and copy and paste as a new layer.
Place to the far right of your tube.
Add a drop shadow.
Add your name.
I then used the eye candy 5 impact extrude to make my name look like the other letters in the wordart. This is completely up to you.
If you do decide to use it I used the settings Small Offset, 30 Degrees.
Add your copyright and licensing information.
Crop and save.

Wednesday, April 27, 2016

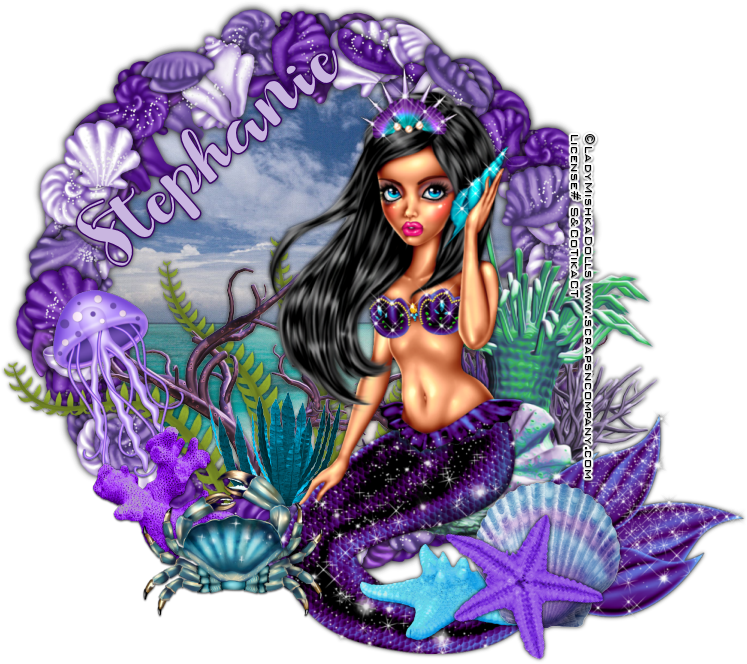
Sirens Song


Sirens Song
written 4/26/2016

This tutorial is meant purely as a guide. Feel free to make your tag unique by using your own choice of tube and scrap kit. If you want your tag to look just like mine then use the same supplies I have used. This tutorial assumes you have a knowledge of paint shop pro. Any resemblance to any other tag or tutorial is purely coincidental.

Supplies Used:

Tube is a commission tube by Lady Mishka for Scraps N Company. She is called Mermaid Dark and you can purchase her at http://scrapsncompany.com/index.php?main_page=product_info&cPath=490_554&products_id=19033

Beautiful matching scrap kit also called Mermaid Dark by A Lil Mz Brainstorm. You can purchase it at http://scrapsncompany.com/index.php?main_page=product_info&products_id=19059

Font of your choice. I am using Dreams Liem. This is a PTU Font.

Plugins:
NONE

Drop shadow used throughout:
0 0 85 6.00 black

Let's Begin:
Open element 70 and shift+D to duplicate.
Close the original so you can use it again if you wish.
Make your canvas large enough to work with.
Using your magic wand select the inside of the frame.
Selections modify and expand by 12.
Layers new raster layer and drag this new layer under the frame.
Open paper 9 and copy and paste into selection.
Selections select none.
Add a drop shadow to the frame.
Open element 75 and copy and paste as a new layer.
Position at the bottom of the frame but at the inside area.
Add a drop shadow.
Open element 85 and re-size by 50%.
Copy and paste as a new layer and place at the bottom of the frame inside area in front of the green seaweed.
Duplicate and image flip horizontal the copy.
Add a drop shadow to both.
Open your tube and re-size until happy.
Copy and paste as a new layer and move to the far right side of the frame.
Add a drop shadow.
Now lets dress it up with some of the fun elements from the kit.
I will list the elements I used.
Placement is completely up to you.
If you want your tag to look just like mine then use my tag for reference.
Feel free to use any elements I did not use to help make your tag unique.
Elements I used:
11
19
63
74
81
87
89
102
Add your name.
Add your copyright and licensing information.
Crop and save.


Needed Me


Needed Me
written 4/26/2016

This tutorial is meant purely as a guide. Feel free to make your tag unique by using your own choice of tube and scrap kit. If you want your tag to look just like mine then use the same supplies I have used. This tutorial assumes you have a knowledge of paint shop pro. Any resemblance to any other tutorial or tag is purely coincidental.

Supplies used:

Tube by Laguna. You can purchase her at http://picsfordesign.com

Beautiful scrap kit by Amy Marie. It is called Butterfly Beauty 2016. You can purchase it at http://amymarieskits.com/store/

Tag template #75 by Dangerously Delicious Designz. You can download it at http://dangerouslydeliciousdesignz.blogspot.ca/2014/07/template75squeeze.html

Font of your choice. I am using Bareken. This is a PTU font.

Plugins:
NONE

Drop shadow used throughout:
0 0 70 11.00 black

Let's Begin:
Open your tag template and shift+D to duplicate.
Close the original in case you want to use it again some other time.
Delete the following layers:
info shadow 1, small text, Squeeze, squeeze black, Juice, juice black, d/s on words, and raster 1.
Make your canvas large enough to work with.
Now fill each of the layers of the template with the awesome papers from the kit or colors and textures of your choice.
Add a drop shadow to each layer once you are done.
Open your tube and decide which layers you would like to use for your tag.
Copy and paste as a new layer.
Re-size to your liking.
Position in the center of the tag template.
Add a drop shadow.
Now lets dress it up with some of the great elements from this kit.
I will simply list the elements I used.
Placement is completely up to you and of course if you want your tag to look just like mine then use my tag for reference.
I do it this way as I feel it is boring and monotonous to sit and tell you to copy and paste every single element individually.
Feel free to use any of the elements and even the ones I have not used which will make your tag unique to you.
Elements I used:
3
10
12
21
40
43
51
67
77
89
Once you are done add a drop shadow to each of the elements.
Add your name.
Add your copyright and licensing information.
Crop and re-size if you wish.
Save.


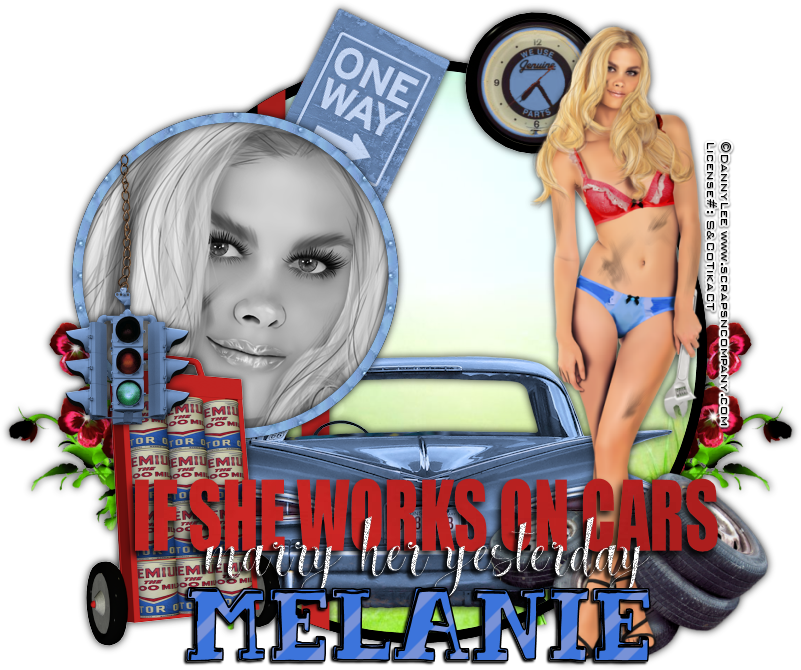
If She Works On Cars


If She Works On Cars
written 4/26/2016

This tutorial is meant purely as a guide. Feel free to make your tag unique by using your own choice of tube and scrap kit. If you want your tag to look just like mine then use the same supplies that I have used. This tutorial assumes you have knowledge of paint shop pro. Any resemblance to any other tag or tutorial is purely coincidental.

Supplies Used:

Tube is called Sexy Mechanic and she is by Danny Lee. You can purchase her at http://scrapsncompany.com/index.php?main_page=product_info&cPath=113_132_219&products_id=19074

Fun matching scrap kit also called Sexy Mechanic is by Blissful Designs. You can purchase this kit at http://scrapsncompany.com/index.php?main_page=product_info&products_id=19084

Tag Template by me. You can download this template at https://app.box.com/s/zgomi6cuqgzroid7916be204ggm9gb1b

Font of your choice. I am using Two and Two. It is a PTU font.

Plugins:
NONE

Drop shadow used throughout:
0 0 85 12.00 black

Let's Begin:
Open the tag template and shift+D to duplicate.
Close the original.
Delete the credits layer.
Make your canvas large enough to work with.
Make the black circle layer active.
Selections select all float and defloat.
Selections modify and contract by 10.
Layers new raster layer.
Open paper 2 and copy and paste into selection.
LEAVE SELECTED.
Open element 26 and copy and paste as a new layer.
Drag above the stripes layer.
Move to the bottom center of the selected circle.
Once in position selections invert and hit delete.
Selections select none.
Make the stripes layer active and selections select all float and defloat.
Open paper 4 and copy and paste as a new layer.
Selections invert and hit delete.
Selections select none.
Delete the original stripes layer.
Make the grey circle layer active and selections select all float and defloat.
Open paper 3 and copy and paste as a new layer.
Selections invert and hit delete.
LEAVE SELECTED.
Selections invert again.
Selections modify and contract by 10.
Hit delete.
Open your tube and copy and paste as a new layer.
Position so her face is within the framed area.
Selections invert and hit delete.
Selections select none.
Adjust hue and saturation colorize and change both values to 0.
Make the top wordart layer active and selections select all float and defloat.
Open paper 4 again and copy and paste as a new layer.
Selections select none.
Delete the original layer.
Add a drop shadow to all of the layers this far.
Open your tube and copy and paste as a new layer.
Re-size until just slightly larger than the large circle.
Drag down under the wordart layers.
Move to the far right side and add a drop shadow.
Now lets dress this up with some of the elements from the kit.
I will list the elements I used and placement is completely up to you.
If you want your tag to look just like mine then use the same elements I have and use my tag for reference.
Feel free to use any other elements to make your tag unique.
Elements I used:
16
21
22
24
64
66
Add your name.
Add your copyright and licensing information.
Crop and re-size.
Save.


Saturday, April 23, 2016

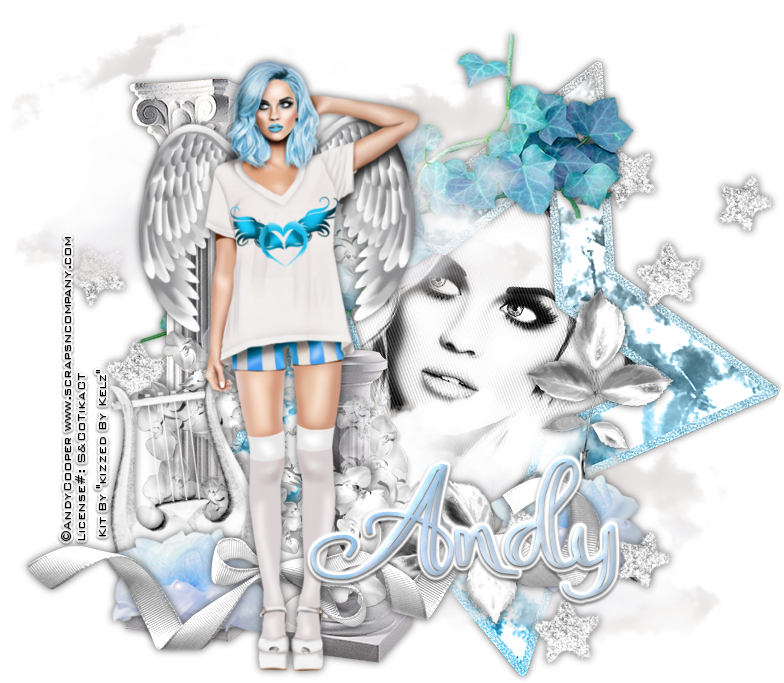
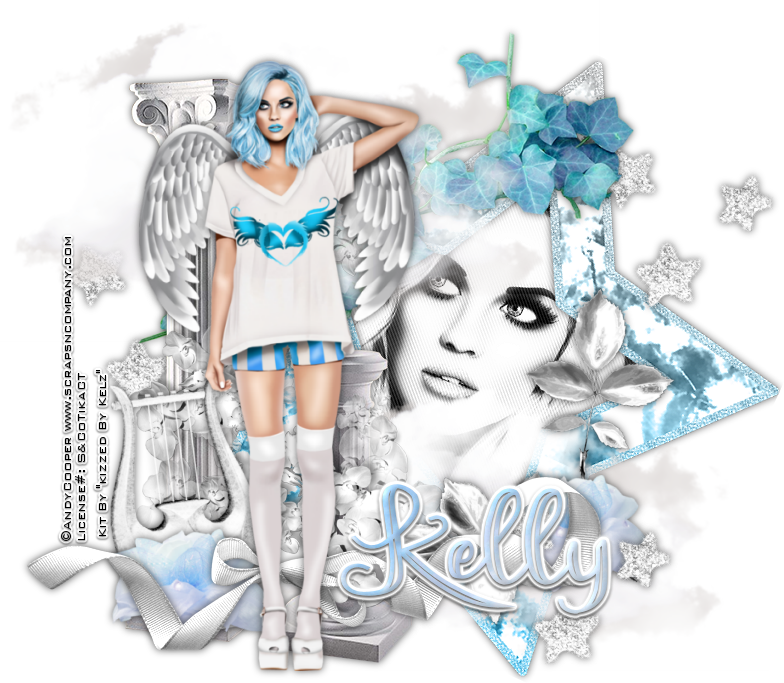
Heaven Knows


Heaven Knows
written 4/22/2016

This tutorial is meant purely as a guide. Feel free to make your tag unique by using your own choice of tube and scrap kit. If you want your tag to look just like mine then use the same supplies I have used. This tutorial assumes you have a knowledge of paint shop pro. Any resemblance to any other tag or tutorial is purely coincidental.

Supplies Used:

Tube is by Andy Cooper and is part of an awesome collab you can get at Scraps and Company right now. It is a free gift with your purchase of $12.50. There are some awesome items in this collab. Well worth it. Check it out at http://scrapsncompany.com/

The beautiful scrap kit is by Kizzed by Kelz and it is also part of this wonderful collab.

Font of your choice. I am using Aysheea. This is a PTU font.

Plugins:
Xero Radiance
Penta Jeans

Drop shadow used throughout:
0 0 65 12.00 black

Let's Begin:
Open element 40 and shift+D to duplicate.
Close the original.
Using your magic wand select the inside of the star.
Selections modify and expand by 4.
Open the close up of the tube and copy and paste as a new layer.
Drag under the star.
Position her face within the selected area.
Selections invert and hit delete.
Selections select none.
Apply the Xero Radiance plugin using the default settings.
Adjust hue and saturization. Colorize.
Set both values to 0.
Apply the Penta Jeans plugin and change the top value to 30.
Add a drop shadow to the star.
Merge these 2 layers together.
Make your canvas large enough to work with.
Image free rotate to the right 24.50 degrees.
Adjust sharpen.
Move up and to the right slightly.
Now open your full tube and copy and paste as a new layer.
Place over on the left side of the star.
Re-size as needed.
Add a drop shadow.
Now lets dress it up with some of the awesome elements.
I will list the elements I used.
Placement is entirely up to you.
If you want your tag to look just like mine then use my tag for reference.
Feel free to use elements that I did not use this will make your tag unique.
Elements I used:
9
12
19
20
23
27
28
31
38
Add your name.
Add your copyright and licensing information
Crop and re-size if you wish.
Save.


Thursday, April 21, 2016

From This Day Forward


From This Day Forward
written 4/21/2016

This tutorial is meant purely as a guide. Feel free to make your tag unique by using your own choice of tube and scrap kit. If you want your tag to look just like mine then use the same supplies I have used. This tutorial assumes you have a knowledge of paint shop pro. Any resemblance to any other tag or tutorial is purely coincidental.

Supplies Used:

Tube of your choice. Preferably one with a close up. I am using a tube by Very Many. You can purchase her at http://verymanytubes.com/

Beautiful Scrap Kit by Amy Marie. You can purchase it at http://amymarieskits.com/store/ It is called Roses are Pink.

Font of your choice. I am using Vampire Kiss. You can download it at http://www.1001fonts.com/vampire-kiss-demo-font.html I also used Hobby Horse for the text on the book.

Plugins:
Xero Porcelain
Penta Color Dot

Drop shadow used throughout:
0 0 40 12.00 black

Let's Begin:
Open element 8 and shift+D to duplicate.
Close the original.
Make your canvas large enough to work with.
Using your magic wand select the inside of the frame.
Selections modify and expand by 4.
Open paper 24 and copy and paste as a new layer.
Drag under the frame.
Selections invert and hit delete.
Selections invert again.
Open the close up of your tube and copy and paste as a new layer.
Position within the frame area.
Selections invert and hit delete.
Selections select none.
Change the properties of this layer to luminance legacy.
Apply the Xero Porcelain filter using the default settings.
Apply the Penta Color Dot filter using the default settings EXCEPT change the top value to 45.
Add a drop shadow to the frame.
Merge all of these layers visible.
Open your full version of the tube and copy and paste as a new layer.
Re-size as needed.
Move to the far left side of the frame.
Apply the Xero Porcelain filter again using the default settings.
Add a drop shadow.
Open element 11 and shift+D to duplicate.
Close the original.
We are going to work with this a bit before we place it on our tag.
Using a font of your choice add some text .. maybe some brushes. Just kind of dress it up and make it fun.
Copy and paste as a new layer.
Image free rotate to the right 20 degrees.
Adjust sharpen.
Drag under your full tube.
Place to the right of her so it is peeking out from behind her and above her legs.
Add a drop shadow.
Now lets dress this up with some of the very gorgeous elements from the kit.
I will list the elements I used.
Placement is entirely up to you.
If you want your tag to look just like mine then use my tag for reference.
Feel free to switch it up and use elements I didnt use to help make your tag unique.
Elements I used:
10
12
14
28
38
43
50
61
83
129
Add your name.
Add your copyright and licensing information.
Crop and re-size if you wish.
Save.


Wednesday, April 20, 2016

Drunk On You & High On Summertime


Drunk On You & High On Summertime
written 4/20/2016

This tutorial is meant purely as a guide. Feel free to make your tag unique by using your own choice of tube and scrap kit. If you want your tag to look just like mine use the same supplies that I used. This tutorial assumes you have a knowledge of paint shop pro. Any resemblance to any other tag or tutorial is purely coincidental.

Supplies Used:

Tube of your choice. I am using one by Lysisange. You can purchase it at http://picsfordesign.com

Scrap kit is by Purple Dreams Scraps. It is called Sea Breeze and you can also purchase it at http://picsfordesign.com

Tag template is by Simple Expressions. I am using template #11. You can download it at http://simpleexpressions58.blogspot.ca/2016/04/setemplate11.html

Font of your choice. I am using Everbest Script.

Plugins:
NONE

Drop shadow used throughout:
5 -3 60 5.00 black

Let's Begin:
Open the tag template and shift+D to duplicate.
Close the original.
Delete the following layers:
credit and white background.
Make your canvas large enough to work with.
We are going to start at the bottom and work our way up.
Lets fill each of these layers using the beautiful papers from this kit.
Once you are done delete all the original layers and add a drop shadow to each layer.
Open your tube and copy and paste as a new layer.
Position within the frame.
Erase any bits that are hanging out that you do not want.
Add a drop shadow to the tube.
Lets dress up this tag with some of the awesome elements from the kit.
I will list the elements I used.
Placement is completely up to you.
If you want your tag to look just like mine then use my tag for reference.
Feel free to use any of the elements that I didn't use..this will help your tag be unique.
Elements I used:
04
08 (duplicated and used a few)
09 (duplicated and used a couple)
12 (duplicated and used a few)
16
19
21 (duplicated and used a few)
30
35
49
Add some text if you wish.
Add your name.
Add your copyright and licensing information.
Crop and re-size.
Save. 
 

Oi Kai Ka Lau E Hana I Ola Hanua


Oi Kai Ka Lau E Hana I Ola Honua
Live your life while the sun is still shining
written 4/20/2016

This tutorial is meant purely as a guide. Feel free to make your tag unique by using your own choice of tube and scrap kit. If you want your tag to look just like mine then use the same supplies that I have used. This tutorial assumes you have a knowledge of paint shop pro. Any resemblance to any other tag or tutorial is purely coincidental.

Supplies Used:

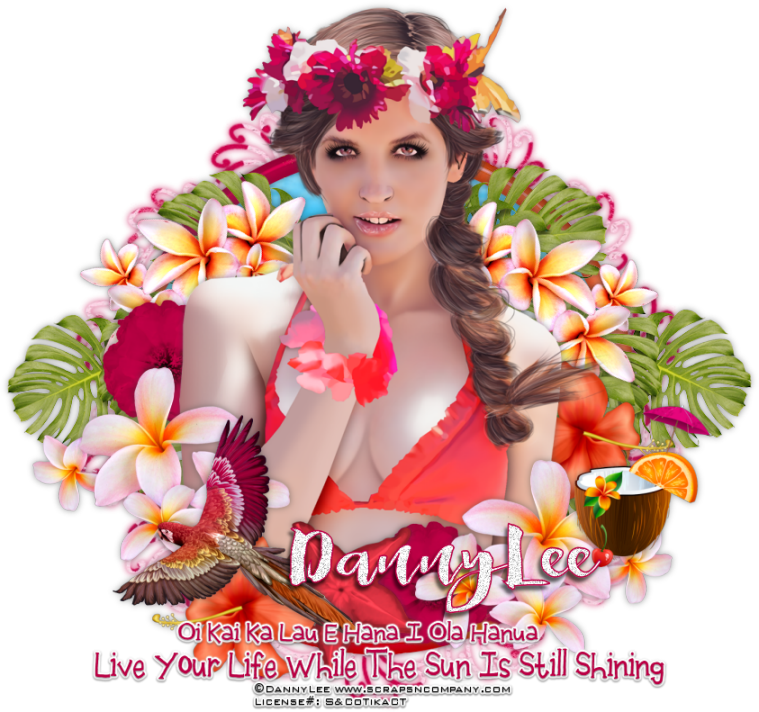
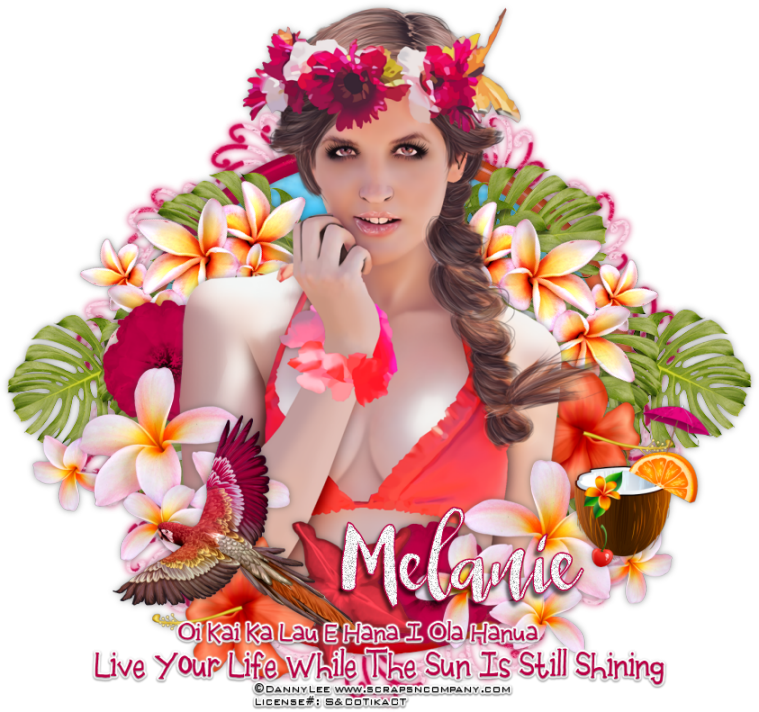
Tube of your choice. Preferably one with a close up. I am using a tube by Danny Lee called Hawaiian Flowers. You can purchase her at http://scrapsncompany.com/index.php?main_page=product_info&cPath=113_132_219&products_id=19093

Beautiful matching scrap kit by Blissful Designs. It is also called Hawaiian Flowers. You can purchase it at http://scrapsncompany.com/index.php?main_page=product_info&products_id=19097

Mask of your choice. I am using mask #265 by Vix. You can download her awesome masks at http://www.freewebs.com/vixpsp/

Font of your choice. I am using 2 Peas Tuxedo for the wordart and Queen for the name.

Plugins:
NONE

Drop shadow used throughout:
0 0 55 10.00 medium grey

Let's Begin:
Open element 40 and shift+D to duplicate.
Close the original.
Re-size if you wish.
Make your canvas large enough to work with.
Open paper 6 and copy and paste as a new layer.
Drag under the frame.
Apply the mask of your choice.
Delete the mask layer and merge the group.
Add a drop shadow to the mask layer.
Make your frame layer active.
Using your magic wand select the inside of the frame.
Selections modify and expand by 3.
Layers new raster layer and drag under the frame.
Open paper 7 and copy and paste into selection.
Selections select none.
Open the closeup of your tube and copy and paste as a new layer.
Position within the framed area.
Erase any bits hanging out of the frame that you do not want.
Add a drop shadow to the tube.
Add a drop shadow to the frame.
Open element 29 and copy and paste as a new layer.
Drag behind your tube but in front of the frame.
Place to the far left so it is peeking out from behind your tube.
Duplicate.
Image flip horizontal.
Move this copy to the far right side.
Merge them together and add a drop shadow.
Open element 7 and copy and paste as a new layer.
Re-size.
Place in the lower right corner of the frame at the top.
Add a drop shadow.
Duplicate and image flip horizontal.
Move this one to the left side of the frame and up just a bit.
Open element 21 and copy and paste as a new layer.
Re-size.
Image free rotate to the left by 30 degrees.
Adjust sharpen.
Move to the top left.
Drag under your tube and place so it is peeking out behind her shoulder.
Duplicate and image flip horizontal.
Move this copy to the right shoulder.
Add a drop shadow to both.
Open element 18 and copy and paste as a new layer.
Re-size.
Move to the far left side. Position where you want.
Add a drop shadow.
Duplicate and move this copy to the bottom right side where you want.
Open element 32 and copy and paste as a new layer.
Re-size.
Move to the bottom left corner and add a drop shadow.
Open element 38 and copy and paste as a new layer.
Re-size.
Place in the bottom.
Add a drop shadow.
Duplicate and image flip horizontal.
Move to the far right side.
Open element 59 and copy and paste as a new layer.
Re-size.
Place over to the right side.
Add a drop shadow.
Open element 89 and copy and paste as a new layer.
Re-size.
Place at the bottom of the frame.
Add a drop shadow.
Using the font of your choice add some text/wordart if you choose.
Add your name.
Add your copyright and licensing information.
Crop and re-size if you wish.
Save.