

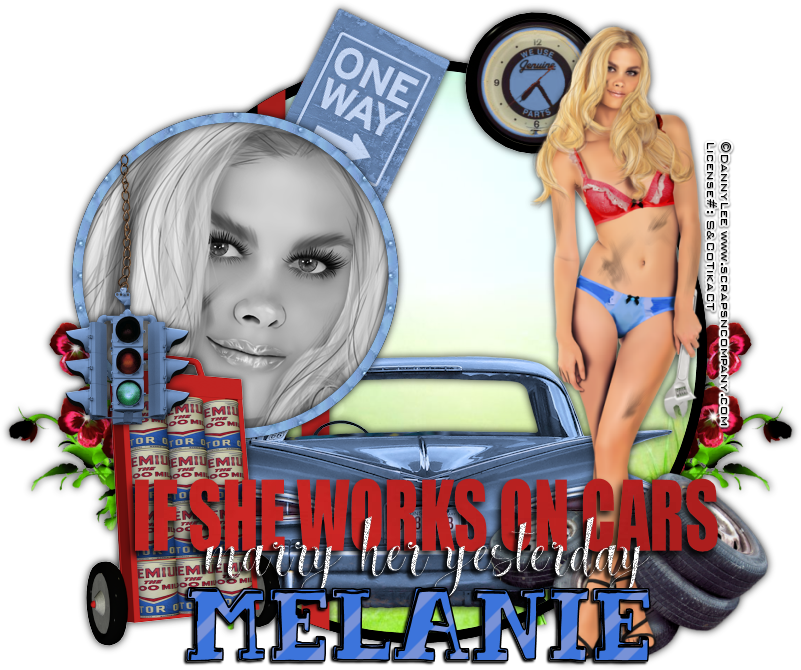
If She
Works On Cars
written
4/26/2016
This
tutorial is meant purely as a guide. Feel free to make your tag
unique by using your own choice of tube and scrap kit. If you want
your tag to look just like mine then use the same supplies that I
have used. This tutorial assumes you have knowledge of paint shop
pro. Any resemblance to any other tag or tutorial is purely
coincidental.
Supplies
Used:
Tube is
called Sexy Mechanic and she is by Danny Lee. You can purchase her at
http://scrapsncompany.com/index.php?main_page=product_info&cPath=113_132_219&products_id=19074
Fun
matching scrap kit also called Sexy Mechanic is by Blissful Designs.
You can purchase this kit at
http://scrapsncompany.com/index.php?main_page=product_info&products_id=19084
Tag
Template by me. You can download this template at
https://app.box.com/s/zgomi6cuqgzroid7916be204ggm9gb1b
Font of
your choice. I am using Two and Two. It is a PTU font.
Plugins:
NONE
Drop
shadow used throughout:
0 0 85
12.00 black
Let's
Begin:
Open the
tag template and shift+D to duplicate.
Close the
original.
Delete the
credits layer.
Make your
canvas large enough to work with.
Make the
black circle layer active.
Selections
select all float and defloat.
Selections
modify and contract by 10.
Layers new
raster layer.
Open paper
2 and copy and paste into selection.
LEAVE
SELECTED.
Open
element 26 and copy and paste as a new layer.
Drag above
the stripes layer.
Move to
the bottom center of the selected circle.
Once in
position selections invert and hit delete.
Selections
select none.
Make the
stripes layer active and selections select all float and defloat.
Open paper
4 and copy and paste as a new layer.
Selections
invert and hit delete.
Selections
select none.
Delete the
original stripes layer.
Make the
grey circle layer active and selections select all float and defloat.
Open paper
3 and copy and paste as a new layer.
Selections
invert and hit delete.
LEAVE
SELECTED.
Selections
invert again.
Selections
modify and contract by 10.
Hit
delete.
Open your
tube and copy and paste as a new layer.
Position
so her face is within the framed area.
Selections
invert and hit delete.
Selections
select none.
Adjust hue
and saturation colorize and change both values to 0.
Make the
top wordart layer active and selections select all float and defloat.
Open paper
4 again and copy and paste as a new layer.
Selections
select none.
Delete the
original layer.
Add a drop
shadow to all of the layers this far.
Open your
tube and copy and paste as a new layer.
Re-size
until just slightly larger than the large circle.
Drag down
under the wordart layers.
Move to
the far right side and add a drop shadow.
Now lets
dress this up with some of the elements from the kit.
I will
list the elements I used and placement is completely up to you.
If you
want your tag to look just like mine then use the same elements I
have and use my tag for reference.
Feel free
to use any other elements to make your tag unique.
Elements I
used:
16
21
22
24
64
66
Add your
name.
Add your
copyright and licensing information.
Crop and
re-size.
Save.

No comments:
Post a Comment