
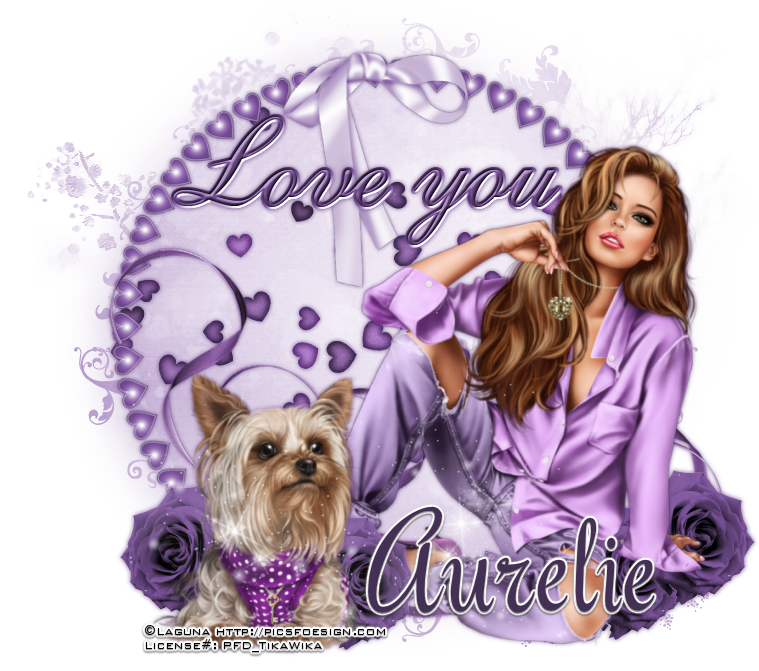

Puppy Love
– 3 piece forum set
written
4/2/2016
This
tutorial is meant purely as a guide. Feel free to make your tag
unique by using your own choice of tube and scrap kit. If you want
your tag to look just like mine then use the same supplies I have
used. This tutorial assumes you have a knowledge of paint shop pro.
Any resemblance to any other tutorial or tag is purely coincidental.
Supplies
Used:
Tube by
Laguna. It is called Key To My Heart. You can purchase it at
http://picsfordesign.com
Scrap Kit
is by Purple Dreams Scraps. It is called Debbie. You can purchase it
also at http://picsfordesign.com
Mask of
your choice. I am using mask #53 by Moonbeams and Spiderwebs. You can
download it at
http://moonbeamsandspiderwebs.blogspot.com/search/label/Masks
Font of
your choice. I am using Roselyn.
Plugins:
NONE
Drop
shadow used throughout:
0 0 85
6.00 dark purple color
Let's
Begin:
We are
going to start with the main large tag.
Open
element 45 and shift+D to duplicate.
Close the
original.
Re-size
the frame by 85%.
Open paper
10 and copy and paste as a new layer and drag under the frame.
Apply your
mask.
Delete the
mask layer and merge the group.
Add a drop
shadow to the frame.
Open
element 11 and copy and paste as a new layer.
Drag under
the frame and place inside the center of the frame.
Open your
tube and copy and paste the girl as a new layer onto your tag.
Re-size as
needed.
Move to
the far right side and add a drop shadow.
Back to
your tube and copy and paste the dog as a new layer.
Re-size as
needed.
Place at
the bottom and to the left of your tube so it is sitting in front of
her foot.
Add a drop
shadow.
Open
element 6 and copy and paste as a new layer.
Image free
rotate and rotate to the left 90 degrees.
Drag
between your tube and the frame.
Add a drop
shadow.
Open
element 27 and re-size by 75% 2x.
Copy and
paste as a new layer just above the frame.
Move to
the top center of the frame.
Add a drop
shadow.
Open
element 67 and copy and paste as a new layer.
Place at
the top of the frame.
Add a drop
shadow.
Open
element 16 and re-size by 50% 2x and then again by 60%.
Place
along the bottom of the tag.
Duplicate
several times and move around the tag.
Add a drop
shadow to each and merge these layers all together.
Open
element 66 and copy and paste as a new layer and place at the bottom.
Add your
name and copyright information.
Crop and
save.
Now lets
create the banner style tag:
Open a new
blank canvas that is 800x275.
Open paper
10 and copy and paste as a new layer.
Open
element 11 and copy and paste as a new layer.
Add a drop
shadow.
Open the
dog and copy and paste as a new layer.
Re-size as
needed.
Move to
the lower left side corner of the banner.
Add a drop
shadow.
Open the
tube and copy and paste as a new layer.
Re-size as
needed.
Move to
the far right side of the banner.
Add a drop
shadow.
Open
element 6 and copy and paste as a new layer.
Image free
rotate to the left 90 degrees.
Move to
the bottom and towards the left a bit so the majority is between your
tube and the dog.
Add a drop
shadow.
Open
element 16 and re-size by 50% 2x.
Copy and
paste as a new layer.
Move the
bottom left corner.
Add a drop shadow.
Add a drop shadow.
Duplicate
many times and place all along the bottom of the tag.
Open
element 36 and re-size as needed.
Copy and
paste as a new layer.
Place
along the bottom between 2 of your flowers.
Add a drop
shadow.
Open
element 37 and copy and paste as a new layer.
Move to
the bottom and place between 2 of your flowers.
Open
element 39 and re-size as needed.
Copy and
paste as a new layer and place along the bottom between 2 of your
flowers.
Add a drop
shadow to all of these elements.
Layers new
raster layer at the top.
Selections
select all
Open paper
4 and copy and paste as a new layer.
Selections
modify and contract by 10.
Hit
delete.
Selections
select none.
Add a drop
shadow to the frame.
Add your
name and copyright information.
Merge
layers together.
Save.
Now lets
make our avatar and then we will be done:
Open a new
blank canvas that is 175x175.
Open paper
10 and copy and paste as a new layer.
Open
element 11 and re-size by 50%.
Copy and
paste as a new layer.
Add a drop
shadow.
Open your
tube and re-size as necessary.
Copy and
paste as a new layer and add a drop shadow.
Layers new
raster layer at the top.
Open paper
4 and copy and paste as a new layer.
Selections
select all.
Selections
modify contract by 5.
Add a drop
shadow to the frame.
Add your
name or initial.
Add your
copyright and licensing information.
Merge all
layers together.
We are
done!!!

No comments:
Post a Comment