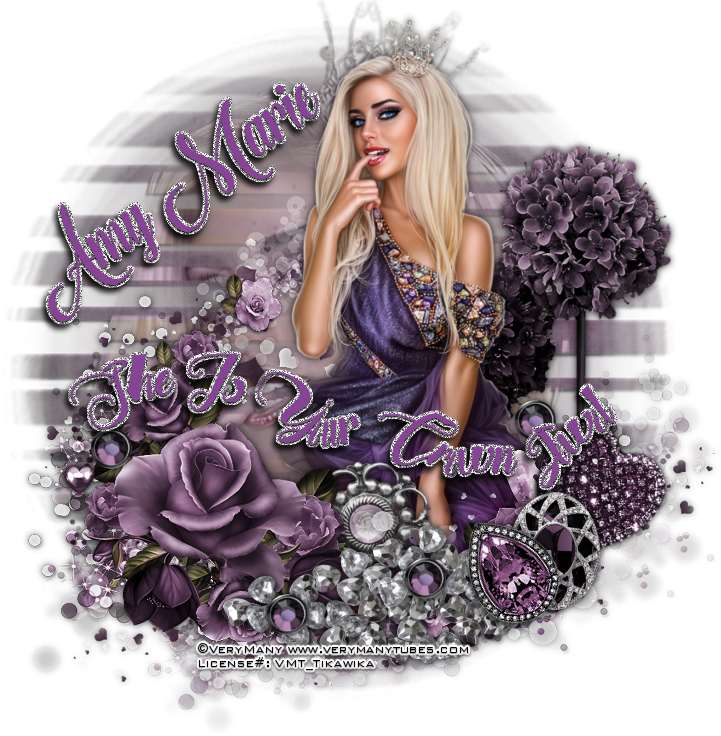
Crown Jewel
Written 7/12/2016
This tutorial is meant purely as a guide. Feel free to
use your own choice of tube or scrap kit to make your tag unique. If you want
your tag to look just like mine them use the same supplies I have used. This
tutorial assumes you have a knowledge of paint shop pro. Any resemblance to any
other tag or tutorial is completely coincidental.
Supplies Used:
Tube of your choice. Preferably one with a close-up in
it. I am using the work of Very Many Art. This tube is called Princess. You can
purchase her at http://verymanytubes.com/
Scrap Kit is called Jewel by Amy Marie’s Kits. You can
purchase this kit at http://amymarieskits.com/store/
Mask of your choice. I am using mask #298 by
Insatiable Dreams. You can get her masks at http://insatiabledreams.net
Font of your choice. I am using The Heart Of
Everything. You can download it at http://www.fontspace.com/mistis-fonts/the-heart-of-everything-demo
Plugins:
NONE
Drop shadow used throughout:
0 0 85 11.00 Black
Let's Begin:
Open paper 24 and shift+D to duplicate. Close the
original. Promote the background layer to a raster layer. Make your canvas
large enough to work with. Re-size the paper layer if you wish. This will be
the base of your tag. Apply the mask of your choice. Delete the mask layer and
merge the group.
Open the close-up of your tube. Copy and paste as a
new layer. Apply the mask again to your tube layer. Delete the mask layer and
merge the group. Re-size if you need to. Move so the masked tube is in the center
of the bottom mask layer. Change the properties of the tube layer to Luminance
Legacy. Merge these 2 layers together. Add a drop shadow – I used 2 -2 85 3.00
Black.
Open your full tube and copy and paste as a new layer.
Re-size as needed so she is just slightly bigger or close to the same size as
the mask base. Position where you want her and add a drop shadow.
Open element 17 and copy and paste as a new layer. Place
at the bottom of your tube so it is covering her legs and wraps around her.
Erase any bits that cover your tube at the top. Add a drop shadow.
Open element 84 and re-size by 85%. Copy and paste as
a new layer and drag under your tube. Move to the far right side so it is
coming out from behind your tube. Add a drop shadow.
Use some of the jewels from the kit to dress up your
tag along the bottom and right side. Re-size them and rotate them as you wish.
Once you are done add a drop shadow to each of them.
Now we are going to place some text on a path. I am
sure there are many ways to do this but I am going to explain how I do it. If
you know of another way feel free to do it your way. What matters is the end
result.
Using your pen tool; turn off your background color
and set your foreground color to something you can see fairly easily on your
tag. Set the pen tool to draw freehand and check create on vector. Width doesn’t
matter as we will delete this layer once we have the text on. Draw a vector
line of your choosing about the middle of your tag around the flowers, jewels
and your tube. It doesn’t have to be perfect but you may have to try it a few
times to get the shape how you want it. I usually have to do it a few times as
my hand is not that steady with a mouse <lol> …. Now using the font of
your choice set to floating type out some text on your vector path. Once you
have it typed out promote your floating selection to a rather layer and
selections select none. Delete the vector path layer it is no longer needed.
Add a drop shadow to your text.
Add your name.
Add your copyright and licensing information.
Crop and save.


No comments:
Post a Comment