
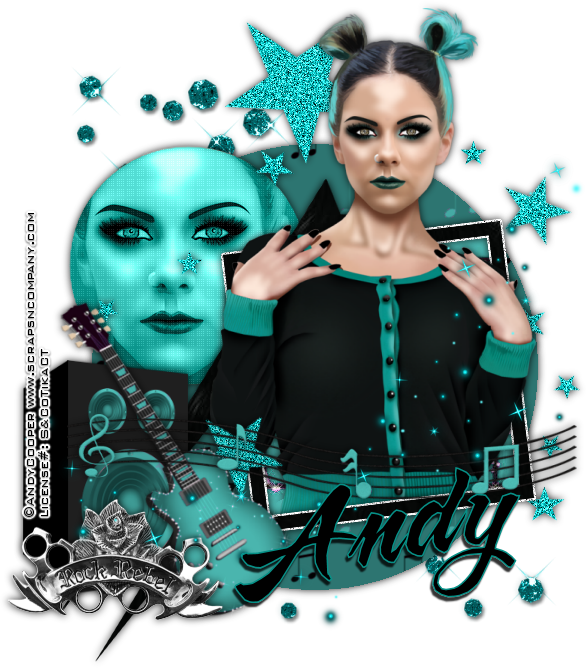
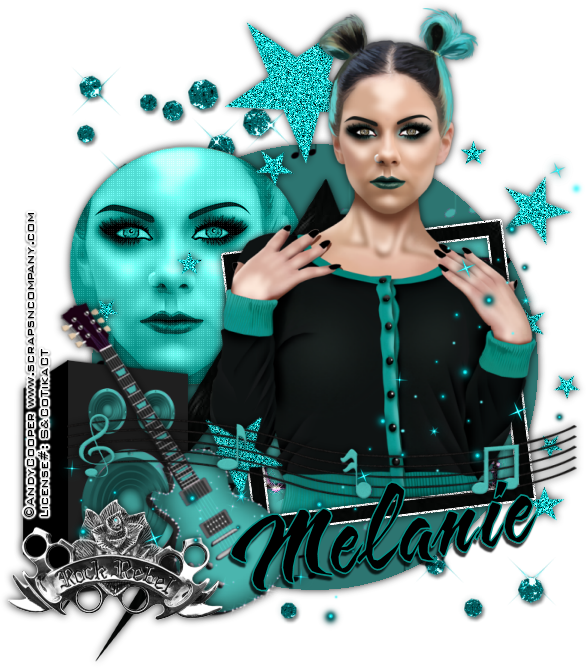
Rock Rebel
Written 9/22/2016
This tutorial is meant purely as a guide. Feel free to
use your own choice of tube or scrap kit to make your tag unique. If you want
your tag to look just like mine them use the same supplies I have used. This
tutorial assumes you have a knowledge of paint shop pro. Any resemblance to any
other tag or tutorial is completely coincidental.
Supplies Used:
Tube of your choice. I am using the work of Andy
Cooper. This tube is called Color Rock and you can purchase it at http://scrapsncompany.com/index.php?main_page=product_info&cPath=113_652_304&products_id=21814
Matching scrap kit is also called color rock and is by
Blissful Designs. You can purchase it at http://scrapsncompany.com/index.php?main_page=product_info&products_id=21776
Tag Template of your choice. I am using one by Simple
Expressions. You can download it at http://simpleexpressions58.blogspot.com/p/blog-page.html
Font of your choice. I am using HL Butlong.
Plugins:
Xero Porcelain
Penta.com Dot & Cross
Drop shadow used throughout:
0 0 85 12.00 black
Let's Begin:
Open the tag template and shift+D to duplicate. Close
the original.
Remove the following layers from the template:
background & credits.
Delete all of the layers that have shadows on them
unless of course you want to use these shadows however I choose to use a shadow
of my own.
Make your canvas large enough to work with.
Fill the layers of the template with either colors,
gradients, textures or papers from the kit. Add a drop shadow to each layer
once you are done.
On the small circle layer open your tube and copy and
paste as a new layer. Position so her face is in the circle. Get rid of the
excess that is hanging out. Apply the Xero Porcelain filter using the default
settings. Change the properties of this layer to luminance legacy. Merge these
2 layers together. Apply the Penta Dot
& Cross filter change the top value to 30.
Add noise to the star layers using the following
settings: uniform Gaussian 90%
Open your tube again and copy and paste within the
frame. Erase any bits you do not want hanging outside of the frame. Add a drop
shadow when you are done.
Now let’s dress the tag up with elements from the kit.
I will list the elements I used. Feel free to use other elements to make your
tag unique. Placement of the elements is completely up to you. If you want your
tag to look just like mine then use my tag for reference.
Elements I used:
34
36
41
44
48
72
Add your name.
Add your copyright and licensing information.
Crop and save.

No comments:
Post a Comment