Rock,
Grease and Love
written
1/29/2016
This
tutorial is meant purely as a guide. Feel free to make your tag
unique by using your own choice of tube and scrap kit. If you want
your tag to look just like mine then use the same supplies that I
have used.
Supplies
used:
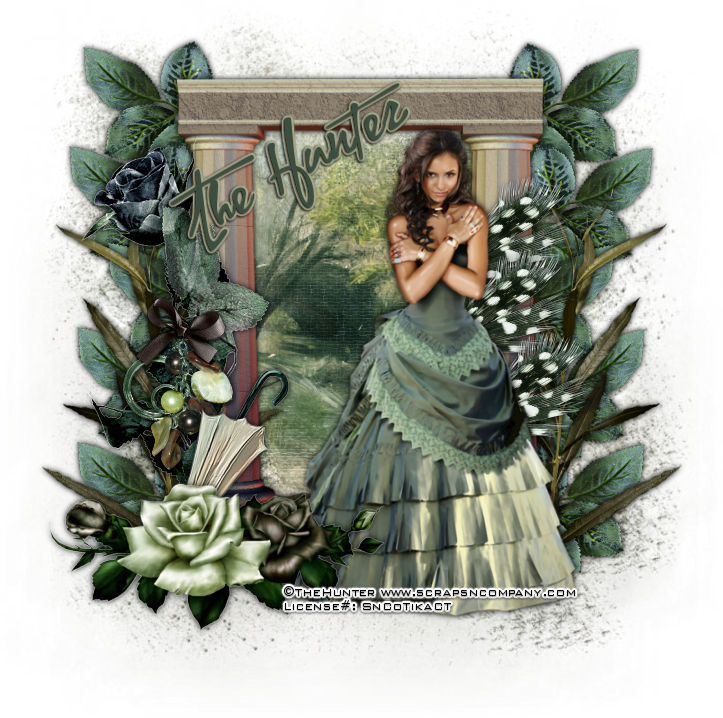
Tube
by Souldesigner. It is called Olivia and you can purchase it at
http://scrapsncompany.com/index.php?main_page=product_info&cPath=113_434&products_id=16907
Matching
scrap kit by Bibi's Collection. You can purchase it at
http://scrapsncompany.com/index.php?main_page=product_info&products_id=16914
Tag
Template by Millies PSP Madness. You can download it at
http://milliespspmadness.blogspot.com/2015/11/template-791-and-tag-w-nocturne-and.html
Font
of your choice. I am using Lounge Bait. You can download it at
http://www.fontspace.com/font-a-licious/lounge-bait
Plugins:
Eye
Candy 4000 Gradient Glow. (Optional)
Let's
Begin:
Open
your tag template and shift+D to duplicate.
Close
the original.
Remove
the following layers cr, 10, 9, 8,7,6 & background.
Make
your canvas large enough to work with.
Start
at the bottom of the canvas and fill each of your layers with a paper
from the kit.
The
papers and which layer you put them on are completely up to you.
If
you want your tag to look just like mine then use my tag for
reference of where I placed each paper.
After
each layer was filled I deleted the original layers of the template.
Then
I added a border to each layer using paper 1 but this is completely
up to you.
Add
a drop shadow to each layer.
Open
element 65 and copy and paste as a new layer.
Drag
to the bottom. Position so it can be seen around the template.
Add
a drop shadow.
Open
element 66 and copy and paste as a new layer drag to just above the
scatter.
Re-size
so it fits over the scatter.
Add
a drop shadow.
Open
element 38 and copy and paste as a new layer at the top.
Position
in the center of the tag template.
Add
a drop shadow.
Open
your tube and copy and paste as a new layer.
Re-size
so it is within proportion of the rest of your tag.
Position
on the tag where you wish.
Add
a drop shadow.
Open
element 51 and copy and paste as a new layer and move down to just
below the last layer in your template.
Re-size.
Place
under your tubes feet.
Open
element 20.
Copy
and paste as a new layer.
Re-size
by 60% 2x and move to top left behind the car.
Add
a drop shadow.
Open
element 1 and copy and paste as a new layer.
Re-size
by 60% and then again by 75%.
Move
over to the far left behind the car.
Add
a drop shadow.
Open
element 29 and copy and paste as a new layer.
Re-size
so it will fit behind the juke box.
Place
to the far left.
Add
a drop shadow.
Open
element 43 and copy and paste as a new layer and move to the top
right of the juke box.
I
added a white gradient glow around mine to help them stand out a bit.
This
is completely up to you.
Add
a drop shadow.
Repeat
with element 72.
Open
element 40 and copy and paste as a new layer.
Re-size
by 60% 2x.
Move
to the top center of the tag.
Add
a drop shadow.
Open
element 35 and copy and paste as a new layer.
Drag
behind your tube but in front of the car.
Place
along the bottom of the car.
Add
a drop shadow.
Open
element 55 and copy and paste as a new layer.
Place
in front of the piano keys.
Add
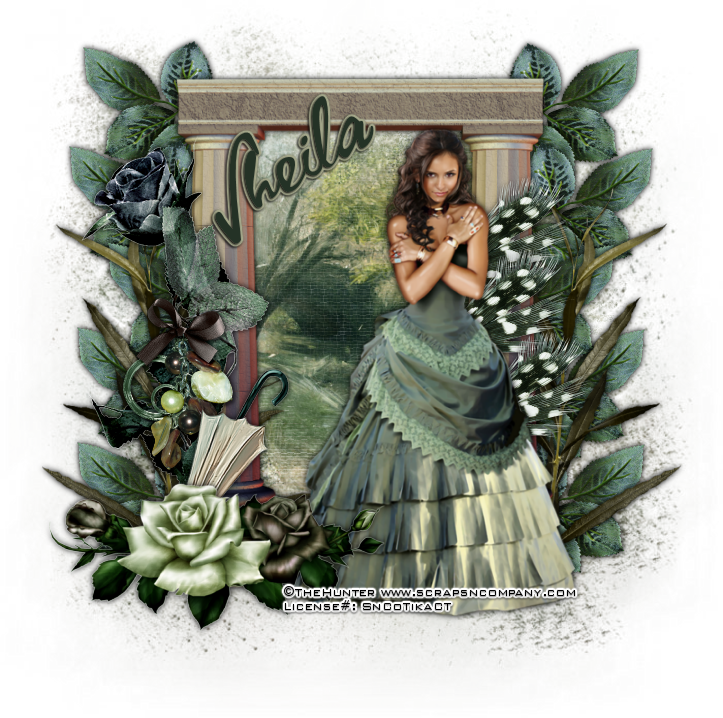
your name.
Add
your copyright and licensing information.
Crop
and save.
This
tutorial was created by Tika on January 29, 2016
Any
resemblance to another tag or tutorial is purely coincidental.