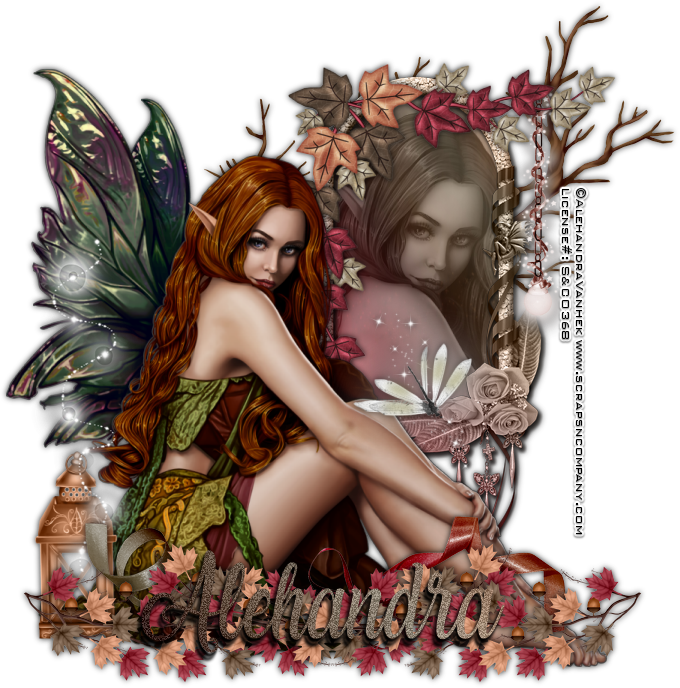
Fall Fantasy
Written 8/19/2017
This tutorial is meant purely as a guide. Feel free to
use your own choice of tube or scrap kit to make your tag unique.If you want
your tag to look just like mine then use the same supplies I have used. This
tutorial assumes you have a knowledge of paint shop pro. Any resemblance to any
other tag or tutorial is completely coincidental.
Supplies Used:
Tube of your choice. I am using the work of Alehandra
Vanhek. This tube is called Fairy Mae and you can purchase her at http://scrapsncompany.com/index.php?main_page=product_info&cPath=113_499&products_id=30799
Scrap Kit of your choice. I am using a kit called Autumn
Fairies by Jens Sweet Temptations. You can purchase this kit at http://scrapsncompany.com/index.php?main_page=product_info&cPath=112_655&products_id=24016
Font of your choice. I am using Laughing and Smiling.
Plugins: (plugins are most generally optional)
Xero Porcelain
Let's Begin:
Open element 12 and shift+D to duplicate. Close the
original. Make your canvas large enough to work with. Using your magic wand
select the inside of the window. Selections modify and expand by 15. Layers new
raster layer and drag under the window. Open paper 1 and copy and paste into
selection.
Open your tube and copy and paste as a new layer.
Re-size as needed. Position so her face is within the selected part of the
window. Selections invert and hit delete. Selections select none. Apply the
Xero Porcelain plugin using the default settings. Change the properties to
Luminance Legacy. Lower the opacity to 55. Add a drop shadow to both the tube
and the window. Merge these layers together.
Copy and paste your tube again as a new layer. Re-size
as needed. Place to the left of the window and down just a bit. Add a drop
shadow.
Open element 31 and re-size by 75%. Copy and paste as
a new layer. Drag to just on top of the window. Place it in the top left
corner. Add a drop shadow.
Open element 35 and copy and paste as a new layer.
Drag to the bottom. Place so you can see the branches above the tubes head and
out the right side of the window. Use my tag for reference if needed. Add a
drop shadow.
Open element 46 and copy and paste as a new layer.
Move to the bottom in front of your tube. Image flip vertical. Place to the far
left. Duplicate and image flip horizontal. Move this duplicate to the right.
Merge together. Add a drop shadow.
Open element 37. Re-size as needed. Copy and paste as
a new layer. Move to the far left of your tube and move under the leaves. Add
a drop shadow.
Open element 60 and re-size by 50%. Copy and paste as
a new layer and place so it is hanging from the leaves that go along the top of
the window to the far right in front of the tree branch.
Open element 55 and copy and paste as a new layer.
Place so it looks to be coming out of the lantern.
Open element 20 and re-size as needed. Copy and paste
as a new layer. Move to the bottom center of the window area. Add a drop
shadow.
Open element 4 and copy and paste as a new layer and
move down under the leaves that run along the bottom so that the ribbon is
peeking out from the top of the leaves. Add a drop shadow.
Add your name.
Add your copyright and licensing information.
Crop and save.


No comments:
Post a Comment