Sweets for Valentine
Written 1/13/2022
This tutorial is meant purely as a guide. Feel free to use your own choice of tube or scrap kit to make your tag unique.
If you want your tag to look just like mine, then use the same supplies I have used. This tutorial assumes you have a knowledge
of paint shop pro. Any resemblance to any other tag or tutorial is completely coincidental.
Supplies Used:
Tube of your choice. I am using an older tube by Robert Alvarado. You can purchase his tubes now at http://cdoestore.com You must have a license to use his artwork.
Scrap kit is called Sweets for Valentine by Denise Creationz. You can purchase this kit at www.picsfordesign.com
Font of your choice. I am using Impact and Lonely Sunday
Plugins: (plugins are most generally optional)
Xero Moodlight
Xenofex 2 Constellation
Let's Begin:
Open element 8 and shift+D to duplicate. Close the original. Now you will notice this element is quite large so resize it to a size you are happy working with.
Using your magic wand select the inside of the frame. Selections modify and expand by 5.
Layers new raster layer and drag to the bottom under the frame.
Open paper 3 and copy and paste into selection.
Leave selected.
Copy and paste a close up of your tube as a new layer into the frame. If your tube does not have a close up you can always enlarge your tube.
Selections invert and hit delete to clear any tube left on the outside of the frame.
Selections select none.
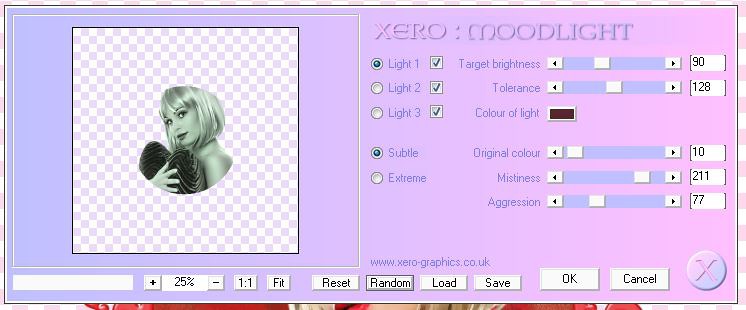
Apply the Xero Moodlight plugin using the following settings:
Lower the opacity on your layer to 60.
Add a drop shadow of your choice.
Add a drop shadow to the frame.
Open your main tube and copy and paste as a new layer.
Place where you want on your tag.
Add a drop shadow.
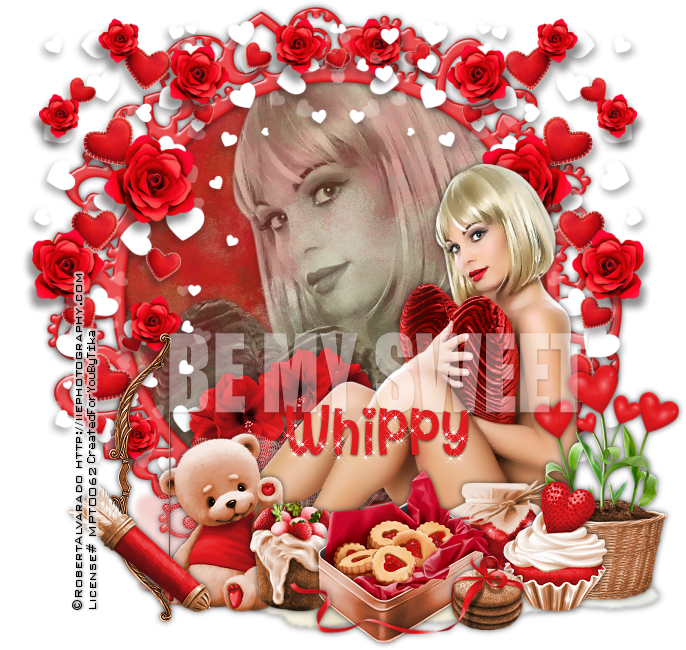
Now let’s dress the tag up with elements from the kit. I will list the elements I used. Feel free to use other elements to make your tag unique. Placement of the elements is completely up to you. If you want your tag to look just like mine, then use my tag for reference.
Elements I used:
9
11
12
23
35
39
49
53
54
55
56
59
Using a font of your choice. Write some text across your tag. I used Impact. Lower the opacity. Add a drop shadow.
Add your name using the font of your choice.
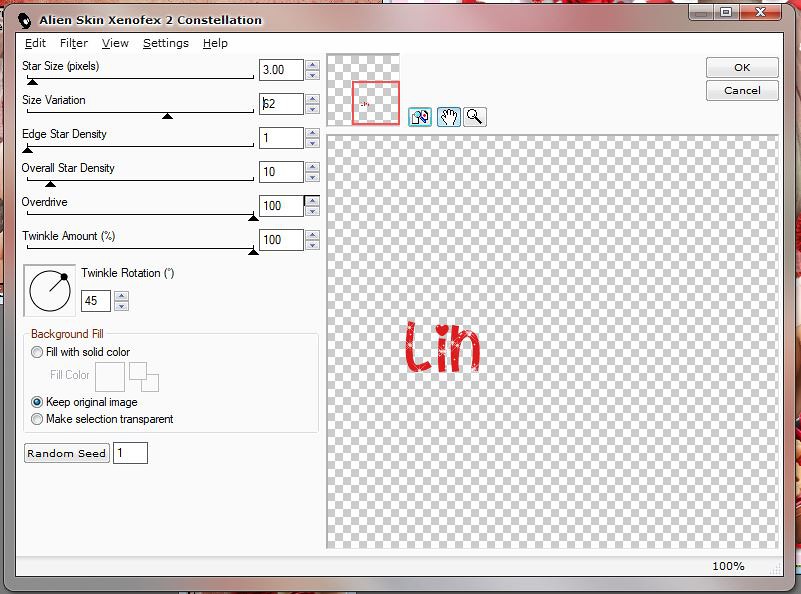
Apply the Xenofex 2 Constellation plugin using the following settings:
Add your copyright and licensing information.
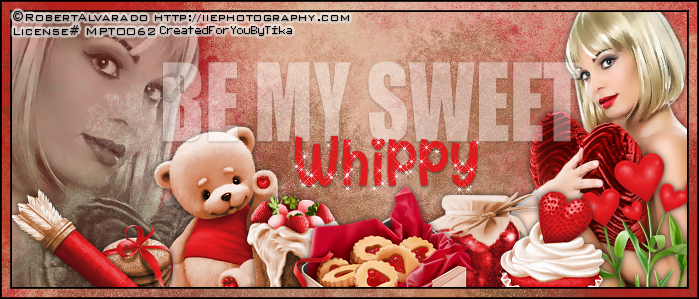
I made mine into a 3 piece forum set. This is completely up to you and optional of course.
I do not provide instructions for the banner or avatar. I feel like they are pretty self explanatory.
You are done!
Thanks for trying my tutorial.

No comments:
Post a Comment