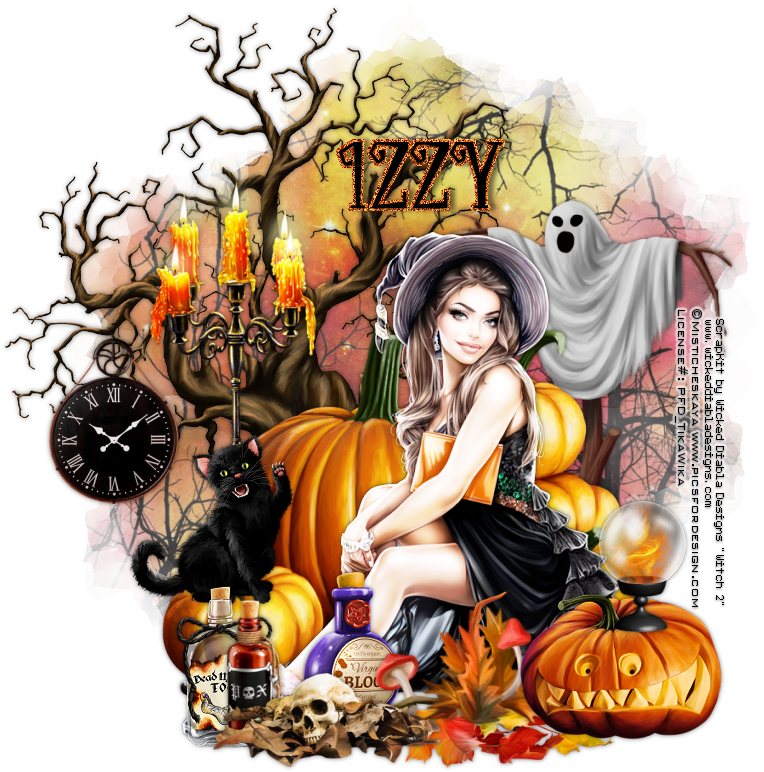
Witching Time
Written
9/14/2022
This tutorial
is meant purely as a guide. Feel free to use your own choice of tube or scrap
kit to make your tag unique.
If you want
your tag to look just like mine, then use the same supplies I have used. This tutorial
assumes you have a knowledge
of paint shop
pro. Any resemblance to any other tag or tutorial is completely coincidental.
Supplies
Used:
Tube of your
choice. Preferably a tube that is sitting. I am using a tube by Misticheskaya.
This tube is called “Megan”. You can purchase this tube at http://picsfordesign.com
Scrap Kit is
by Wicked Diabla Designs. It is called “Witch 2”. You can purchase this kit at www.wickeddiabladesigns.com
Font of your
choice. I am using Witches Party.
Mask of your
choice. I am using mask #220 by WeeScotslass Creations. You can find her
awesome masks at http://weescotslasscreations.blogspot.com/2009/04/masks.html
Plugins:
(plugins are most generally optional)
Let's Begin:
Open element
38 from the kit. Shift+D to duplicate. Close the original. Make your canvas
large enough to give you room to work with. You can resize and crop at the end
when you are done. I usually work on a canvas that is 900x900.
Move the
pumpkins to the lower part of your canvas. Not too far down but just lower.
Resize if you need to.
Copy and
paste your tube onto your working canvas. Resize as needed so it will sit in
front of the pumpkins.
Duplicate
your tube. On the top tube apply the Xero Radiance plugin using the default
settings. Change the property of this layer to screen. Merge the top layer
down.
Add a drop
shadow to the pumpkins and your tube.
Open paper 17
and copy and paste as a new layer. Drag to the bottom. Apply the mask of your
choice. Delete the mask layer and merge the group.
Now let’s
dress the tag up with elements from the kit. I will list the elements I used.
Feel free to use other elements to make your tag unique. Placement of the
elements is completely up to you. If you want your tag to look just like mine,
then use my tag for reference.
Elements I
used:
13
32
33
34
36
39
40
41
42
44
92
97
Add your name.
Add your
copyright and licensing information.
Crop and
resize if you wish.
Save your tag
and that’s it you are done!
Thanks for
trying my tutorial
♥♥♥


No comments:
Post a Comment