

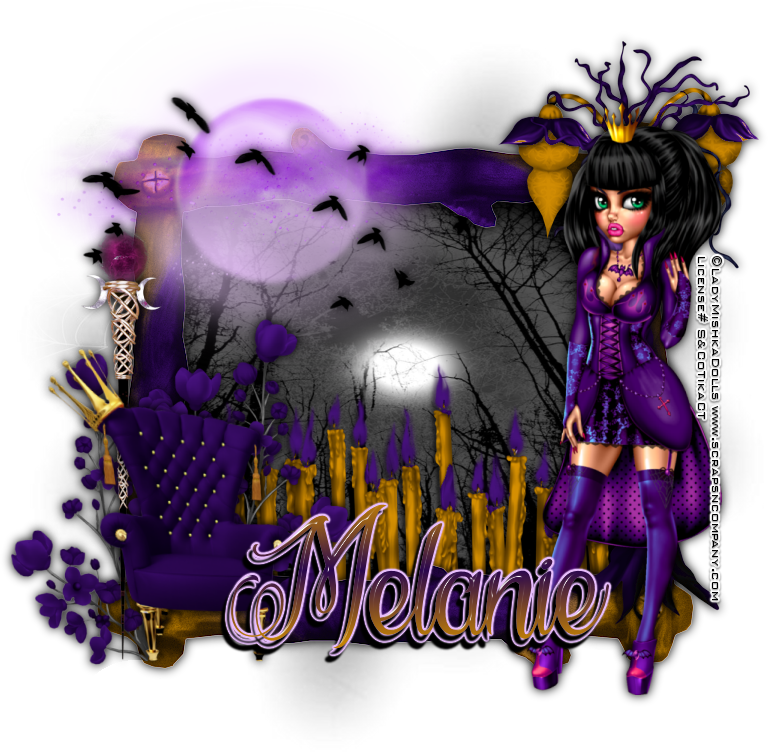
Dark
Royalty
written
5/3/2016
This
tutorial is meant purely as a guide. Feel free to make your tag
unique by using your own choice of tube and scrap kit. If you want
your tag to look just like mine then use the same supplies I have
used. This tutorial assumes you have a knowledge of paint shop pro.
Any resemblance to any other tag or tutorial is purely coincidental.
Supplies
Used :
Tube is a
commission for Scraps N Company store by Lady Mishka. She is called
Dark Princess Mona. You can purchase her at
http://scrapsncompany.com/index.php?main_page=product_info&cPath=490_554&products_id=19302
The
matching scrap kit is also called Dark Princess Mona and it is by
Blissful Designs. You can purchase it at
http://scrapsncompany.com/index.php?main_page=product_info&products_id=19306
Mask of
your choice. I am using mask #7 by Weescotslass Creations. You can
get her masks at
http://weescotslasscreations.blogspot.com/2009/04/masks.html
Font of
your choice. I am using La Cite des Mille Reines. You can download it
at http://www.dafont.com/la-cite-des-mille-reines.font
Plugins:
NONE
Drop
shadow used throughout:
0 0 100
15.00 black
Let's
Begin:
Open
element 78 and shift+D to duplicate.
Close the
original for use at another time.
Make your
canvas large enough to work with. You can crop and re-size when you
are done.
Using your
magic wand select the inside of the frame and go to selections modify
and expand by 6.
Layers new
raster layer.
Drag under
the frame.
Open paper
8 and copy and paste into selection.
LEAVE
SELECTED.
Open
element 51 and re-size by 75%.
Copy and
paste as a new layer.
Place
within the selected frame area and move to the bottom.
Selections
invert and hit delete to clear any that is hanging out the bottom and
sides of the frame.
Selections
select none.
Add a drop
shadow to the candles and the frame.
Open paper
3 and copy and paste as a new layer.
Drag to
the bottom.
Apply the
mask of your choice.
Delete the
mask layer and merge the group.
Open
element 1 and copy and paste as a new layer at the top.
Re-size by
75%.
Move to
the top left corner of the frame.
Open
element 49 and copy and paste as a new layer.
Move to
the far right and place on the side of the frame.
Add a drop
shadow.
Open your
tube and re-size as needed.
Copy and
paste as a new layer and move to the far right in front of the tree.
Add a drop
shadow.
Open
element 71 and copy and paste as a new layer.
Re-size by
75% 2x.
Move to
the bottom left corner.
Using your
pick tool push in the bottom left and top right corners a bit.
Add a drop
shadow.
Open
element 23 and re-size by 75%.
Copy and
paste as a new layer and drag under the chair.
Move to
the far left of the chair.
Add a drop
shadow.
Open
element 19 and re-size by 75%.
Copy and
paste as a new layer and place on the top left in front of the moon.
Add a drop
shadow.
Open
element 33 and re-size by 75% 2x.
Copy and
paste as a new layer and drag under the chair.
Place over
behind the chair so it is peeking out from behind it on the right
side.
Add a drop
shadow.
Duplicate
and image flip horizontal.
Move this
duplicate to the left side of the chair.
I used my
eraser tool and removed the stems that were showing at the bottom of
the chair but that is completely up to you.
Add your
name.
Add your
copyright and licensing information.
Crop and
save.

No comments:
Post a Comment