
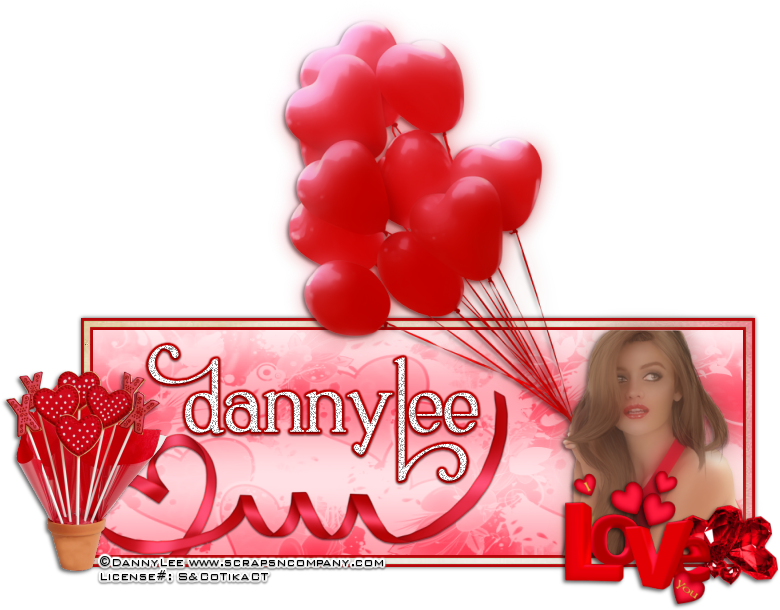
Full of
Love – Forum Set
written
1/29/2015
Supplies
Needed:
Tube by
Danny Lee. You can get it at
http://scrapsncompany.com/index.php?main_page=product_info&cPath=113_132_219&products_id=7532
Scrap Kit
by Lizquis Scraps. You can get it at
http://scrapsncompany.com/index.php?main_page=product_info&products_id=7573
Mask of
your choice. I am using one by Moonbeams and Spiderwebs. I am using
mask# 29. You can get it at
http://moonbeamsandspiderwebs.blogspot.com/2013/01/mask-49-forum-mask-29.html
Font of
your choice. I am using SNF Ambrosia Bold. It is a PTU font but you
can get it at
http://www.letteringdelights.com/font:snf_ambrosia_bold-10513.html
It is on sale for 75cents right now.
Plugins:
None
Lets
Begin:
Open a new
blank canvas for 650x225.
Set your
foreground color to white and your background color to a color from
your tube.
Change the
background color properties to a gradient with the following
settings:
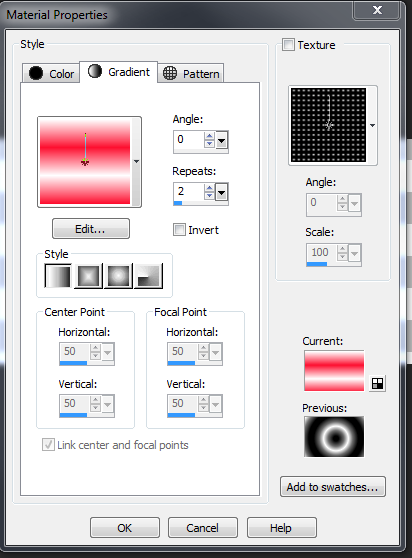
Flood fill
your canvas.
Adjust
blur gaussian blur at 25.00.
Layers new
raster layer and flood fill with white.
Apply your
mask.
Delete the
mask layer and merge the group.
Lower the
opacity of this layer to 50.
Open
ribbon1 and re-size by 75%.
Copy and
paste as a new layer.
Move to
the lower left hand corner of the canvas.
You want
to make it look as if it is coming out of the canvas.
Crop your
canvas at this time.
Image add
border of 3 in a color from the ribbon.
Image add
border of 6 in any contrasting color. You want to make sure its
something completely different so you can select it and we can fill
it with a paper from the kit in a minute.
Image add
border of 3 in the same color as the first border.
Using your
magic wand select the off color border.
Open paper
4 and edit copy and paste into selection.
Selections
select none.
Promote
your background layer to a raster layer.
Image
canvas size and make it large enough to work with.
Using your
selection tool set on rectangle select the center portion of your tag
canvas.
Open your
tube and copy and paste as a new layer.
Move over
to the far right side of the tag canvas within your selected area.
Selections
invert and use your eraser tool to erase any bits of the the tube
that are hanging out except for the balloons.
Once you
are done selections select none.
Duplicate
your tube.
On the top
copy go to adjust blur gaussian blur of 10.
Lower the
opacity of the blurred layer to 60.
Add a drop
shadow to the bottom copy of the tube.
Open
cookies element and re-size by 50%.
Copy and
paste as a new layer and move to the bottom far left corner.
Add a drop
shadow.
Open
diamonds element and re-size by 50% and then again by 60%.
Copy and
paste as a new layer and move to the far bottom right hand corner.
Add a drop
shadow.
Open
wordart and re-size by 50% 2x.
Copy and
paste as a new layer and move to the bottom to the left of the
diamonds.
Add a drop
shadow.
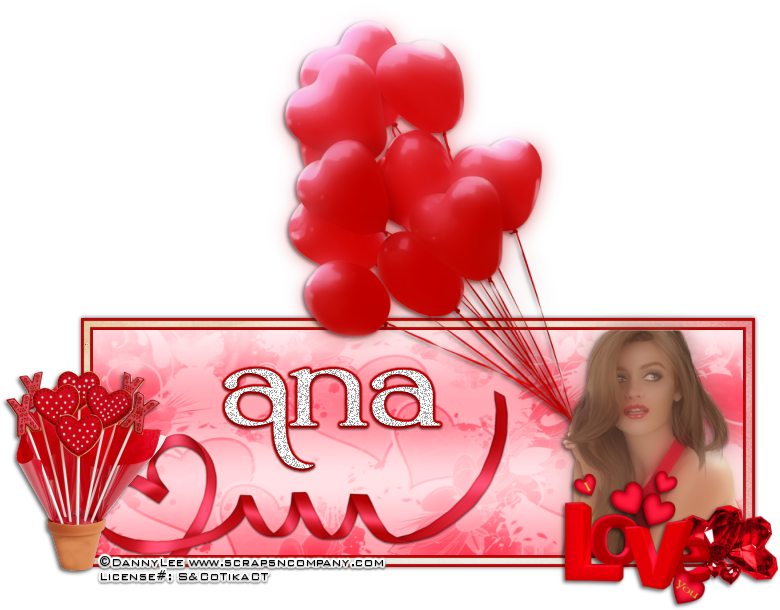
Add your
name in the tag canvas.
Add your
copyright and licensing information.
Crop and
save.
Now lets
begin our avatar:
Open a new
canvas of 145x205.
Flood fill
with the same gradient as you did your tag above and apply the same
gaussian blur as you did above.
Open
light1 and copy and paste as a new layer.
Open your
tube and copy and paste as a new a layer.
Duplicate
the tube and gaussian blur by 10 as you did on your tag.
Add a drop
shadow to the bottom copy of the tube.
Add a
border of 3 in the same red you used on your tag border and then a
border of white that is 2 wide and then another red border of 3.
Add your
name or initial.
Add your
copyright and licensing information.
Save.


No comments:
Post a Comment