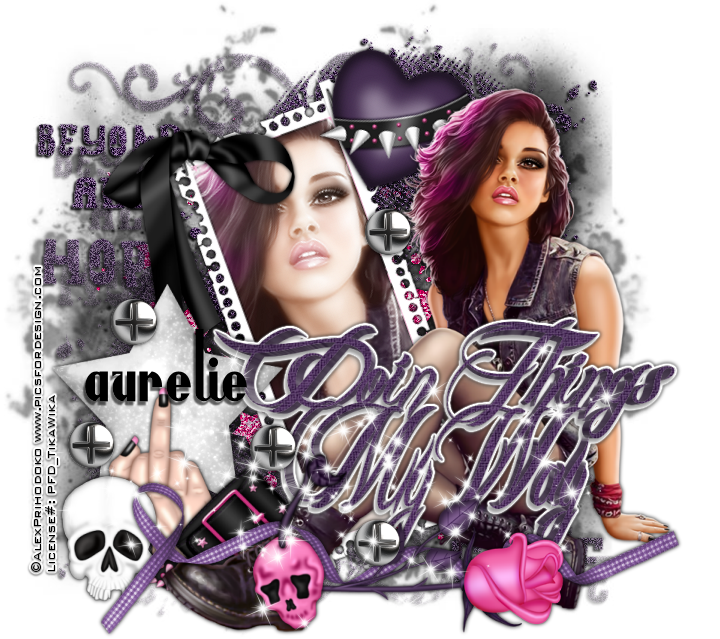
My Way
written
3/16/16
This
tutorial is meant purely as a guide. Feel free to make your tag
unique by using your own choice of tube and scrap kit. If you want
your tag to look just like mine then use the same supplies that I
have used. This tutorial assumes you have a knowledge of paint shop
pro. Any resemblance to any other tag or tutorial is purely
coincidental.
Supplies
Used:
Tube of
your choice. The tube I am using is called Tanya by Alex Prihodoko.
You can purchase it at http://picsfordesign.com
Scrap kit
is called Fuck U by Purple Dreams Scraps which you can also purchase
at http://picsfordesign.com
2 masks of
your choice. I am using MPM_mask31 by Millies PSP Madness and you can
download her masks at
http://milliespspmadness.blogspot.com/search/label/Masks
the second mask is Vix Mask #401 and you can get her masks at
http://www.freewebs.com/vixpsp/
Font of
your choice. I am using Anchor Steam NF. You can download it at
http://www.fontspace.com/nicks-fonts/anchor-steam-nf
Wordart by
me which can be downloaded at
https://app.box.com/s/4k9dtbfxts0ly4lrswkaaubaua6ehgy5
Plugins:
Eye Candy
4000 Gradient Glow (optional)
Drop
shadow I used throughout
0 0 100
6.00 black
unless
otherwise noted
Let's
Begin:
Open paper
1 and shift+D to duplicate.
Close the
original.
Promote
the background layer to a raster layer.
Re-size by
85% and then make your canvas large enough to work with.
Apply your
first mask. I used the mask MPM_mask31 to this layer.
Open paper
02 and copy and paste as a new layer.
Re-size by
85%.
Apply your
second mask. This is where I used the mask by Vix.
Delete the
mask layer and merge the group.
Adjust
add/remove noise. Add noise at 70% uniform and monochrome checked.
Add a drop
shadow of 2 -2 100 2.00 black to this layer.
Open
element 40 and copy and paste as a new layer.
Drag
between the 2 mask layers.
Open your
tube and copy and paste as a new layer.
Re-size as
needed.
Move to
the far right side of the tagging area.
Add a drop
shadow.
Open
element 24 and shift + D to duplicate.
Close the
original.
Image
rotate to the right.
Using your
magic wand select the inside of the frame.
Selections
modify and expand by 3.
Open paper
12 and copy and paste as a new layer.
Drag under
the frame.
Selections
invert and hit delete.
Selections
select none.
Open your
tube again and copy and paste as a new layer into this frame.
Position
her face within the frame.
Selections
invert and hit delete.
Selections
select none.
Duplicate
so there are 2 layers.
On the
bottom layer adjust hue and saturation colorize and set both values
to 0.
On the top
copy adjust blur gaussian blur and set to 4.00.
Change the
property of this layer to Screen.
Add a drop
shadow to the frame.
Merge
visible.
Copy this
frame and paste as a new layer on your tag.
Drag
behind your tube.
Image free
rotate to the left 20 degrees.
Adjust
sharpen.
Now lets
dress it up with some of the elements from this great kit.
I will
list the elements I used.
If you
choose to use other elements thats completely up to you.
Placement
of the elements is also completely up to you.
If you
want your tag to look just like mine then use my tag as a reference.
Elements I
used:
08
10
14
28
32
34
42
44
45
47
48
Open the
wordart and copy and paste as a new layer.
Drag down
to just above your tube.
Move to
the right side.
Add a drop
shadow.
I also
added a white gradient glow to help it stand out a bit but thats
completely up to you.
Add your
name.
Add your
copyright and licensing information.
Crop and
save.


No comments:
Post a Comment