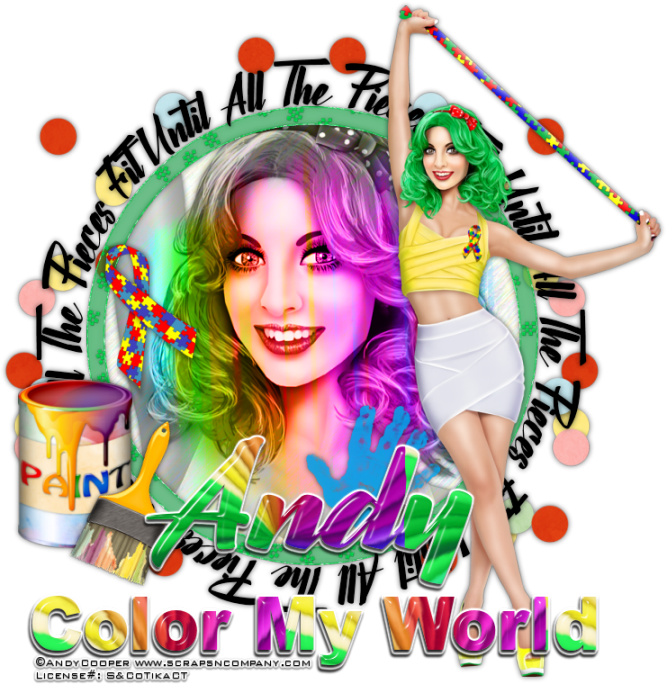
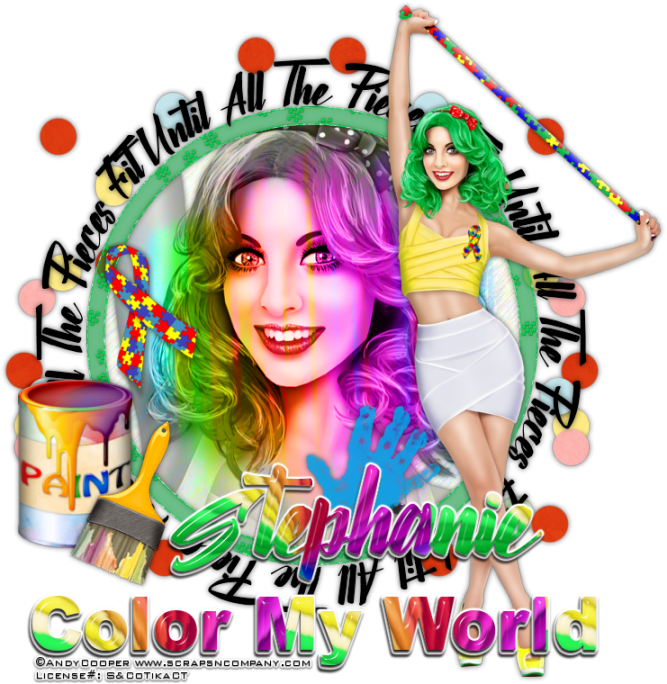
Until All
Of The Pieces Fit
written
4/14/2016
This
tutorial is meant purely as a guide. Feel free to make your tag
unique by using your own choice of tube and scrap kit. If you want
your tag to look just like mine then use the same supplies I have
used. This tutorial assumes you have a knowledge of paint shop pro.
Any resemblance to any other tag or tutorial is purely coincidental.
Supplies
Used:
Tube by
Andy Cooper. You can purchase her at
http://scrapsncompany.com/index.php?main_page=product_info&cPath=113_304&products_id=18932
Matching
scrap kit by Lil Mz Brainstorm. You can purchase it at
http://scrapsncompany.com/index.php?main_page=product_info&products_id=18960
Font of
your choice. I am using Nailika. This is a PTU font.
Plugins:
NONE
Drop
shadow used throughout:
0 0 60
9.00 black
Let's
Begin:
Open
element 32 and shift+D to duplicate.
Close the
original.
Re-size to
a size you are happy with.
Make your
canvas large enough to give you room to work with.
Using your
magic wand select the inside of the frame.
Selections
modify and expand by 1.
Layers new
raster layer and drag under the frame.
Open paper
11 and copy and paste into selection.
Leave
selected.
Open the
closeup of your tube and copy and paste into the framed selected
area.
Position
how you want.
Selections
invert and hit delete.
Selections
select none.
Add a drop
shadow.
Change the
properties of this layer to Luminance Legacy.
Add a drop
shadow to the frame
Using your
preset elipse tool we are going to draw a circle around the frame
that we can put some text on a path around.
I will
explain how I do this .. I know everyone does it differently so no
matter how you do it .. its the end result that matters.
Turn your
background color off.
Draw a
vector circle around the outside of the frame.
Leave it
as a vector layer.
Set your
font to how you want it but be sure that it is set to floating.
Place your
mouse over the round vector layer you drew.
It will
turn to an A with a line under and then start typing.
Once you
get your text around and its floating promote that floating layer to
a raster layer.
Selections
select none.
Delete the
vector layer.
Add a drop
shadow to the text.
Open
element 16 and copy and paste as a new layer.
Drag to
the bottom.
Place so
it is peeking out around the framed image.
Duplicate
and move this copy to the opposite side.
Open your
full sized tube and copy and paste as a new layer.
Re-size
until it is just larger than the frame.
Place on
the far right side.
Add a drop
shadow.
Open
element 25 and copy and paste as a new layer.
Re-size.
Move the
far left side.
Add a drop shadow.
Add a drop shadow.
Open
element 24 and copy and paste as a new layer.
Re-size.
Image free
rotate to the right 23 degrees.
Adjust
sharpen.
Move over
to the far left in front of the paint can.
Add a drop
shadow.
Open
element 35 and copy and paste as a new layer.
Re-size.
Move to
the bottom and to the right by your full sized tube.
Add a drop
shadow.
Open
element 125 and copy and paste as a new layer.
Re-size.
Move to
the far left above the paint can.
Add your
name.
I also
duplicated the ribbon and moved the duplicate down near my name.
Add some
additional text along the bottom if you wish like I did.
Add your
copyright and licensing information.
Crop and
save.


No comments:
Post a Comment