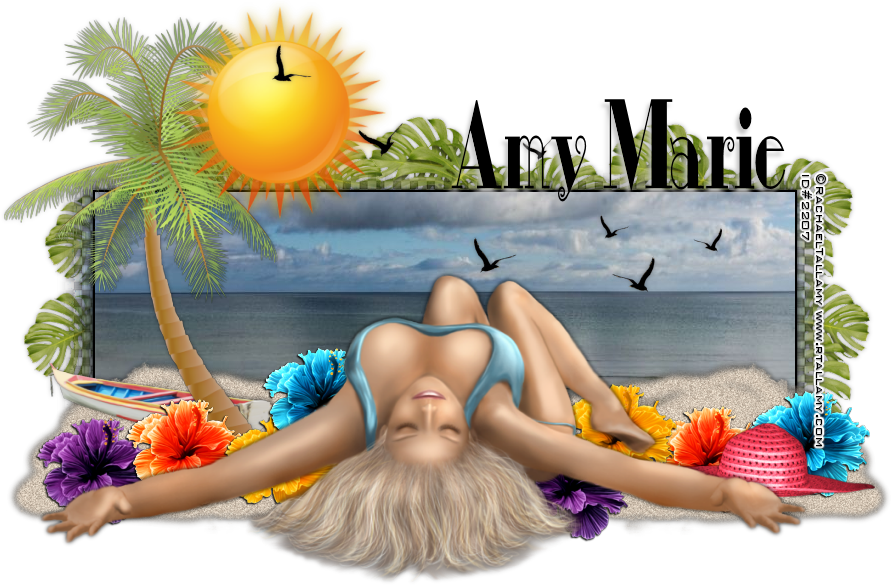
Basking – Forum Set
Written 6/1/2016
This tutorial is meant purely as a guide. Feel free to
use your own choice of tube or scrap kit to make your tag unique. If you want
your tag to look just like mine them use the same supplies I have used. This
tutorial assumes you have a knowledge of paint shop pro. Any resemblance to any
other tag or tutorial is completely coincidental.
Supplies Used:
Tube is by Rachel Tallamy. It is called Aquagold and
you can get her tubes at http://rtallamy.com/
The stunning and fun scrap kit is called Tropical
Paradise and is by Amy Marie. You can purchase this kit at http://amymarieskits.com/store/
Font of your choice. I am using Day Tripper NF. This
is a PTU font.
Plugins:
Alien Skin Eye Candy 5 Textures Weave
Drop shadow used throughout:
0 0 100 6.50 black
Let's Begin:
Open a new blank canvas that is 700x250. We will begin
to build our tag from here. Open paper 1 and copy and paste as a new layer.
Arrange the paper so you can see the sand, water and sky all within the canvas
area. Once you have the paper in place crop the canvas. This will clear any
excess paper and save problems later when we enlarge our canvas. Go to Image
Add Borders and add a black border of 2 to the canvas. Promote your background
layer to a raster layer. Make your canvas large enough to give you plenty of
room to work with. You can crop when we are all done.
Duplicate the layer. On the bottom layer go to adjust
blur Gaussian blur and blur by 12.00. Apply the Eye Candy 5 Textures Weave
plugin using the default settings for plain tiny smeared. If you do not have
this plugin you can play around with the weave settings in psp to get a similar
effect. Add a drop shadow to the top canvas.
Open element 62 from the kit and copy and paste as a
new layer. Move to the far left side so it overhangs the tag canvas. Place so
it covers the sand in the picture. Duplicate and image flip horizontal. Move
this duplicate to the far right side. Merge these 2 layers together. Add a drop
shadow.
Open your tube and copy and paste as a new layer.
Re-size if you need to. Place so she is laying in the center of the sand. Add a
drop shadow.
Now lets dress up the tag with some of the great
elements Amy Marie has given us in this kit. I will list the elements I used. Feel
free to use others to make your tag unique. If you want your tag to look just
like mine then use the same elements and use my tag for reference on the
placement.
Elements I used:
43
53
61
80
85
91
106
107
108
109
Add your name.
Add your copyright and licensing information.
Crop and save.
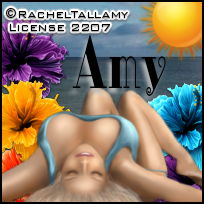
Now lets make a matching avatar.
I tend to like my avatars a little large especially if
I have a forum where I can use a larger one but make it whatever size you wish.
Open a new blank canvas. Mine is 200x200
Open paper 1 and copy and paste as a new layer. Crop
the canvas to clear the excess paper.
Now I used all the colored flowers that I used in my
tag to place all around the outside edges of the avatar.
Placed the sun in the top right corner.
Placed my tube in the center bottom.
Added a border of 2 in black again.
Added my initial.
Added my copyright and licensing information.
That’s it you are done!


No comments:
Post a Comment