This will be my last tutorial for 2022!
I hope that 2023 is good for everyone and I plan to put out more tutorials and more goodies throughout the coming year!!New
Year – New You
Written
Dec 31 2022
This
tutorial is meant purely as a guide. Feel free to use your own choice of tube
or scrap kit to make your tag unique.
If
you want your tag to look just like mine, then use the same supplies I have
used. This tutorial assumes you have a knowledge
of
paint shop pro. Any resemblance to any other tag or tutorial is completely
coincidental.
Supplies
Used:
Tube
is my Atarika. She is called Swan-Girl. You can purchase her at www.elegancefly.com You must have a
license to use this art.
The
kit is called Britt and is by Wicked Diabla Designs. You can purchase this kit
and all of her other awesome kits at
Font
of your choice. I am using Bulgabia.
Mask
of your choice. I am using mask 77 from Insatiable Dreams. I don’t think she
has a website or anything anymore so just find a mask that you like.
Plugins:
(plugins are most generally optional)
Picture
Man Art Gallery – Hand Drawing.
Let's
Begin:
Open
element 5 from the kit. Shift+D to duplicate. Close the original. Resize by 65%.
Make
your canvas large enough to work with. You can crop and resize when you are
done. Just make sure you plenty of space to create on.
Using
your magic wand tool. Click inside the frame area and then go to selections
modify and expand by 3.
Layers
new raster layer. Drag this new layer under the frame layer.
Open
a paper of your choice from the kit. I used paper 7. Copy and paste into
selection. This will put your paper on the new layer.
Open your tube and copy and paste as a new layer.
This tube layer should be under the frame but above the new paper layer you
just created. You want to position so most of the head/face area of your tube
is taking up a good portion of the frame. Selections invert and hit delete.
This will clear all of the excess tube from outside of the frame. Selections
select none.
Make
your tube layer active and apply The picture man filter using the default
settings.
Make
your frame layer active again and using your magic wand select the inside of
the frame and then selections modify expand by 3. Selections invert and make
your tube layer active again and hit delete.
Duplicate
your tube layer. Go to adjust blur gaussian blur at 7.
Make
your bottom tube layer active and change the layer properties to multiply. Make
your top tube layer active. The one you applied the blur to and change that
layer property to multiply also.
Make
your bottom paper layer active and change the opacity of the paper layer to 90.
Merge
your 2 tube layers and the paper layer together.
Add
a drop shadow to your frame.
Open
paper 14 and copy and paste as a new layer.
Drag
to the bottom of the layer palette.
Apply
the mask of your choice. Delete the mask layer and merge the group.
Open
your tube again and copy and paste as a new layer at the top of your layer
palette. Resize to your liking to fit your tag.
Add
the drop shadow of your choice again.
Now
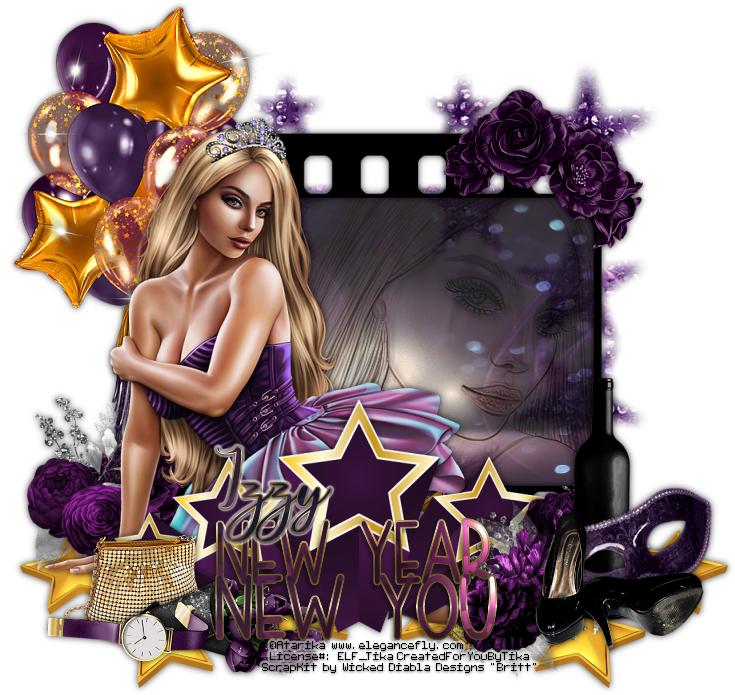
let’s dress the tag up with elements from the kit. I will list the elements I
used. Feel free to use other elements to make your tag unique. Placement of the
elements is completely up to you. If you want your tag to look just like mine,
then use my tag for reference.
Elements
I used:
3
12
15
16
26
27
28
34
39
51
55
78
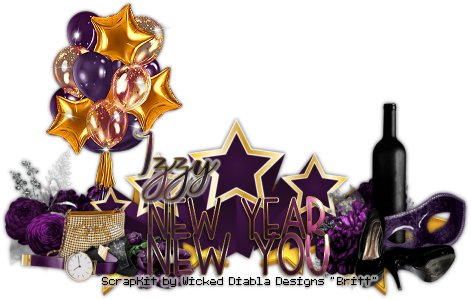
If
you want to create a 3 piece set like mine it is very simple. Just take elements
you used in the tag and create a small banner. Most of the time I place the
elements in the same place that they are in on the tag. Also creating an avatar
is easy. Use an element from the kit or create a shape (square, circle, etc) and
use your tube.
Add
your copyright and licensing information.
Also
add some text to the tag and banner if you want to like I did.
Add
your name to all 3 pieces or your tag whichever you created.
Resize
if you wish. Crop the excess canvas area away. Save your tag and you are all
done.
Thanks
for trying my tutorial
♥♥♥


No comments:
Post a Comment