
Winters
Pixie
written
11/18/2015
This
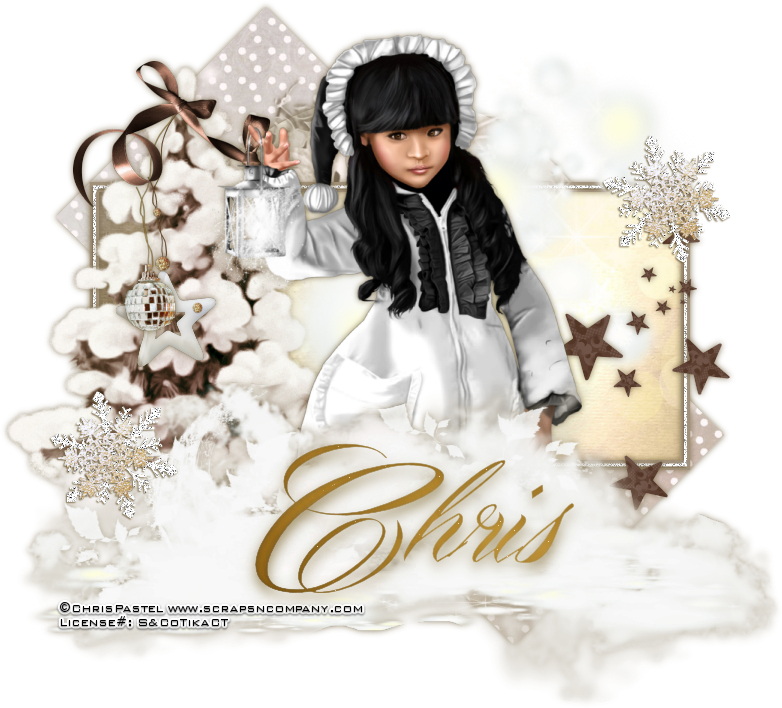
tutorial is meant purely as a guide. Feel free to make your tag
unique by using your own choice of Tube and Scrap Kit. If you want
your tag to look just like mine then use the same supplies I have and
use my tag for reference.
Supplies
Used:
Tube
is an Exclusive Commission tube for Scraps N Company. The tube is by
Chris Pastel. It is called Christmas Girl and you can get it at
http://scrapsncompany.com/index.php?main_page=product_info&cPath=305&products_id=15534
The
Scrap Kit is by Bibi's Collection. It is also called Christmas Girl.
You can get it at
http://scrapsncompany.com/index.php?main_page=product_info&cPath=112_114_168&products_id=15443
Tag
Template is by Made By Justine. It is the Christmas template01 and
you can get it at
http://madebyjustine.blogspot.ca/2013/12/christmas-diva-and-hohoho-now-in-stores.html
Font
of your choice. I am using Mardian. You can get it at
http://www.fontspace.com/m%C3%A5ns-greb%C3%A4ck/mardian-demo
Plugins:
NONE
Let's
Begin:
Open
your template and shift+D to duplicate.
Close
the original.
Remove
the credit layer and the top and bottom pink flake layers.
Merge
together the bottom square layer and the top square layer.
Selection
select all float and defloat.
Open
paper 9 and copy and paste as a new layer.
Selections
invert and hit delete.
Selections
select none.
Delete
the original layer that you merged.
Make
your circle layer active and selections select all float and defloat.
Open
paper 3 and copy and paste as a new layer.
Selections
invert and hit delete.
Selections
select none.
Delete
the original circle layer.
Make
your rectangle layer active and selection select all float and
defloat.
Open
paper 8 and copy and paste as a new layer.
Selections
invert and hit delete.
Selections
select none.
Make
your border layer active and selections select all float and defloat.
Layers
new raster layer.
Flood
fill with color #a1917a.
Selections
select none.
Delete
the original border layer.
Make
your bottom flake layer active and adjust add/remove noise and add
noise at 100% Gaussian and Monochrome.
Repeat
this with top flake.
Open
element 96.
Re-size
by 50%.
Copy
and paste as a new layer and position on top of either the top or
bottom flake.
Duplicate
and move the duplicate on top of whatever one you didn't place the
first one on.
Add
a drop shadow to each layer.
Open
your tube and copy and paste as a new layer.
Re-size
as needed to fit within the size of the tag.
Position
where you want.
Add
a drop shadow.
Open
element 103.
Copy
and paste as a new layer.
Drag
down on top of the circle layer.
Re-size
so it fits nicely on top of the circle layer.
Add
a slight drop shadow.
Open
element 90.
Copy
and paste as a new layer.
Re-size
so it fits nicely next to the rectangle framed layer.
Move
to the far left side and drag down to just above the glitter border
layer.
Add
a drop shadow.
Open
element 67.
Copy
and paste as a new layer.
Re-size
so it will fit nicely along the bottom of the tag in front of your
tube.
Open
element 63.
Copy
and paste as a new layer and drag under your tube.
Place
more to the right side so it is peeking out from behind your tube.
No
drop shadow on this layer.
Open
element 22.
Copy
and paste as a new layer.
Re-size
so it will fit nicely to be hanging from the tree.
Add
a drop shadow.
Open
element 27.
Copy
and paste as a new layer.
Re-size
so it will hang nicely along side the star on the tree.
Add
a drop shadow.
Open
element 81.
Copy
and paste as a new layer.
Re-size
so it will fit nicely at the top of the tree to cover the top of the
strings of the ornaments.
Add
a drop shadow.
Open
element 57.
Copy
and paste as a new layer.
Image
flip horizontal.
Move
to the far right side.
Re-size
so it fits nicely.
Move
down under your tube.
Make
sure you can see it on the right side of the tag.
Add
a drop shadow.
Add
your name.
Add
your copyright and licensing information.
Crop
and save.


No comments:
Post a Comment