🛻NEW CT tag for Wicked Diabla Designs 🛻
🏋️♀️New CT tag for Wicked Diabla Designs 🏋️♀️
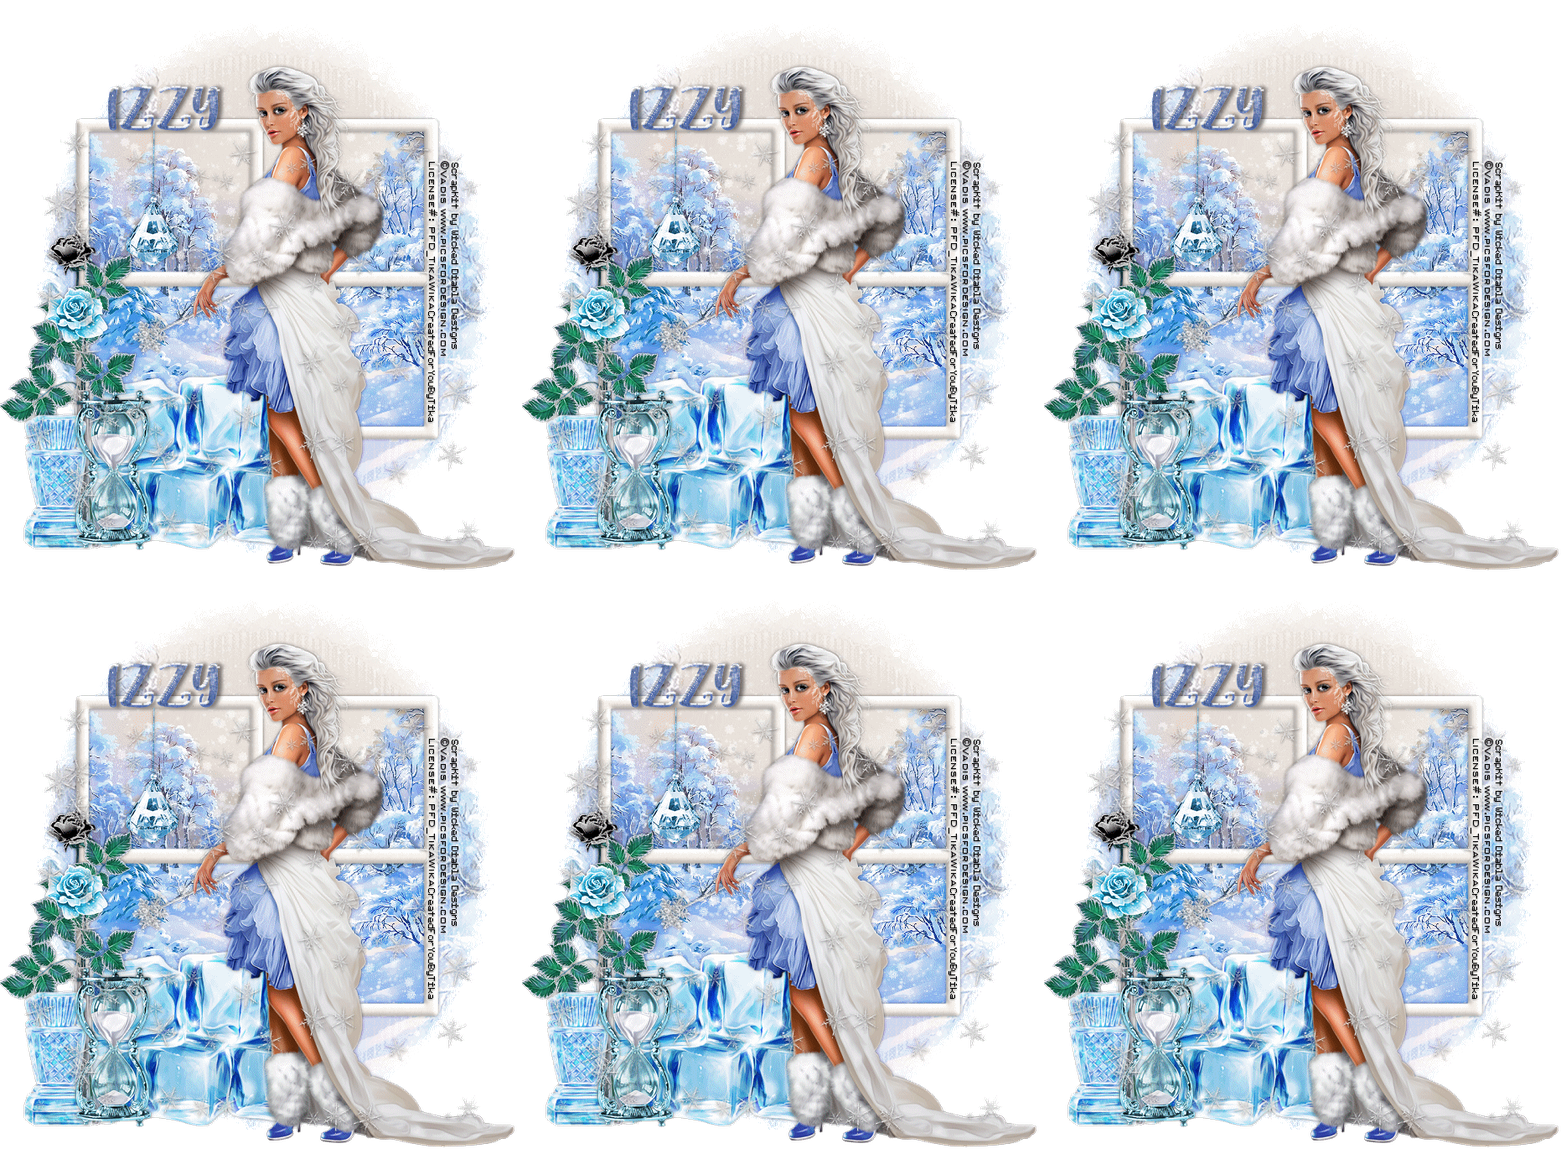
New CT Tag for Wicked Diabla Designs
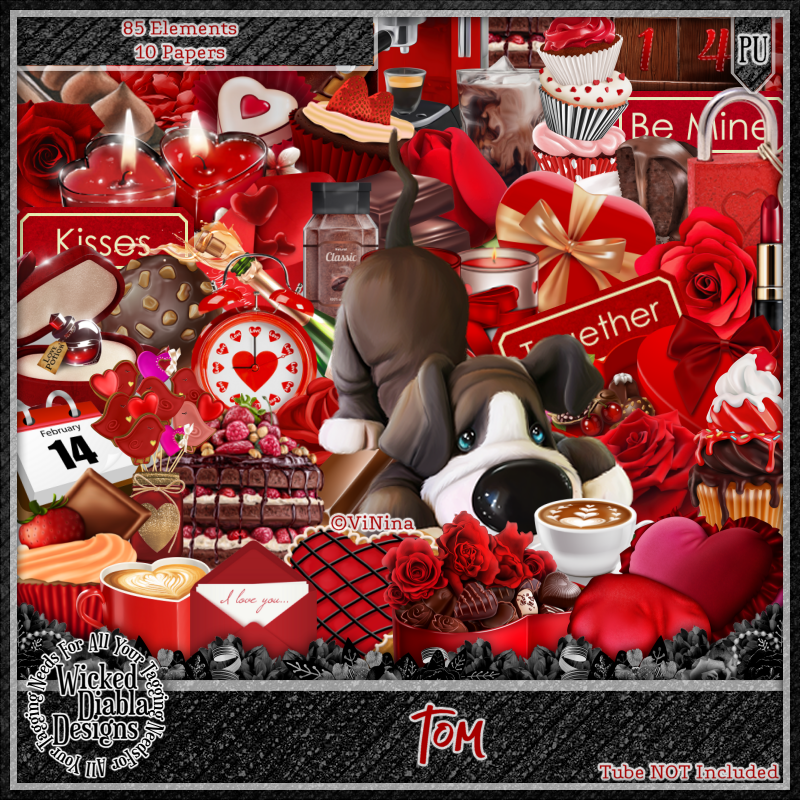
Scrap kit is by Wicked Diabla Designs. It is called "Tom".
Winters
Chill
Written
1/5/2023
This
tutorial is meant purely as a guide. Feel free to use your own choice of tube
or scrap kit to make your tag unique.
If
you want your tag to look just like mine, then use the same supplies I have
used. This tutorial assumes you have a knowledge
of
paint shop pro. Any resemblance to any other tag or tutorial is completely
coincidental.
Supplies
Used:
Tube
of your choice. I am using a tube by Vadis. You can purchase this tube at http://picsfordesign.com
Scrap
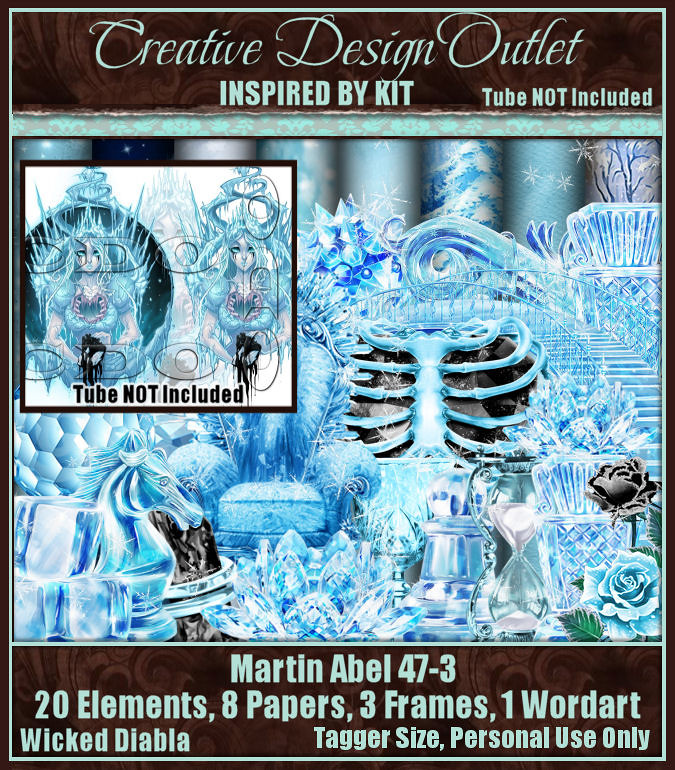
Kit is by Wicked Diabla Designs. It is called ScrapWD_IB-MartinAbel-47-3. You
can purchase this kit at www.cdoestore.com
Mask
of your choice. I am using a great mask by Vix. I mean who doesn’t love
Vix masks right?? This is her
MaskHalloween2012-8NotHallow mask. You can find her awesome masks at https://vixpsp.blogspot.com/
Font
of your choice. I am using Baby Girl Display.
Animation
of your choice. I am using a heavy snowfall animation by Simone at Scrappy Bit
Of Fun. It is part of her Winter Season 2020 animation pack. You can find all
of her awesome animations at http://scrappybitoffun.blogspot.ca
Plugins:
(plugins are most generally optional)
NONE
Let's
Begin:
Open
a blank canvas large enough to give you plenty of room to work with. You can
crop and resize your tag when you are done if you wish.
Flood
fill the canvas with white. I like to do this because it allows me to see
everyone on the canvas as I am creating my tag. I delete this layer when I am
all done.
Open
frame 2 from the kit and copy and paste as a new layer on what we will call
your working canvas from here on out. Resize the frame so that is the size you
wish. This will be your backdrop for your tag.
Using
your magic wand select the inside of the 4 sections of the window frame.
Selections modify expand and expand by 5.
Layers
new raster layer and drag under your
frame.
Open
paper 1 from the kit and copy and paste into selection. Selections select none.
You
should still have this paper in your clipboard so go ahead and paste it again
and drag to the bottom. Resize if you wish.
Apply
your mask. Delete the mask layer and merge the group.
Open
your tube and copy and paste as a new layer. Resize the tube to your liking. Position in front of the window
frame where you like. Mine is not quite center but almost.
Now
let’s dress the tag up with elements from the kit. I will list the elements I
used. Feel free to use other elements to make your tag unique. Placement of the
elements is completely up to you. If you want your tag to look just like mine,
then use my tag for reference.
Elements
I used:
2
4
6
9
19
22
Add
your name. Add your copyright and licensing information.
Crop
and resize if you wish.
Now
lets get ready to animate.
Open
animation shop and then open the animation you are going to use.
Resize
if you need to.
Select
all frames. Take note of the amount of frames in the animation.
Now
back to psp delete the white layer.
Merge
together all of the layers EXCEPT the mask layer and the paper layer that fills
the window frame.
Now
you should have 3 layers.
Hide
the layer that you just created merging all of the elements and tube together.
Edit
copy merged.
Open
animation shop and right click and paste as a new animation.
This
should be your mask layer and the paper layer.
Duplicate
the frames to match the amount of frames in your animation.
Select
all frames in your tag.
Grab
frame #1 from the animation and drag it onto frame #1 of the tag. Do not let go
until you get it into place where you want it. If you accidentally misplace it
you can undo and do the same steps over again until you get it right where you
want it.
Once
that is all in place go back to psp and copy the layer with your tube and all
of the elements on it.
Back
to animation shop. Right click and paste as a new animation. Duplicate to match
the amount of frames in your animated tag. Select all frames.
Again
drag frame #1 onto frame #1 of the animated tag.
Once
that is all in place then view your animation to make sure you are happy with
everything.
Optimize
your tag and save.
Thanks
for trying my tutorial.
♥♥♥
This will be my last tutorial for 2022!
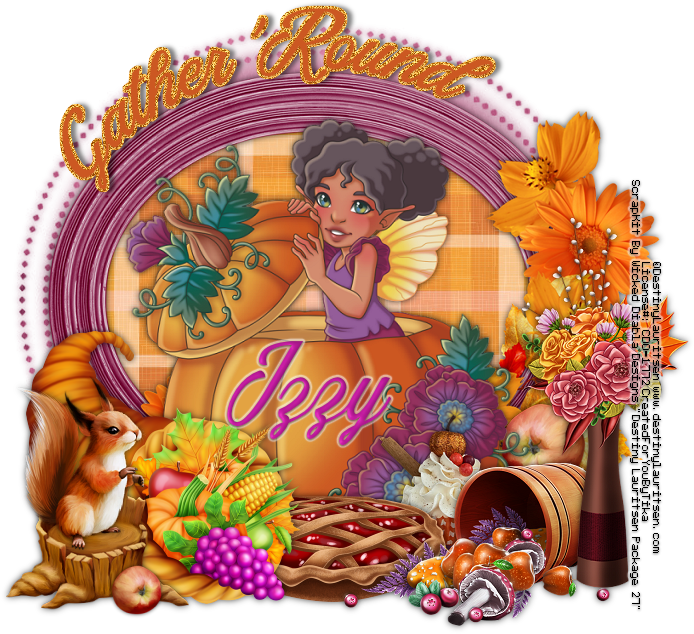
Gather
‘Round
Written
11/10/2022
This
tutorial is meant purely as a guide. Feel free to use your own choice of tube
or scrap kit to make your tag unique.
If
you want your tag to look just like mine, then use the same supplies I have
used. This tutorial assumes you have a knowledge
of
paint shop pro. Any resemblance to any other tag or tutorial is completely
coincidental.
Supplies
Used:
Tube
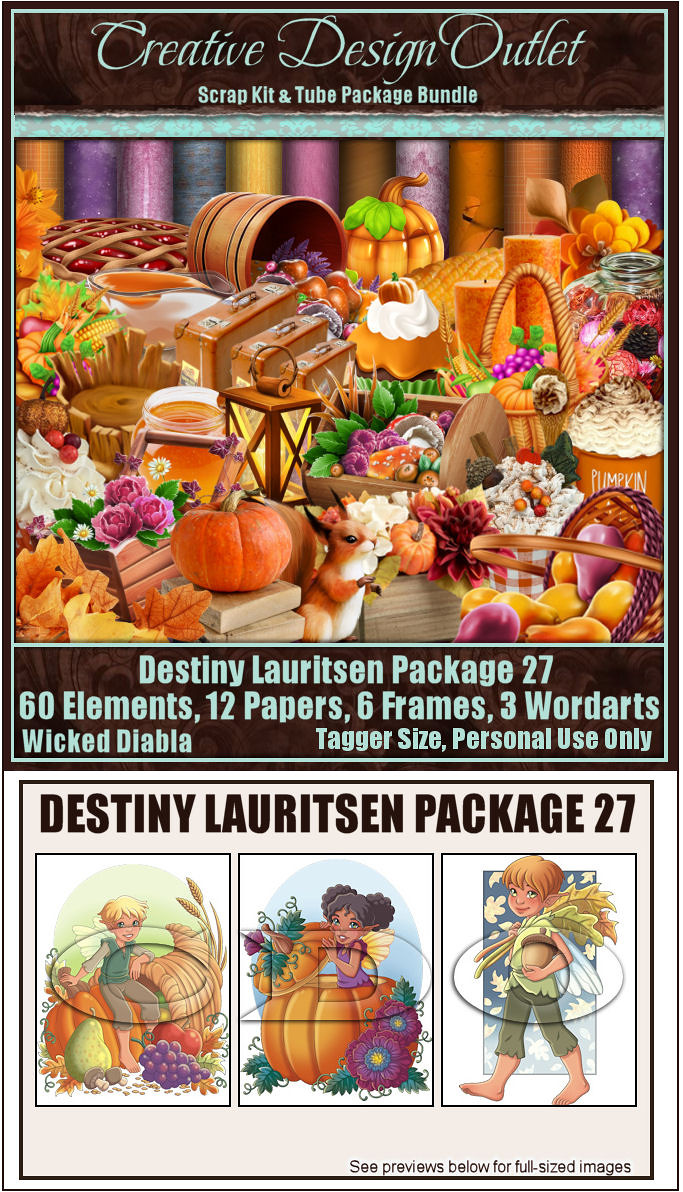
of your choice. I am using an adorable tube by Destiny Lauritsen. You can
purchase this tube at www.cdoestore.com
This tube is in the package 27-2
Scrap
kit by Wicked Diabla Designs. This kit can also be purchased at CDO.
You
can purchase the tubes and the kit together as a bundle.
Font
of your choice. I am using Azzury
Mask
of your choice. I am using one by Sophistocat Simone. You can get her awesome
masks at https://scrappybitoffun.blogspot.com
Plugins:
(plugins are most generally optional)
Let's
Begin:
Open
frame 3. Resize to a size you are happy with. Image rotate and rotate in either
direction to the left or right. Adjust sharpen to clean it up.
Using
your magic wand select the inside of the frame.
Selections
modify expand by 10.
Layers
new raster layer and drag this new layer under the frame layer.
Open
paper 8 and copy and paste into selection.
Selections
select none.
Add
a drop shadow to your frame.
Open
paper 1 and copy and paste as a new layer.
Drag
to the bottom of your layer palette.
Apply
your mask. Delete the mask layer and merge the group.
Open
your tube and copy and paste as a new layer at the top of your layer palette.
Resize as needed. Add a drop shadow to your tube.
Now
let’s dress the tag up with elements from the kit. I will list the elements I
used. Feel free to use other elements to make your tag unique. Placement of the
elements is completely up to you. If you want your tag to look just like mine,
then use my tag for reference.
Elements
I used:
16
27
36
37
44
45
53
54
57
Add
your name.
Add
your copyright and licensing information.
Crop
and save!
Thanks
for trying my tutorial!
♥♥♥
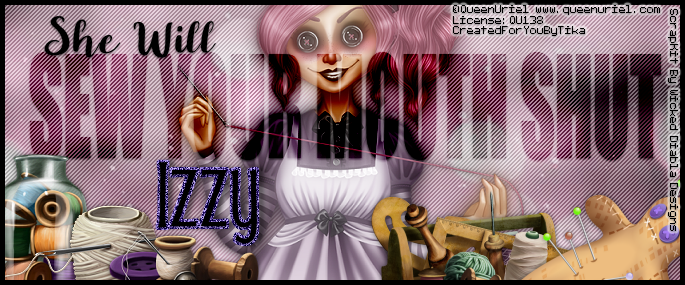
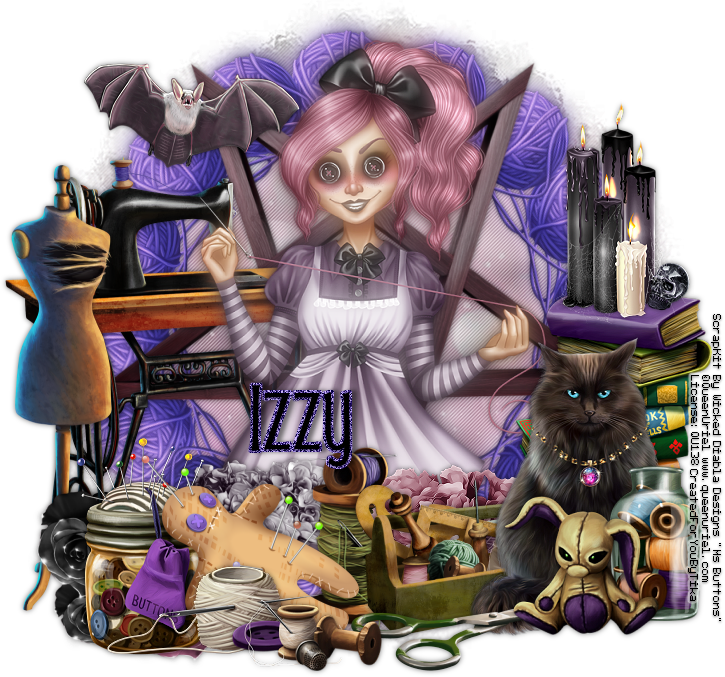
Sew Your
Mouth Shut
Written
10/20/2022
This
tutorial is meant purely as a guide. Feel free to use your own choice of tube
or scrap kit to make your tag unique.
If you
want your tag to look just like mine, then use the same supplies I have used.
This tutorial assumes you have a knowledge
of
paint shop pro. Any resemblance to any other tag or tutorial is completely
coincidental.
Supplies
Used:
Tube
is by Queen Uriel. She is called Ms Buttons. You must have a license to use
this artwork. You can purchase Carolina’s awesome tubes at Home - Queen-Uriel's Art & PSP Tube Store
(queenuriel.com)
Scrap
Kit is by Wicked Diabla Designs. It is called Ms Buttons also. You can purchase
this kit at Welcome To
Wicked Diabla Designs, For All Your Tagging Needs
Font
of your choice. I am using Mouse Moon.
Mask
of your choice. I am using Mask #451 by Vix. You can find her at Vix PSP
Plugins:
(plugins are most generally optional)
Mura
Meister Copies – Encircle
Penta
Jeans
Let's
Begin:
Open
element 25. Shift+D to duplicate. Close the original. Resize to a size you are
happy with.
Open
element 88 and resize to a fairly small size. I went 50% and then 60%. Using
the Mura Meister Copies filter apply using the encircle option but change the top
number in the encircle settings to 15 which will bring the balls of yarn closer
together.
Move
this layer under the pentagram layer.
On the
top layer go to adjust blur gausian blur and set it to 10.
Change
the properties of this layer to screen.
Add a
slight drop shadow to the bottom layer.
Open
paper 12. Copy and paste as a new layer. Resize by 75%. Drag to the bottom.
Apply the mask of your choice. Delete the mask layer and merge the group.
Duplicate
the mask. On the bottom mask layer apply Penta Jeans using the default
settings.
On the
top layer go to adjust blur gaussian blur at 10 and change the properties of
this layer to screen.
Add a
drop shadow to the top pentagram layer.
Open
your tube and copy and paste as a new layer at the top.
Resize
as needed.
Duplicate
the tube layer and we are going to blur and screen it just like you did the
yarn and mask layers. Add a drop shadow to the bottom tube layer.
Now
let’s dress the tag up with elements from the kit. I will list the elements I
used. Feel free to use other elements to make your tag unique. Placement of the
elements is completely up to you. If you want your tag to look just like mine,
then use my tag for reference.
Elements
I used:
1
5
9
20
21
36
43
57
60
62
68
71
76
77
81
82
84
Add
your name.
Add
your license and copyright information.
If you
want to make a 3 piece set like mine just use elements and/or your tube.
Thanks
for trying my tutorial
♥♥♥
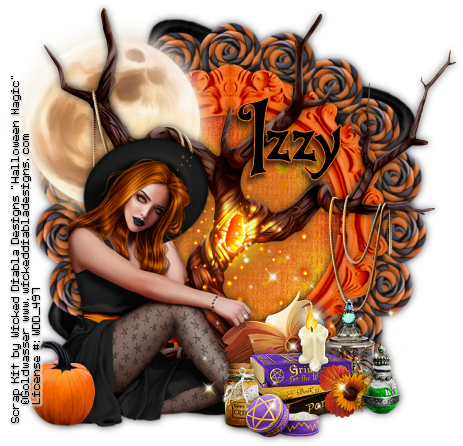
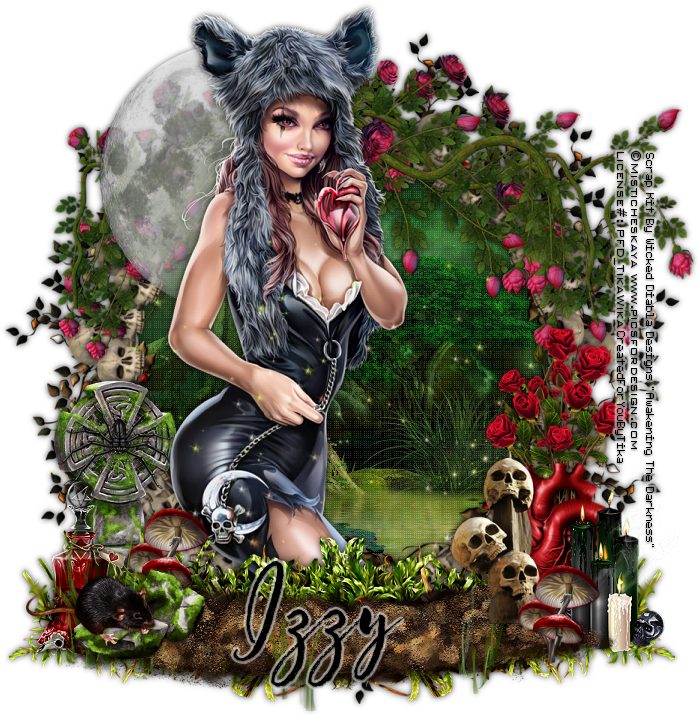
Under the Light of the Full Moon
Written 10/13/2022
This tutorial is meant purely as a guide. Feel
free to use your own choice of tube or scrap kit to make your tag unique.
If you want your tag to look just like mine, then
use the same supplies I have used. This tutorial assumes you have a knowledge
of paint shop pro. Any resemblance to any other
tag or tutorial is completely coincidental.
Supplies Used:
Tube of your choice. The tube I am using is by
Misticheskaya. It is called Werewolf and you can purchase it at http://picsfordesign.com You must have a license to use this artwork.
Scrap kit is by Wicked Diabla Designs. It is
called Awakening the Darkness. You can purchase this kit at her store. www.wickeddiabladesigns.com
Font of your choice. I am using Better Step.
Plugins: (plugins are most generally optional)
Penta Dot and Cross
Xero Porcelain
Let's Begin:
Open element 63 and shift+D to duplicate. Close
the original so you can use it again in the future.
Resize by 75% and then make your canvas large
enough to work with.
Using your magic wand to select the inside of the
frame. Go to selections modify and expand by 25. Layers new raster layer. Drag
this under the frame.
Open the paper of your choice. I used paper 11.
Copy and paste into selection. Selections select none. Duplicate this paper
layer and change the properties of the top layer to Screen. Make your bottom
paper layer active and apply Penta plugin Dot and Cross using the default
settings. Apply the Xero Porcelain plugin using the default settings.
Make the frame layer active and add a drop shadow
of your choice.
Open element 17 and copy and paste as a new layer.
Resize by 75%. Move to the top of your frame. Add a drop shadow.
Open your tube and copy and paste as a new layer.
Resize as needed. Add a drop shadow.
Now let’s dress the tag up with elements from the
kit. I will list the elements I used. Feel free to use other elements to make
your tag unique. Placement of the elements is completely up to you. If you want
your tag to look just like mine, then use my tag for reference.
Elements I used:
4
5
28
35
36
40
51
66
67
70
81
82
96
Add your name.
Add your copyright and licensing information.
Crop and save your tag.
If you want to make yours into a set such as I
have then simply use elements either from your tag or other elements from the
kit to create a small banner type tag and also an avatar.
Thank you for trying my tutorial.
♥♥♥
C.U.R.E.
Written
on 10/4/2022
This
tutorial is meant purely as a guide. Feel free to use your own choice of tube
or scrap kit to make your tag unique.
If
you want your tag to look just like mine, then use the same supplies I have
used. This tutorial assumes you have a knowledge
of
paint shop pro. Any resemblance to any other tag or tutorial is completely
coincidental.
Supplies
Used:
Tube
is by Barbara Jensen. It is called Sweet Cotton Candy. You can find Barbara’s
awesome art at www.barbarajensentubes.com
Scrap
Kit is by wicked diabla designs. It is called perfect pink world. You can
purchase this kit and more of her awesome kits at www.wickeddiabladesigns.com
Word
art is by sandy. You can find it on the creative misfits blog at http://creativemisfitscreations.blogspot.com
Font
of your choice. I am using Valentijn
Plugins:
(plugins are most generally optional)
NONE
Let's
Begin:
Open
element 4 and shift+D to duplicate. Close the original.
Make
your canvas large enough to give you plenty of room to work with.
Resize
the frame element however you wish. I went 85%.
Using
your magic wand tool select the inside of the frame.
Selections
modify and expand by 5.
Layers
new raster layer.
Drag
this new layer under the frame.
Open
paper 2 and copy and paste into selection.
Selections
select none.
Add
a drop shadow of your choice to the frame layer.
Open
your tube.
Copy
and paste as a new layer.
Now
I chose to have mine look like she was coming out of the frame so to achieve
this I duplicated my tube layer and dragged one under the frame layer. So you
should have tube frame tube again in your layer palette. Make your top tube layer
active and using your eraser tool erase the bits you want so in my case I
erased her leg area so the bow on the frame would be on top.
Add
a drop shadow to your tube.
Open
element 8 and copy and paste as a new layer.
Move
to the far-right side of the tag and drag to the bottom.
Duplicate
this layer and go Image Mirror. The one on the left move it in a bit so its
more in the center of the bow. Use my tag for reference if needed.
Now
let’s dress the tag up with elements from the kit. I will list the elements I
used. Feel free to use other elements to make your tag unique. Placement of the
elements is completely up to you. If you want your tag to look just like mine,
then use my tag for reference.
Elements
I used:
20
22
36
38
49
52
Once
you get whatever elements from the kit you want on there then open your word
art and copy and paste as a new layer. Resize if you need to.
Add
your name.
Add
your copyright and licensing information.
Crop
and save your tag.
Thanks
for trying my tutorial.
♥♥♥
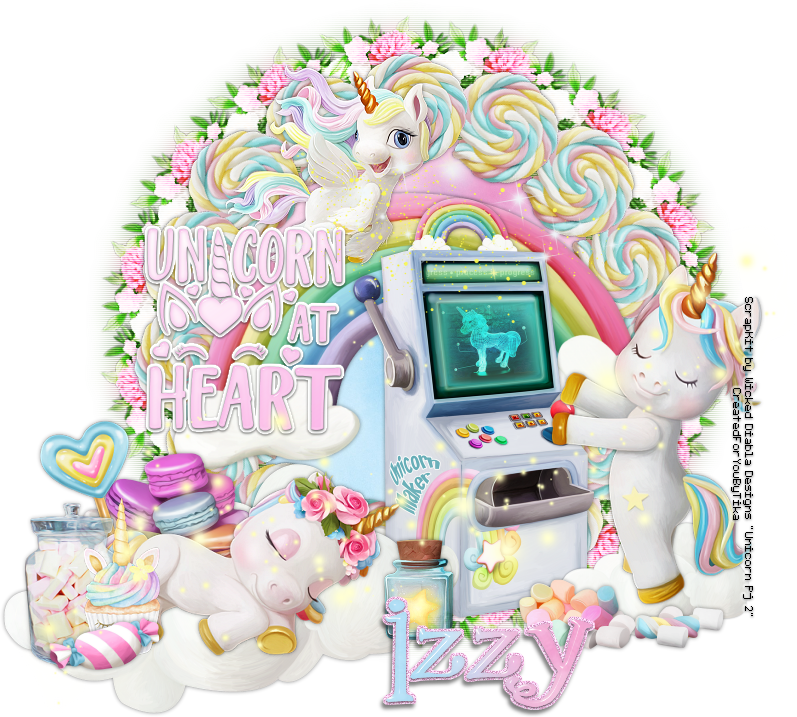
Unicorn
At Heart
Written
9/25/2022
This
tutorial is meant purely as a guide. Feel free to use your own choice of tube
or scrap kit to make your tag unique.
If you
want your tag to look just like mine, then use the same supplies I have used.
This tutorial assumes you have a knowledge
of
paint shop pro. Any resemblance to any other tag or tutorial is completely
coincidental.
*THIS
IS A SCRAP ONLY TAG*
Supplies
Used:
Scrap
Kit is by Wicked Diabla Designs. It is called Unicorn PJ. You can purchase it
at www.wickeddiabladesigns.com
Font
of your choice. I am using 2 Peas Mister Giggles
Plugins:
(plugins are most generally optional)
Mura
Meister Copies - Encircle
Let's
Begin:
Open
element 7 and shift+D to duplicate. Close the original. Make your canvas the
size you want it to be to work with. Make sure you give yourself plenty of working space.
Resize
this element pretty small. I went 50% 2x and then 60%. Adjust
sharpness-sharpen.
Open
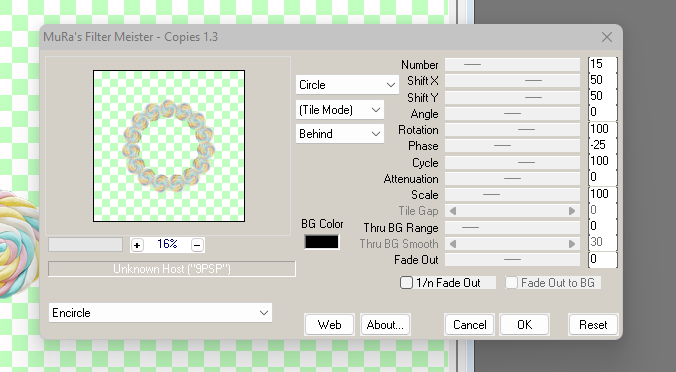
Mura Meister copies and select the encircle option.
Use
the settings I have used below:
Open
element 73. Copy and paste as a new layer. Again resize pretty small. I went
50% 2x and then 70%.
Again
apply the Mura Meister copies – Encircle. Use the same settings as above. You
will notice once you do this it will be pretty large so just resize to the size
you want so it just peeks out from behind your first frame. I did 85% and then
95% to get it how I wanted it.
Duplicate
this bottom frame layer. Apply Adjust Blur Gaussian Blur at 10. Change the
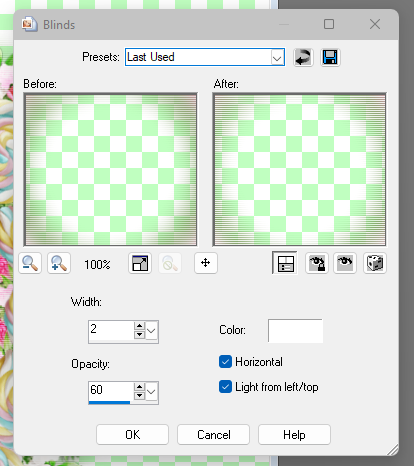
property layer to Overlay. Apply Effects Texture Effects Blinds 2x using the
settings below:
Make
your top frame layer active. This should be the candy layer. Using your magic
wand select the inside of the frame and go to Selections Modify Expand by 6.
Layers new raster layer and drag under the candy frame layer.
Open
paper 9 and copy and paste into selection.
Selections
select none.
Add a
drop shadow of your choice to the candy frame layer.
Open
element 90. Copy and paste as a new layer. Resize to where its just smaller
than the frames.
Place
somewhere near the middle of your frame. Add a drop shadow.
Open
element 15 and resize. Not too small. You can use my tag as a reference point.
Place on the right side of your tag. Add a drop shadow.
Open
element 12. Copy and paste as a new layer and resize to a pretty small size.
Again you can use my tag a s reference. Place at the top of the rainbow but
more to the left side just a bit. Add a drop shadow.
Open
element 3 and copy and paste as a new layer. Resize again and again not too
small. More like the size you did the first one. Place at the bottom left of
the tag. Add a drop shadow.
Open
element 8. Copy and paste as a new layer. Resize again. Not too small on this
first one. But just slightly larger than the unicorn laying down. Drag under the
laying unicorn and position so it looks like she is laying on it. Add a drop
shadow.
Duplicate
this cloud layer and resize again fairly small. I went 50% of the first one.
Drag under the layer with the unicorn standing. Position under her feet so it
looks like she is standing on it.
Now
let’s dress the tag up with elements from the kit. I will list the elements I
used. Feel free to use other elements to make your tag unique. Placement of the
elements is completely up to you. If you want your tag to look just like mine,
then use my tag for reference.
Elements
I used:
5
13
28
42
43
44
66
88
91
96
Add
your copyright information if you choose to use a tube.
Don’t
forget your license information.
If you
use just the scrap kit please be kind and give credit where credit is due.
Add
your name.
Crop
and resize if you wish.
If you
want to make a 3 piece set like mine they are simple to make. Create an avatar
and to make a banner I just take elements I used in the tag make them smaller
and arrange them how I want.
Thanks
for trying my tutorial.