Saturday, November 21, 2015

Winter In Russia - Зима в России


Winter In Russia - Зима в России
written 11/20/2015

This tutorial is meant purely as a guide. Feel free to make it unique by using your own choice of tube and scrapkit. If you want your tag to look just like mine then use the same supplies that I have used.

Supplies Used:

Tube by Lysisange. It is called Aniela. You can purchase it at http://scrapsncompany.com/index.php?main_page=product_info&cPath=113_562&products_id=15578

Matching scrap kit is by Mariel Designs. It is called Winter in Russia. You can purchase it at http://scrapsncompany.com/index.php?main_page=product_info&cPath=112_325&products_id=15037

Tag template by A Creative Space Between. I am using template #22. You can get it at http://acreativespacebetween.blogspot.ca/2014/12/ssam-tag-templates-14-45.html

Font of your choice. I am using Vallerie. This is a PTU font which you can purchase at https://creativemarket.com/deadlock/339228-Vallerie-50-Off!! and also Soviet which you can get at http://www.dafont.com/soviet.font

Plugins:
NONE

Let's Begin:
Open your tag template.
Shift+D to duplicate. Close the original.
Remove the following layers:
Raster 1
Scrapity Scrap
Make your canvas large enough to give you plenty of room to work with.
You can crop when you are finished.
Ok first on all of the “Border” layers go to adjust add/remove noise at 100% with Gaussian and Monochrome checked.
Merge your Bottom Thin Slats layer down to the Top Thin Slats layer.
Selections select all float and defloat.
Open paper 1 and copy and paste as a new layer.
Selections invert and hit delete.
Selections select none.
Delete the layer that you merged.
Make your circle layer active and selections select all float and defloat.
Layers new raster layer.
Open paper 4 and copy and paste into selections.
Selections select none.
Delete the original circle layer.
Repeat the above with all 3 square layers but fill with paper 1.
Open your tube and re-size.
Copy and paste as a new layer.
Place in the center of the tag.
Add a drop shadow to all layers.
Open element 1 and copy and paste as a new layer.
Move down to the middle frame and image free rotate to the right 17 degrees.
Place within the framed area and using your eraser tool erase any bits you don't want hanging out of the frame.
Add a drop shadow.
Open element 9 and repeat the above steps placing it in the bottom frame and rotating it to the left 9 degrees.
Open element 10 and repeat the above steps but place it in the top frame area.
No need to rotate.
Open element 2 and re-size by 75% 2x.
Copy and paste as a new layer and drag down to just above the strips.
Place in the top right corner peeking out around the top picture frame.
Duplicate and move this copy just down and to the right.
Duplicate again and image flip horizontal.
Move to the top left.
Duplicate and move this one down and to the left a bit.
Merge all 4 layers together when done.
Add a slight drop shadow.
Open element 52 and re-size.
Copy and paste as a new layer and move behind your tube.
Move it slightly to the left so it is peeking out from behind the tube.
Add a slight drop shadow.
Open element 7 and copy and paste as a new layer.
Re-size so it is relatively small.
Duplicate multiple times and place randomly around your tag.
Merge together and add a drop shadow.
Open element 14 and re-size.
Copy and paste as a new layer.
Drag under your tube.
Add a slight drop shadow.
Add your name.
Add your copyright and licensing information.
Crop and save.


Thursday, November 19, 2015

Be Thankful


Be Thankful
written 11/19/2015

This tutorial is meant purely as a guide. Feel free to make your tag unique by using your own choice of tube and scrap kit. If you want your tag to look just like mine then use the same supplies I have used.

**Please note: this tutorial works best with a tube that has a close up*

Supplies Used:

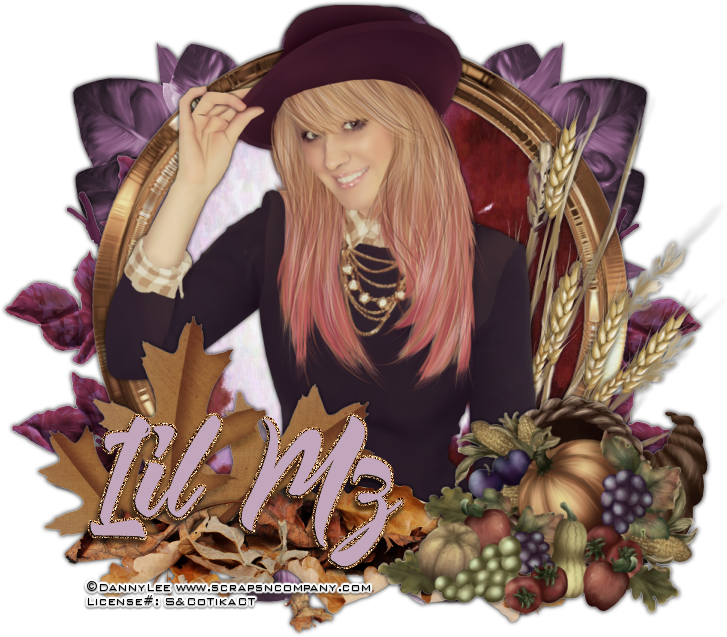
Tube by Danny Lee. It is called Thanksgiving. You can get it at http://scrapsncompany.com/index.php?main_page=product_info&cPath=113_132_219&products_id=15540

The matching scrap kit is by Lil Mz Brainstorm. It is also called Thanksgiving. You can get it at http://scrapsncompany.com/index.php?main_page=product_info&cPath=112_543_535&products_id=15554

Font of your choice. I am using Vizels. You can get it at http://www.fontspace.com/vmf-font/vizels

Plugins:
NONE

Let's Begin:
Open element 79 and shift+D to duplicate. Close the original.
Re-size if you want to.
Make your canvas large enough to work with.
Using your magic wand select the inside of the frame.
Selections modify and expand by 8.
Layers new raster layer and drag under the frame.
Open paper 13 and copy and paste into selection.
Selections modify and contract by 7.
Open the closeup of your tube and copy and paste into the selected frame area.
Re-size as you wish.
Using your eraser tool erase any bits that you don't want in your tag.
When you are happy selections select none.
Add a drop shadow to the frame and the tube layers.
Open element 6 and copy and paste as a new layer.
Drag to the bottom and re-size so it will fit nicely around the frame.
Add a drop shadow.
Open element 76 and re-size.
Copy and paste as a new layer and drag down to just above the other leaves.
Place on the far right side peeking out around the frame.
Duplicate and flip horizontal.
Move the duplicate to the left side.
Add a drop shadow to both.
Open element 101 and copy and paste as a new layer along the bottom of the tag.
Add a drop shadow.
Open element 105 and copy and paste as a new layer.
Re-size and move to the lower right corner of the tag.
Add a drop shadow.
Open element 83 and re-size.
Image flip horizontal.
Copy and paste as a new layer and move to the far right side.
Move down to just below your tube but in front of the frame.
Add a drop shadow.
Open element 21 and re-size.
Copy and paste as a new layer.
Move to the far left bottom of the tag and drag behind the other leaves.
Add a drop shadow.
Add your name.
Add your copyright and licensing information.
Crop and save.


Magical Workshop


Magical Workshop
written 11/19/2015

This tutorial is meant purely as a guide. Feel free to make your tag unique by using your own choice of tube and scrap kit. If you want your tag to look exactly like mine then use the same supplies that I have used.

Supplies Used:

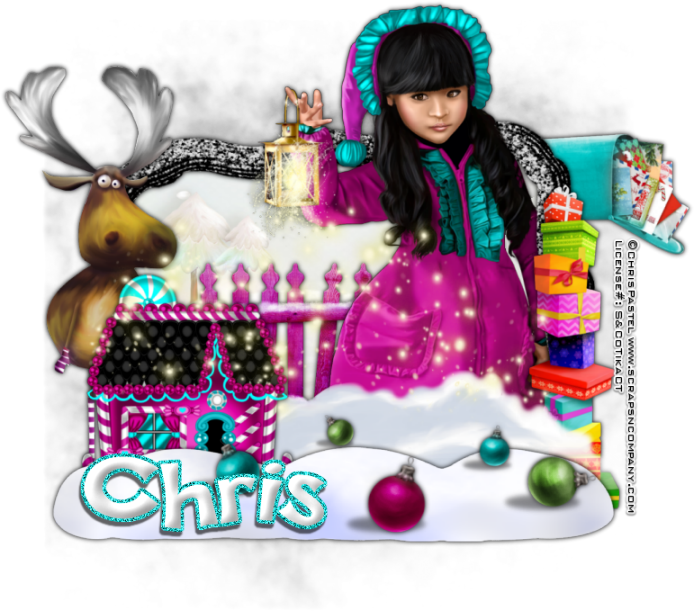
Tube is an exclusive commission for Scraps and Company store. It is by Chris Pastel and can be purchased at http://scrapsncompany.com/index.php?main_page=product_info&cPath=305&products_id=15537

The cute and whimsical scrap kit is by Bibi's Collection. It is called Elf Town. It's a great match for the tube. You can purchase it alone at http://scrapsncompany.com/index.php?main_page=product_info&products_id=15541 or you can get a great bundle deal of the tube and the scrap kit together at http://scrapsncompany.com/index.php?main_page=product_info&cPath=305&products_id=15543. The bundle is on sale for $1.50 right now. You can't beat that.

Mask of your choice. I am using mask #158 from insatiable dreams. You can get her masks at http://insatiabledreams.net

Font of your choice. I am using Happy Sans. You can get it at http://www.dafont.com/happy-sans.font

Plugins:
NONE

Let's Begin:
Open element 119 from the kit and shift+D to duplicate.
Close the original.
Re-size by 85%.
Make your canvas large enough to give you room to work with.
Using your magic wand select the inside of the frame and go to selections modify and expand by 8.
Layers new raster layer and drag under the frame.
Open paper 1 and copy and paste into selection.
Selections modify and contract by 7.
Open your tube and copy and paste as a new layer and position within the frame.
I chose to use the tube that was cut off on the right side so that she would be peeking out from that side.
Once you have your tube placed use your eraser tool to erase any bits of the tube outside of the frame that you do not want to be part of the tag.
Selections select none.
Add a drop shadow to both the frame and the tube.
Open paper 6 and copy and paste as a new layer and drag to the bottom.
Apply the mask of your choice.
Delete the mask layer and merge the group.
Add a slight drop shadow to your mask layer but do not make it too dark.
Open element 15 and re-size so it will fit nicely in front of the bottom of the frame on the left side.
Copy and paste as a new layer.
Add a drop shadow.
Open element 11 and re-size so it will fit nicely on the left hand side of the cottage.
Copy and paste as a new layer.
Add a drop shadow.
Open element 42 and re-size so it will fit nicely along the bottom of the tag.
Copy and paste as a new layer and place in front of the cottage and going along the bottom.
Add a slight drop shadow.
Open element 13 and re-size so it will fit nicely along the bottom of the tag also.
Copy and paste as a new layer and drag behind the first snow layer, the cottage and the reindeer.
Make sure it is peeking up behind the first snow and is in front of your tube.
Open element 20 and re-size so it will fit nicely behind the tube and the cottage.
Open element 19 and re-size so it will fit nicely along the right side of the frame.
Drag to the bottom but above the mask.
Place it on the right side so the mailbox and letters are peeking out.
Add a drop shadow.
Open element 26 and re-size so it will fit nicely in front of the mailbox on the right size.
Copy and paste as a new layer.
Add a drop shadow.
Open element 90 and re-size so it will fit nicely in the snow at the bottom of the tag.
Copy and paste as a new layer.
Add a drop shadow.
Open element 115 copy and paste as a new layer and place kind of in the middle of the tag so it looks like it is falling from the lantern the tube is holding.
Add your name.
Add your copyright and licensing information.
Crop and save.



Wednesday, November 18, 2015

Winters Pixie


Winters Pixie
written 11/18/2015

This tutorial is meant purely as a guide. Feel free to make your tag unique by using your own choice of Tube and Scrap Kit. If you want your tag to look just like mine then use the same supplies I have and use my tag for reference.

Supplies Used:

Tube is an Exclusive Commission tube for Scraps N Company. The tube is by Chris Pastel. It is called Christmas Girl and you can get it at http://scrapsncompany.com/index.php?main_page=product_info&cPath=305&products_id=15534

The Scrap Kit is by Bibi's Collection. It is also called Christmas Girl. You can get it at http://scrapsncompany.com/index.php?main_page=product_info&cPath=112_114_168&products_id=15443

Tag Template is by Made By Justine. It is the Christmas template01 and you can get it at http://madebyjustine.blogspot.ca/2013/12/christmas-diva-and-hohoho-now-in-stores.html

Font of your choice. I am using Mardian. You can get it at http://www.fontspace.com/m%C3%A5ns-greb%C3%A4ck/mardian-demo

Plugins:
NONE

Let's Begin:
Open your template and shift+D to duplicate.
Close the original.
Remove the credit layer and the top and bottom pink flake layers.
Merge together the bottom square layer and the top square layer.
Selection select all float and defloat.
Open paper 9 and copy and paste as a new layer.
Selections invert and hit delete.
Selections select none.
Delete the original layer that you merged.
Make your circle layer active and selections select all float and defloat.
Open paper 3 and copy and paste as a new layer.
Selections invert and hit delete.
Selections select none.
Delete the original circle layer.
Make your rectangle layer active and selection select all float and defloat.
Open paper 8 and copy and paste as a new layer.
Selections invert and hit delete.
Selections select none.
Make your border layer active and selections select all float and defloat.
Layers new raster layer.
Flood fill with color #a1917a.
Selections select none.
Delete the original border layer.
Make your bottom flake layer active and adjust add/remove noise and add noise at 100% Gaussian and Monochrome.
Repeat this with top flake.
Open element 96.
Re-size by 50%.
Copy and paste as a new layer and position on top of either the top or bottom flake.
Duplicate and move the duplicate on top of whatever one you didn't place the first one on.
Add a drop shadow to each layer.
Open your tube and copy and paste as a new layer.
Re-size as needed to fit within the size of the tag.
Position where you want.
Add a drop shadow.
Open element 103.
Copy and paste as a new layer.
Drag down on top of the circle layer.
Re-size so it fits nicely on top of the circle layer.
Add a slight drop shadow.
Open element 90.
Copy and paste as a new layer.
Re-size so it fits nicely next to the rectangle framed layer.
Move to the far left side and drag down to just above the glitter border layer.
Add a drop shadow.
Open element 67.
Copy and paste as a new layer.
Re-size so it will fit nicely along the bottom of the tag in front of your tube.
Open element 63.
Copy and paste as a new layer and drag under your tube.
Place more to the right side so it is peeking out from behind your tube.
No drop shadow on this layer.
Open element 22.
Copy and paste as a new layer.
Re-size so it will fit nicely to be hanging from the tree.
Add a drop shadow.
Open element 27.
Copy and paste as a new layer.
Re-size so it will hang nicely along side the star on the tree.
Add a drop shadow.
Open element 81.
Copy and paste as a new layer.
Re-size so it will fit nicely at the top of the tree to cover the top of the strings of the ornaments.
Add a drop shadow.
Open element 57.
Copy and paste as a new layer.
Image flip horizontal.
Move to the far right side.
Re-size so it fits nicely.
Move down under your tube.
Make sure you can see it on the right side of the tag.
Add a drop shadow.
Add your name.
Add your copyright and licensing information.
Crop and save.


Monday, November 16, 2015

Thankful Fairy


Thankful Fairy
written 10/31/2015

This tutorial is meant purely as a guide. Feel free to make your tag unique by using your own choice of tube and scrap kit. If you would like your tag to look just like mine the use the same supplies that I have.

Supplies Used:

Tube by Queen Uriel. I am using the tube called Fire Fairy. You can get her awesome work at http://www.queenuriel.com/loja/index.asp

Scrap Kit is a freebie by Scraps Dimensions. It is called Being Thankful. You can get it at http://scrapsdimensions-dorisnilsa.blogspot.com/2013/10/being-thankful-kit.html

Mask of your choice. I am using mask #19 by Horse Play Pasture Designs. You can get her masks at http://horseplayspasturedesigns.blogspot.com.au/

Font of your choice. I am using Hobby Horse. You can get it at http://www.1001fonts.com/hobbyhorse-font.html

Plugins:
NONE

Let's Begin:
Open paper 3 and shift+D to duplicate.
Close the original.
Promote the background layer to a raster layer.
Re-size to a size you are happy with as this will be your paper layer for your mask background.
Apply your mask.
Delete the mask layer and merge the group.
Open your tube and copy and paste as a new layer at the bottom of the mask area.
Add a drop shadow to your tube.
Open element 10 and re-size by 75%
Copy and paste as a new layer and drag behind your tube.
Open element 11 and re-size by 50%.
Copy and paste as a new layer and drag behind the leaves.
Move the bottom of your tag.
Open element 12 and re-size by 75%.
Copy and paste as a new layer and drag behind your fairy.
Move to the far left side of the tag.
Open element 26 and re-size by 50% 2x.
Copy and paste as a new layer at the top and move to the bottom right hand corner of the tag.
Open element 24 and re-size by 75%.
Copy and paste as a new layer.
Image rotate and free rotate by 90 degrees to the left.
Move to the bottom of the tag.
Add a drop shadow.
Open element 25 and repeat the above steps but rotate to the right .
Move to the bottom on top of the first one.
Add a drop shadow.
Add your name.
Add your copyright and licensing information.
Crop and save.



Wednesday, November 11, 2015

Some Type Of Fantasy


Some Type of Fantasy
written 11/11/2015

This tutorial is simply a guide. Feel free to make your tag unique by using your own choice of tube and scrap kit. If you want your tag to look just like mine then use the same supplies that I have used.

Supplies Used:

Tube by Andy Cooper called Fairy Purple. You can get it at http://scrapsncompany.com/index.php?main_page=product_info&cPath=113_304&products_id=15304

Matching scrap kit by Kizzed by Kelz also called Fairy Purple. You can get it at http://scrapsncompany.com/index.php?main_page=product_info&products_id=15413

Tag template #773 by Millies PSP Madness. You can get it at http://milliespspmadness.blogspot.com/2015/06/template-773-and-tag-featuring-verymany.html

Font of your choice. I am using Plates Napery. You can get it at http://www.fontspace.com/m%C3%A5ns-greb%C3%A4ck/plates-napery-personal-use

Plugins:
NONE

Let's Begin:
Open your template and shift+D to duplicate.
Close the original.
Remove the following layers:
temp by millie
13
12
background
Make your canvas large enough to work with.
Fill each of the layers of the template using the different papers from the kit.
Alternate purple and black between the layers.
Select each layer by going to selections select all float and defloat.
Once you are done add a drop shadow to each layer.
Open your tube and copy and paste as a new layer.
Center within the template and make it so she is sitting on the bottom of the circle.
I will list the elements I used.
Placement is completely up to you.
If you want your tag to look just like mine then use my tag for reference.
Elements used:
4
6
7
79
112
Add a drop shadow to all layers.
Add your name.
Add your copyright and licensing information.
Crop and save.

Tuesday, November 10, 2015

Bound By You


Bound By You
written 11/10/2015

This tutorial is meant purely as a guide. Feel free to make your tag unique by using your own choice of tube and scrap kit. If you want your tag to look just like mine then use the same supplies that I have used.

Supplies Used:

Tube by Graph Freaks called Malphas Mastema. You can get it at http://scrapsncompany.com/index.php?main_page=product_info&cPath=113_342&products_id=15426

Beautiful matching scrap kit by Bibi's Collection. Also called Malphas Mastema. You can get it at http://scrapsncompany.com/index.php?main_page=product_info&cPath=112_114_168&products_id=15425


Font of your choice. I am using Tourette Normal which is a PTU font you can purchase at http://www.fonts.com/font/virus-fonts/tourette/normal and also Triac Seventy One which you can get FTU at http://www.1001fonts.com/triac-71-font.html

Plugins:
Penta Jeans

Let's Begin:
Open your template and shift+D to duplicate.
Close the original.
Remove the following layers:
Creds
7
3
BG
Make your canvas large enough to work with.
Fill each of the layers in the template with the different papers from the kit.
The papers you use on each layer are completely up to you.
Once you get them all filled with the papers add a drop shadow to each layer.
Open the closeup of your tube and copy and paste as a new layer over the largest of the 3 circles.
Selections select all float and defloat on that circle.
Selections invert and hit delete on the tube layer.
Apply the penta jeans filter using the default settings.
Change the properties of this layer to luminance legacy.
Add a drop shadow.
Open your full tube and copy and paste as a new layer.
Position where you want in front of the tag template.
Add a drop shadow.
Now lets dress it up with some of the awesome elements from the kit.
I will list the elements I used and the placement is up to you.
Use my tag for reference if you want your tag to look just like mine.
Elements used:
43
52
54
69
73
74
76
85
Using a font of your choice add some text to the lined layers that are out the right side.
Add your name.
Add your copyright and licensing information.
Crop and save.


Friday, November 6, 2015

To Die For


To Die For
written 11/6/2015

This tutorial is meant purely as a guide. Feel free to make your tag unique by using your own tube and scrap kit. If you want to have your tag look exactly like mine then use the same supplies that I have.

Supplies Used:

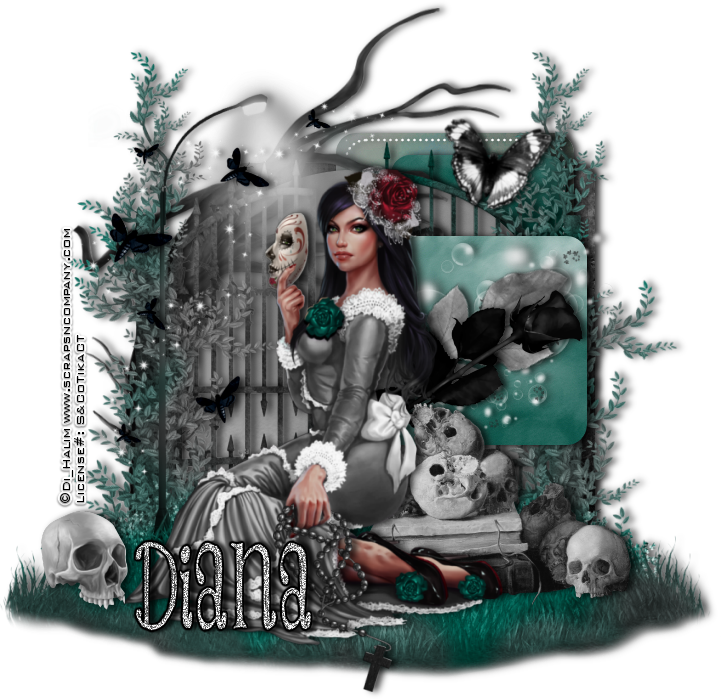
Tube by Di Halim. It is called Death Lover 2. You can get it at http://scrapsncompany.com/index.php?main_page=product_info&cPath=113_133_166&products_id=15272

Matching Scrap Kit by Designs By Joan. It is called Death Lover. You can get it at http://scrapsncompany.com/index.php?main_page=product_info&products_id=15298

Tag template by Millies PSP Madness. It is template # 788. You can get it at http://milliespspmadness.blogspot.com/2015/09/template-788-and-tag-featuring-beauty.html

Font of your choice. I am using Things We Said. You can get it at http://www.dafont.com/things-we-said.font

Plugins:
NONE

Let's Begin:
Open your tag template and shift+D to duplicate.
Close the original.
Delete the following layers from the template:
cr
8
7
background
Make your canvas large enough to give you plenty of room to work with.
Layer 1 selections select all float and defloat.
Open paper 2 and copy and paste as a new layer.
Selections invert and hit delete.
Selections select none.
Delete the original layer.
Repeat the above steps for layer 2 but use paper 1.
Repeat above steps for layer 3 but use paper 4.
Use the same paper for layer 6.
For layer 5 use paper 3.
Add a drop shadow to all layers using the following setting:
Vertical – 0
Horizontal – 5
Opacity – 75
Blur – 10
Color – Black
Open your tube and re-size.
Copy and paste as a new layer and position in the center of the tag template.
Add the same drop shadow.
Open element 2 and re-size by 85%.
Copy and paste as a new layer and drag down under the top little square.
Center on the template.
Add the same drop shadow.
Open element 11 and re-size by 85% 2x.
Copy and paste as a new layer and drag under the gate element.
Move to the left side so you can see the tree branches over the top of the tubes head.
Add a drop shadow.
Open element 12 and re-size.
Copy and paste as a new layer at the top and move to the right side.
Add a drop shadow.
Open element 14 and re-size by 50% 2x.
Copy and paste as a new layer.
Move to the bottom of your tag and place over the hand of the tube.
Using your eraser erase bits of the element so it appears the tube is holding it.
Add a drop shadow.
Open element 15 and re-size by 50% 2x.
Copy and paste as a new layer and move to the bottom left in the grass.
Add a drop shadow.
Open element 77 and re-size by 50%.
Copy and paste as a new layer.
Drag behind your tube and move to the far right side resting in the grass.
Add a drop shadow.
Open element 79 and re-size by 50%.
Copy and paste as a new layer just above the top little square.
Add a drop shadow.
Open element 80 and re-size by 50% and then again by 60%.
Copy and paste as a new layer.
Image free rotate to the right 17 degrees 2x.
Adjust sharpen.
Drag behind the black rose.
Add a drop shadow.
Open element 68 and re-size by 50% 2x.
Copy and paste as a new layer and drag down to just above the top little square.
Add a drop shadow.
Open element 54 and re-size by 50% 2x.
Copy and paste as a new layer at the top and move to the far right over the gate.
Add a drop shadow.
Add your name along the bottom.
I added noise to my name to help it stand out a bit.
Add your copyright and licensing information.
Crop and save.



Thursday, November 5, 2015

Fall Witch


Fall Witch
written 10/24/2015

This tutorial is meant purely as a guide. Feel free to make your tag unique by using your own tube and scrap kit. If you want your tag to look just like mine then use the same tube and scrap kit as I have.

Supplies Used:

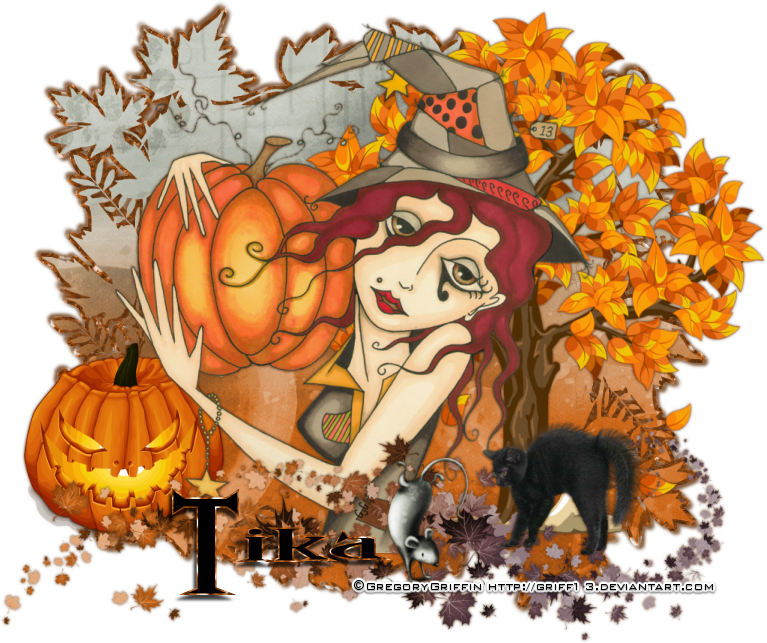
Tube by Gregory Griffin. He is a FTU artist. You can find his work at http://griff13.deviantart.com

Scrap kit is a freebie by Melissaz Creationz. You can get it at http://melissazcreationz.blogspot.com/2015/10/scrappin-your-out-october-blog-train.html

Mask of your choice. I am using mask #275 by Weescotslass Creations. You can get her great masks at http://weescotslasscreations.blogspot.com/2009/04/masks.html

Font of your choice. I am using Jack Bisio.

Plugins:
NONE

Let's Go:
Open paper 1 and shift+D to duplicate.
Close the original.
Re-size.
Promote your background layer to a raster layer.
Apply the mask of your choice.
Delete the mask layer and merge the group.
Selections select all float and defloat.
Layers new raster layer.
Open paper 12 and copy and paste into selection.
Selections select none.
Drag this layer under the other mask layer.
Add a drop shadow to both of layers.
Open your tube and copy and paste as a new layer.
Position within the center of your tag.
Add a drop shadow.
Open element 8 and copy and paste as a new layer.
Drag behind your tube.
Re-size and move to the right side of the tag.
Add a drop shadow.
Open element 13 and copy and paste as a new layer and place at the top and then near the bottom of your tag in the center.
Add a drop shadow.
Open element 24 and copy and paste as a new layer.
Re-size if needed and move to the bottom in front of the tree.
Add a drop shadow.
Open element 31 and copy and paste as a new layer.
Re-size and move to the bottom to the left of the cat.
Add a drop shadow.
Open element 33 and copy and paste as a new layer.
Move to the far left of the tag.
Add a drop shadow.
Add your name.
Add your copyright and licensing information if you used a PTU tube.
Crop and save.